6
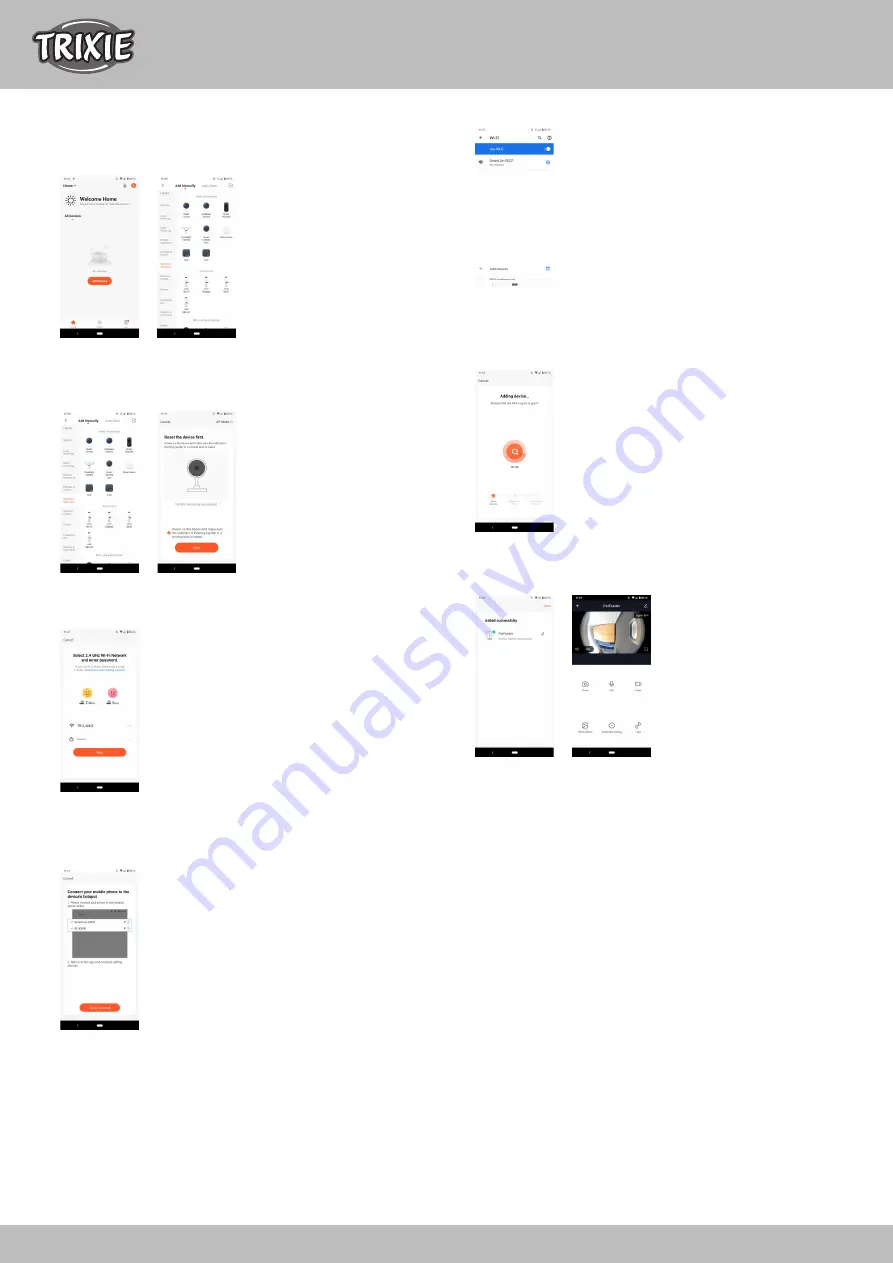
7. The app will start the pairing process and should connect to the
feeder after a short wait.
8. Tap FINISH to go to the feeder‘s user interface.
EZ Mode (2.4 GHz only)
1. Reset the feeder by pressing and holding the SET button on the top
of the unit for 5 seconds. An audible signal will sound and after a few
seconds the green indicator light should begin to flash slowly.
2. In the app, select ADD DEVICE. Under SECURITY & VIDEO SURVEIL-
LANCE, locate the SMART CAMERA (Wi-Fi) field.
3. On the following page, select EZ MODE from the drop-down menu
in the upper right-hand corner. Double check that the green indicator
light on the feeder is flashing. Confirm this and then tap NEXT.
4. On the following page, enter your Wi-Fi credentials. Then tap on
NEXT.
5. The app starts the pairing process and should connect to the auto-
matic feeder after a short wait.
Re-coupling
Please proceed as follows if you need to pair the feeder again - e.g.
after moving into a new home.
Open the Tuya App home page and long tap the Pet Feeder icon to
remove the device from the App. Note - all programmed feeding
times will be lost with this. Then wait about one minute until the
green LED on the front of the device starts flashing again. Then press
and hold the SET button for about 5 seconds to reset the machine.
You can then repeat the pairing process in AP or EZ mode.
2. In the app, select ADD DEVICE and then select SECURITY & VIDEO
SURVEILLANCE under SMART CAMERA (Wi-Fi).
3. On the following page, select AP MODE from the drop-down menu
in the upper right corner. Then tap NEXT.
4. On the following page, enter your Wi-Fi credentials. Tap NEXT.
5. Tap CONNECT NOW and select the hotspot of the feeder from the
list of available Wi-Fi networks: SmartLife_XXXX.
6. Then tap the BACK arrow until you land back in the Tuya app. The
pairing process should now start automatically. If the pairing process
does not start automatically, tap „Confirm Hot Spot Next“ at the
very bottom of the app.


