


5
Installation
3-3
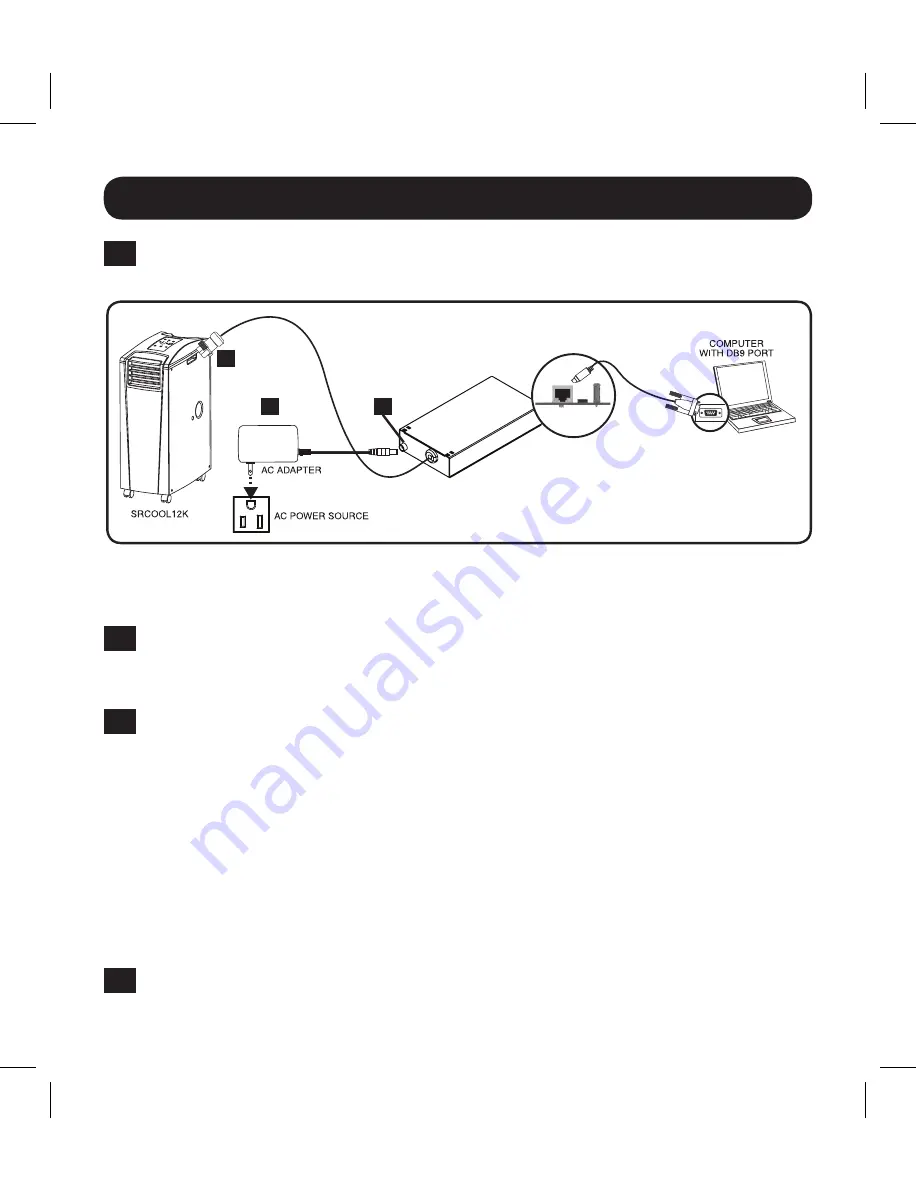
Connect SRCOOLNETLX to Computer:
Using the provided cable, connect your
PC to the Micro-USB port on the SRCOOLNETLX.
Note:
Self-adhesive Velcro strips are included for mounting the SRCOOLNETLX to the side of
the A/C unit. As an alternative, the included rubber feet can be used if the SRCOOLNETLX is
freestanding.
3-4
The card will display a Linux-style login after boot up. Login as
localadmin /
localadmin
to access the standard menu.
Note:
Usernames and passwords are case sensitive.
3-5
From the Main Menu:
a. Select Option 3: Network Configuration
b. Select Option 1: IP Configuration
c. Select Option 3: IPv4 setting on Option 4: IPv6 settings
d. Select Option 1: Method
e. Select Option 2: Static
Assign the address, subnet mask, gateway, etc. Save your settings by selecting
"
A
" (apply). Choose “
y
” to restart PowerAlert now. Close your terminal session.
3-6
Remove Configuration Cable:
Remove the configuration cable that connects
the SRCOOLNETLX to the computer.
SRCOOLNETLX
A
B
C
Figure 1
18-08-472-93387D.indb 5
8/30/2018 10:12:00 AM


