Trigon Minipak 4000 Installation & Operation Instructions Download Page 8

Page 8

MP 4000

SET PROGRAM CODE

The last two lines on this screen are used to set the
Program Code for this unit.  One line contains the first
two digits of the code (MSD), and the next line contains
the last two digits (LSD).

NOTE: If, after performing this step, you lose the ability
to access the Program Mode, call TRIGON service.  We
have the ability to reset the Program Code back to 5269
remotely.

MASTER ERASE

To clear all files from memory as well as return Setup
parameters to factory presets, set Program Access Code
to 9999.  This will erase all data and reset the Program
Access Code to 5269.
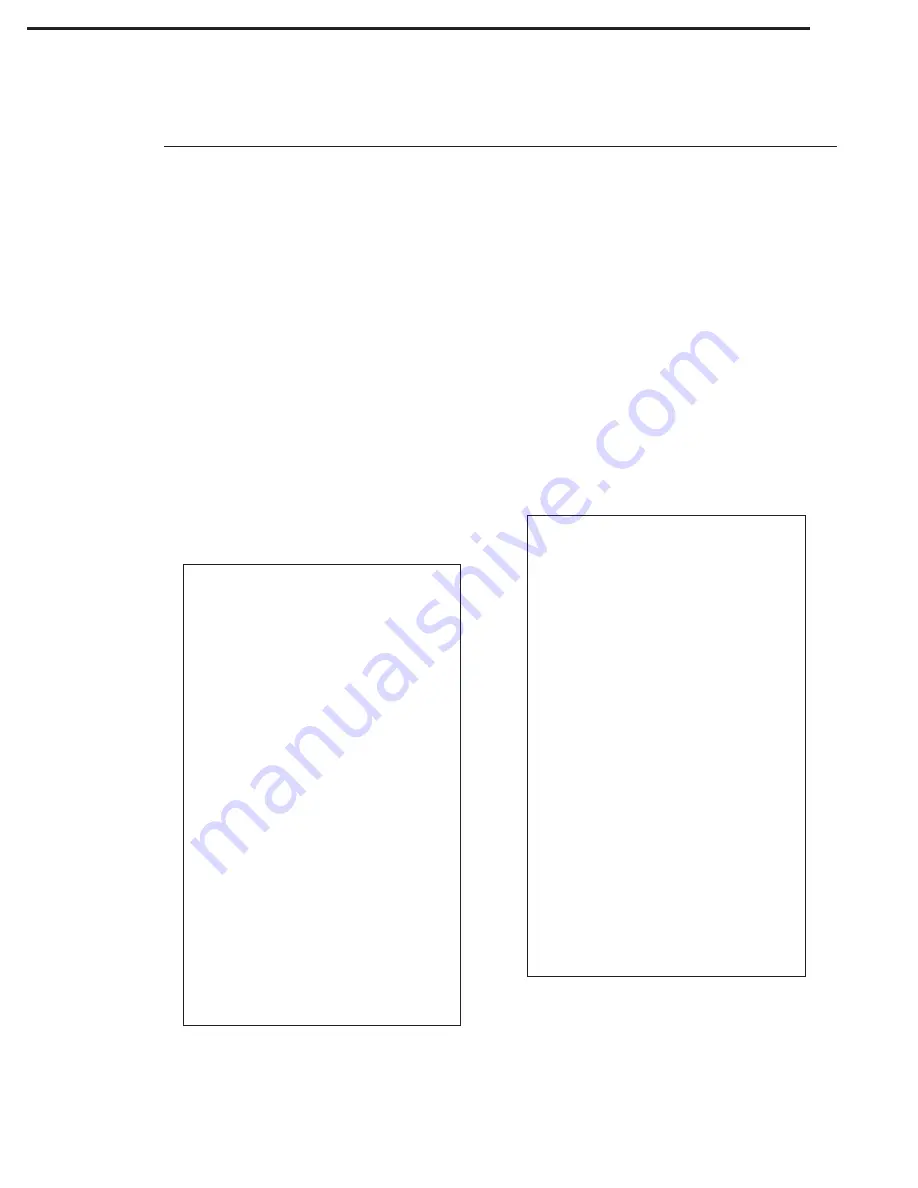
MESSAGE EDIT SCREEN

The next screen to appear in the Program Mode is the
‘Message Edit’ Screen.  This screen is used to create
your own message to be displayed as the ‘WELCOME’
Screen.  It will display the following format:

message.  Each character is made with two keystrokes.
For example, to create an "A", press 2, then 1.  The 2
represents the key the 'A' letter is located on, and 1
represents the fact 'A' is the first letter on the key.  To
make a "B", press 2, 2.  Again, 'B' is on the '2' key, its
second letter.  Spaces are made by pressing 1, 1.  The
letter 'Q' is 1, 2.  The letter 'Z' is 1, 3.  Press "#" to go to
the next line.  Press the star key (*) to go back.  See the
DISPLAY EDITING section for more information.

If you wish to eliminate the Message Edit screen, set
the ‘WELCOME SEC’ parameter to ‘0’ on the Setup
Screen.

DATABASE EDIT SCREEN

The last screen to appear in the Program Mode is the
‘Database Edit’ Screen.  This is the screen that will be
used for all keypad editing of tenant information.  It
will display the following format:

Programming  (Continued)

There are 12 lines available on this screen for your
message.  Each line will hold 16 characters or spaces.
Alphabetic characters are entered from the keypad to
the ‘Message Edit’ screen in order to create a custom

                    MESSAGE EDIT
                   * = SKIP SCREEN
                   # = DOWN LINE
                   0 = SKIP RIGHT
                   1-9 ALPHA EDIT

                    DATABASE EDIT
                    * = UP LINE
                    # = DOWN LINE
                       0 = NUMBER ZERO
                    RESIDENT CODE:
                    ——
                    RESIDENT NAME:
                    ................
                    PHONE NUMBER:
                    ——————
                    ENTRY CODE:
                    ——
                    [ ] KEEP FILE
                    [ ] FIND FILE
                    [ ] DEL FILE
                    [ ] NEXT FILE
                    [ ] CLEAR
                    [ ] QUIT

Figure 7

Figure 6

Summary of Contents for Minipak 4000

Page 1: ...1 MP 4000 October 29 2004 255 Glider Circle Corona CA 92880 951 371 1730 FAX 951 371 2592 www TrigonElectronics com INSTALLATION OPERATION INSTRUCTIONS Minipak 4000 Multiple Resident Telephone Entry S...

Page 2: ...en Duration 7 Instruction Screen Duration 7 Set Inverse Screen Mode 7 Dense Mode 7 CLOCK CONTROL SCREEN Set Date and Time 7 Set Relay Backlight ON OFF Timing 7 Set Program Code 8 Master Erase 8 MESSAG...

Page 3: ...Entrance Power Cabling Shielded or Twisted 2 Conductor 18AWG up to 250 16AWG up to 500 Card Reader Interface Module Req d 18 AWG Shielded 4 to 6 Conductor Alarm Shunt Relay MINIPAK 4000 TRIGON ELECTRO...

Page 4: ...sure to use a bimetal thermal switch to prevent overheating during the summer months 1 Use the enclosed wiring diagram Fig 3 for wire connection information 2 Do not power any other device from the T...

Page 5: ...2 OUT which goes to pin 3 Rec Data of a printer RS232 port 3 BSY which goes to pin 20 Transmit Data of a printer RS232 port All access data is recorded to the printer 11 Postal Input Two screw termin...

Page 6: ...or six 5 second intervals 30 seconds Select the digit 1 9 that corresponds to the total number of gate intervals desired NOTE A 0 will allow Relay 1 or 2 to engage for a one second pulse CALL LENGTH C...

Page 7: ...ime you will leave this screen and go to Screen 3 Message Edit If you press the key you will move the Cursor down one line The numeric keys 0 9 are used to complete the required data inside the bracke...

Page 8: ...key the A letter is located on and 1 represents the fact A is the first letter on the key To make a B press 2 2 Again B is on the 2 key its second letter Spaces are made by pressing 1 1 The letter Q i...

Page 9: ...cursor positioned at the first entry code digit location Programming Continued RESIDENT CODE To program a listing for the electronic directory first assign a RESIDENT CODE for that tenant Only ONE li...

Page 10: ...the first position of any given listing Alphabetizing is automatic based on the first letter of each listing Look at this Example To Enter S M I T H J The letter S is on the 7 key of a Telephone Keypa...

Page 11: ...ter 8 to activate Relay 2 and disconnect Enter 9 to activate Relay 2 and continue conversation Rotary Telephones Dial 0 to activate Relay 1 and disconnect OPERATION OPERATION OPERATION OPERATION OPERA...

Page 12: ...rike Use low current strike 3 Unit transformer shared with another device i e door strike UNIT NOT DIALING 1 No phone number programmed under that resident code Reprogram and try again 2 Incorrect res...

Reviews: