


47
Log file
When the log file has been downloaded and saved, you can open the log file,
open the folder where you have saved the log file or just close the window.
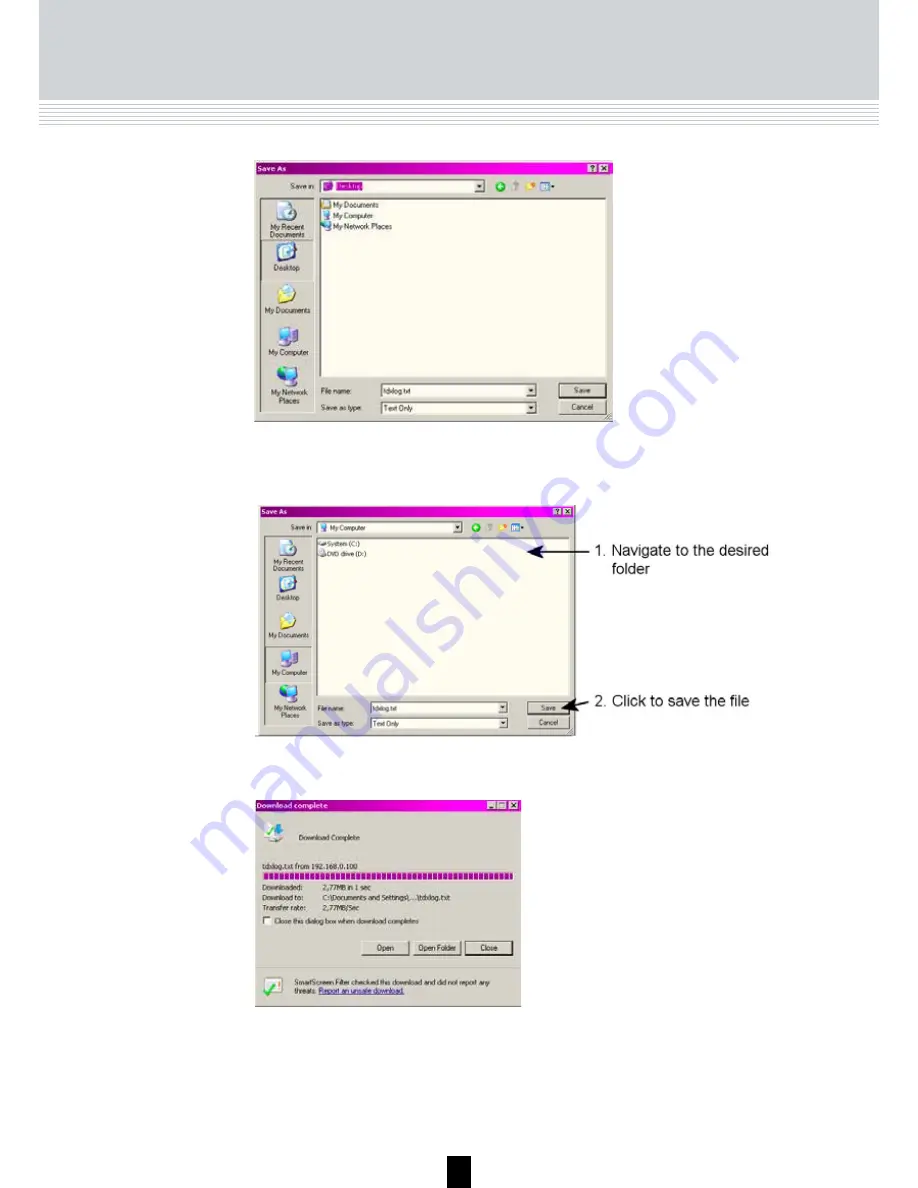
Navigate to the folder where you want to place the log file
Click the Save button to save the file.
Clicking the Save button displays the Download window.
When you close the Download window you return automatically to the Ad-
ministration window. Close this window by clicking the OK or Cancel button.
Summary of Contents for 492090
Page 1: ...GB 891072E TDX Headend Unit Art No 492090 User guide...
Page 58: ...58 Your notes...
Page 59: ...59 Your notes...


