TEPP User Manual
Triangulum Astro Kft.
4
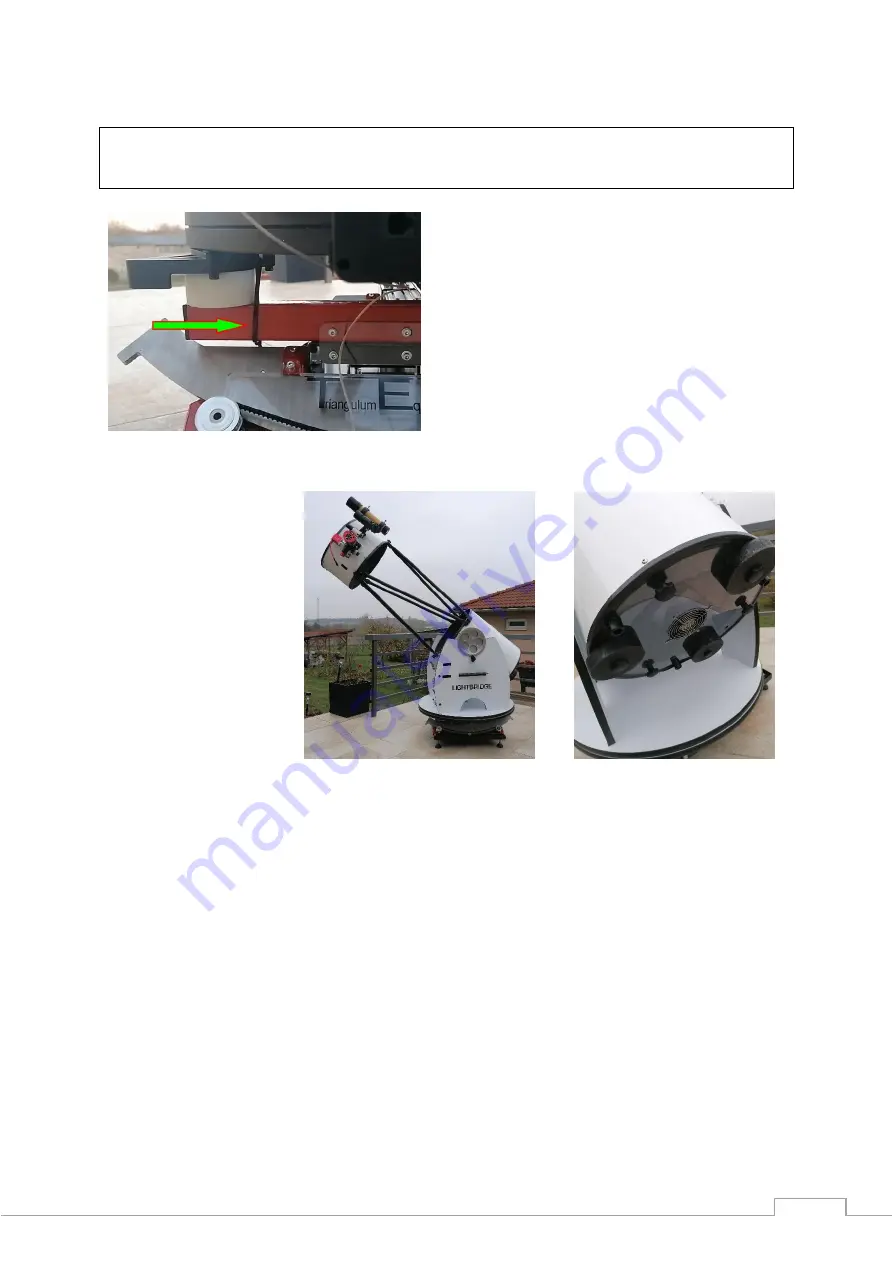
IMPORTANT NOTE! Always make sure, that the base of your telescope is fixed to the
TEPP, and it cannot fall off! Manufacturer doesn’t take any responsibility if your
telescope is fall off of the TEPP because of a non appropriate mounting!
If you cannot use the center point of the base for
mounting, use cable ties right next to the rubber
legs of the upper part of the platform. This makes
your setup stable enough not to fall off, even in a
windy weather.
The last step is to place
your telescope and the
accessories onto the
base,
and keep the
center of gravity as low
as possible! In order to
do that, you may use
extra weights at the main
mirror
side
of
the
telescope.
This
way
you’ll be able to achieve
more accurate guiding
.
2.3 Precision Polar Alignment
To get more precise polar aligment you can follow the steps of the Scheiner method. A detailed
description can be found on the webpage below (note: for this method, you have to start the
platform first):
Scheiner method:
http://www.grnbrg.org/polar_align/guidingsim.html
2.4 Finding the Target Object
Since TEPP is already operating in clock-machine mode (TEPP is turned on), as a first step,
manually set up the direction with the help of the finder scope, or with a lasepointer. Now you
can calibrate and finetune the position with the remote controller, untill the target is in the
middle of the frame. It is recommended to doublecheck the position through the ocular first,
then setting up the camera itself. After repeated recalibration of the frame (putting the target
into the very middle of the frame), you can start the calibration of tracking. With some practice,
this all setup takes less than 10 minutes, so you will have 100 minutes to take pictures before
TEPP stops.


