11
For answers to your questions, call 1-877-339-7505
Brake Levers
The TravelScoot does not have automatic brakes. Instead, it uses band brakes. Band brakes are very effective, even on downhill
grades. Each rear wheel has its own band brake that is controlled by the corresponding lever. For maximum stopping power, both
brake levers must be applied. Safety dictates, however, that while driving downhill, to never exceed a speed faster than you could
walk. Caution is also advised on steeper uphill grades when forced to stop. The band brakes are less effective when rolling
backwards. Therefore, it is advisable to avoid riding up or down steep inclines and, instead, get off and push the TravelScoot to a
more level location.
Do not apply the throttle while engaging the brakes.
This could result in tipping.
Parking Brakes
Seat Spacers
Turning with your TravelScoot
Left turns:
Because the drive motor is located on the left-rear wheel of the TravelScoot, left turns from a stopped position are only
possible with the front wheel turned no more than 45 degrees. If you attempt to accelerate from a stopped position with the front
wheel turned more than 45 degrees to the left, this
will result in blocking the drive and “pushing” the front wheel. If this is done on
any sort of uneven terrain, it could result in an uncontrolled situation. Turning left with the front wheel less than 45 degrees still
provides an adequate amount of maneuverability similar to that of a four-wheeled scooter. However, when already in motion,
tighter turns are possible.
Right Turns:
Right turns on the TravelScoot are where its agility and nimbleness really shine through. Right turns of up to 90
degrees from a stopped position are possible, but be sure to use very little throttle when doing so. The TravelScoot virtually turns
on the spot. Practicing your turns on the TravelScoot will be invaluable in situations where there may not be much room such as on
elevators or in public restrooms. You will learn to approach these confined spaces so that you can exit with a right turn.
Travel
Air Travel
Policies and handling practices differ from one airline to another. We recommend that you contact your airline
’s
Special Needs
Coordinator, or equivalent, well in advance for specific information regarding air travel for passengers with mobility devices.
Request your approval confirmation in writing if possible. Do not expect each airline agent to be familiar with the many policies and
regulations that pertain to mobility devices.
Note: The TravelScoot was designed with air travel in mind. Customers have been travelling by air using the TravelScoot since 2004.
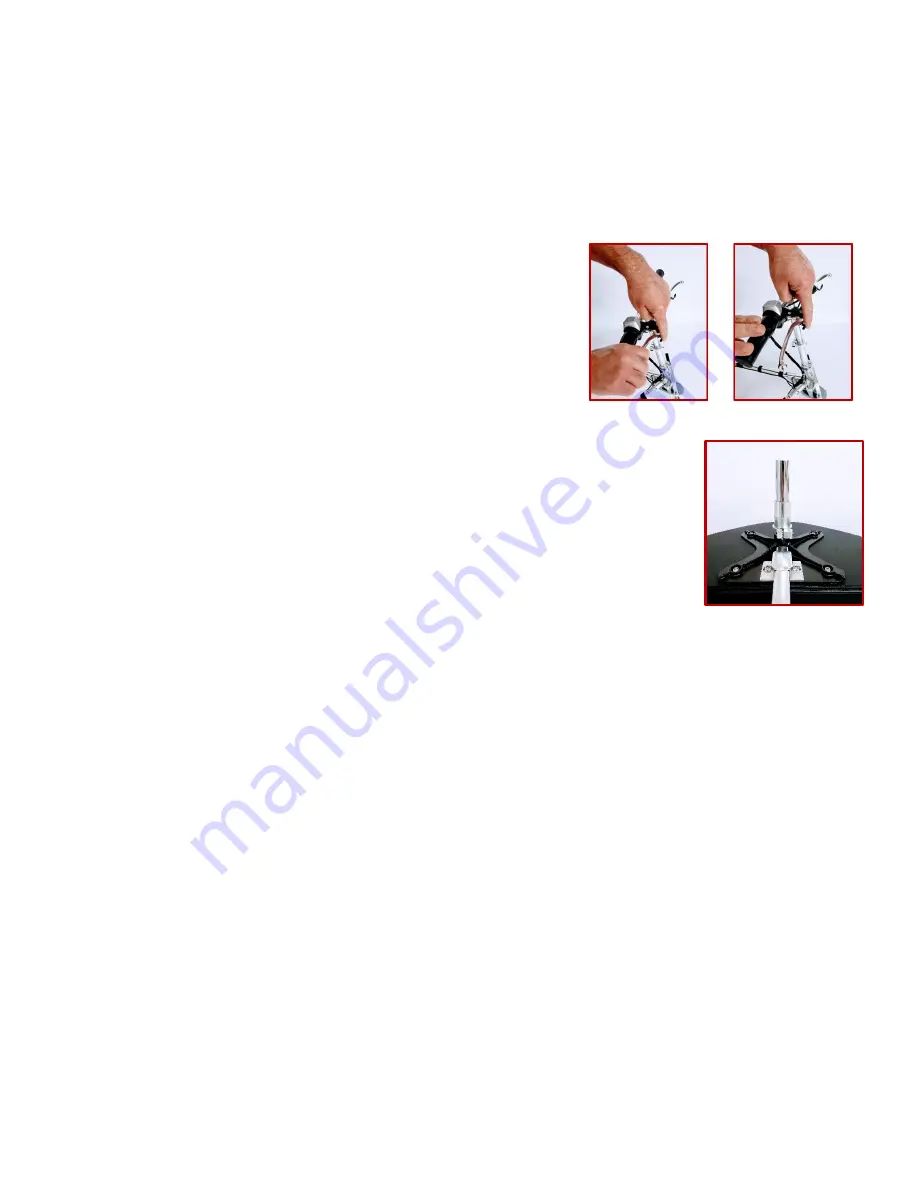
Both brake levers are equipped with a parking brake. It is strongly advised to use
the parking brakes before getting off or on your scooter, on slopes, or uneven
terrain. To engage, squeeze the brake lever with one hand while simultaneously
using your other hand’s index finger to press the parking brake lever in. The
parking brake lever is “set” when you feel a click on one of the two
settings (low
or high). To disengage, simply squeeze the brake lever until the parking brake
lever releases.
Included with your TravelScoot are two seat spacers (1 inch and 1.5 inches). They are to be used to
raise the seat up to two and a half inches to maintain seat height. Once the desired height has been
determined, the spacers can be attached to the seat post using adhesive tape, Loctite, silicone,
epoxy, etc. When attaching the yoke, ensure that there are no gaps between the seat spacers and
the yoke.


