RoadHawk, c/o Trakm8
Unit 9B, Callywith Gate Ind Est,
Bodmin, PL31 2RQ
Tel. 01208 269 159
Web. www.roadhawk.co.uk
User Guide: SD Memory Card
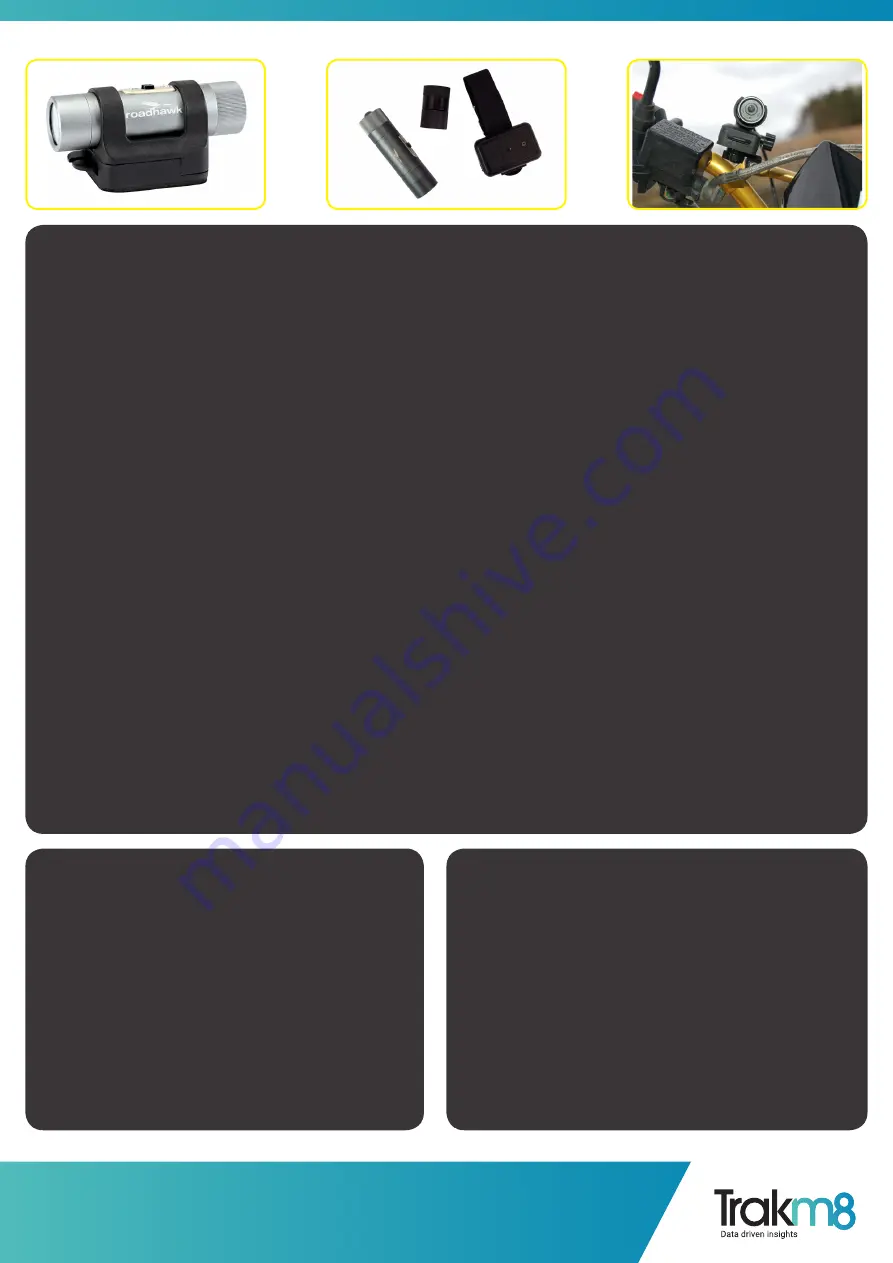
Video is stored on a MicroSD card which is inserted in to the rear of the camera.
The 8Gb MicroSD card supplied with the camera will hold around 1.5 hours of video at 1080p at its highest quality setting. Once the
card is full, with the camera in standard mode you will not be able to continue recording.
In ‘loop recording’ mode the camera will delete the earliest 15 minutes of recording and continue to write to the memory card.
Please copy any videos you wish to keep from the camera and format the card to make more space.
To insert the SD card:
Remove the screw-on end cap.
Gently insert the MicroSD card with the writing facing up and push until it clicks and holds in to place.
The SD card should not be protruding from the back plate of the camera when fully inserted.
Tighten the screw-on cap. Make sure it is screwed on very tight as this creates the waterproof seal for the camera.
Never force the MicroSD card in to the slot.
A note about SD memory cards:
We recommend using high quality, branded SD cards with your bullet camera.
Memory cards should be rated class 6 or higher.
You can use 4Gb to 32Gb Micro SD cards in this camera.
From time to time, SD cards can become corrupt causing the camera to not record video or to create corrupted video files. You
should format your SD card on a regular basis to minimise the risk of the card becoming corrupt.
Formatting the SD card will wipe it clean and delete any videos you might have recorded.
To format the SD card PC:
Plug the camera in to a USB port on your computer.
Go to the start button in windows and select “Computer”.
Locate the drive that represents the SD card in your
camera.
Right click on the drive and click on Format. Check “quick
format” and follow the on screen instructions.
To format the SD card MAC:
Connect the camera to a USB port on your computer.
Open your “disk utility” application (hint: press CMD + SPACE
and type in disk utility).
On the left side, click on the disk the represents the SD card in
the camera.
Click on the ERASE tab.
Make sure the drop down box says MS-DOS (FAT).
Click ERASE.
MA
Y16004


