!
11!
www.tpcdental.com!
Laguna!2000!
Electromechanical!Patient!Chair!
Operating!instructions!
Page 1: ...1 www tpcdental com www tpcdental com Laguna 2000 Electromechanical Patient Chair Installation Operation User Manual TPC 851 S Lawson St City Of Industry CA 91748 P626 810 4337 Fax 626 810 4245...
Page 2: ...Table on Contents Page GENERAL INFORMATION 3 Installation and coordination 5 Motion Limit Controls 10 Operation instructions 11 Overview of controls 12 Main PCB Board 14 CLEANING DISINFECTING GUIDE 18...
Page 3: ...bel is located on the front lower left cover under the seat cushion The dental chair is marked with a Risk Class symbol This label is located on the front of the dental chair base next to the main pow...
Page 4: ...r forklift to move the dental chair Do not attempt to move stacked dental chairs Only store the dental chair in dry cool place The dental chair is marked with a main electrical grounding point symbol...
Page 5: ...port arm to the backrest bracket Use the three supplied Allen screws 2 Install chair backrest as shown in the images below Using the 8 Allen screws secure the backrest frame in place 3 Remove the side...
Page 6: ...ww tpcdental com www tpcdental com 4 Install the chair bracket as shown use the included 4 Allen screws 5 Re install the chair side cover once the bracket is installed 6 Mount the Cup to the chair bra...
Page 7: ...al com 7 Install the backrest cushion onto the frame Make sure you align the mounting points before sliding into place 8 Install the seat cushion onto the seat frame Make sure you align the mounting p...
Page 8: ...tpcdental com 9 Once you have confirmed the seat cushion is in place slide it toward the backrest to lock it in place Secure the seat cushion in place using the two supplied Allen screws 10 Insert th...
Page 9: ...9 www tpcdental com www tpcdental com 11 Install the Pump cover and rear base covers Use the supplied screws to secure the covers in place...
Page 10: ...e nut is not secured you can adjust the switches position to activate at a different height Once adjusted secure the adjusting nut Emergency Stop Button The dental chair possesses an emergency stop bu...
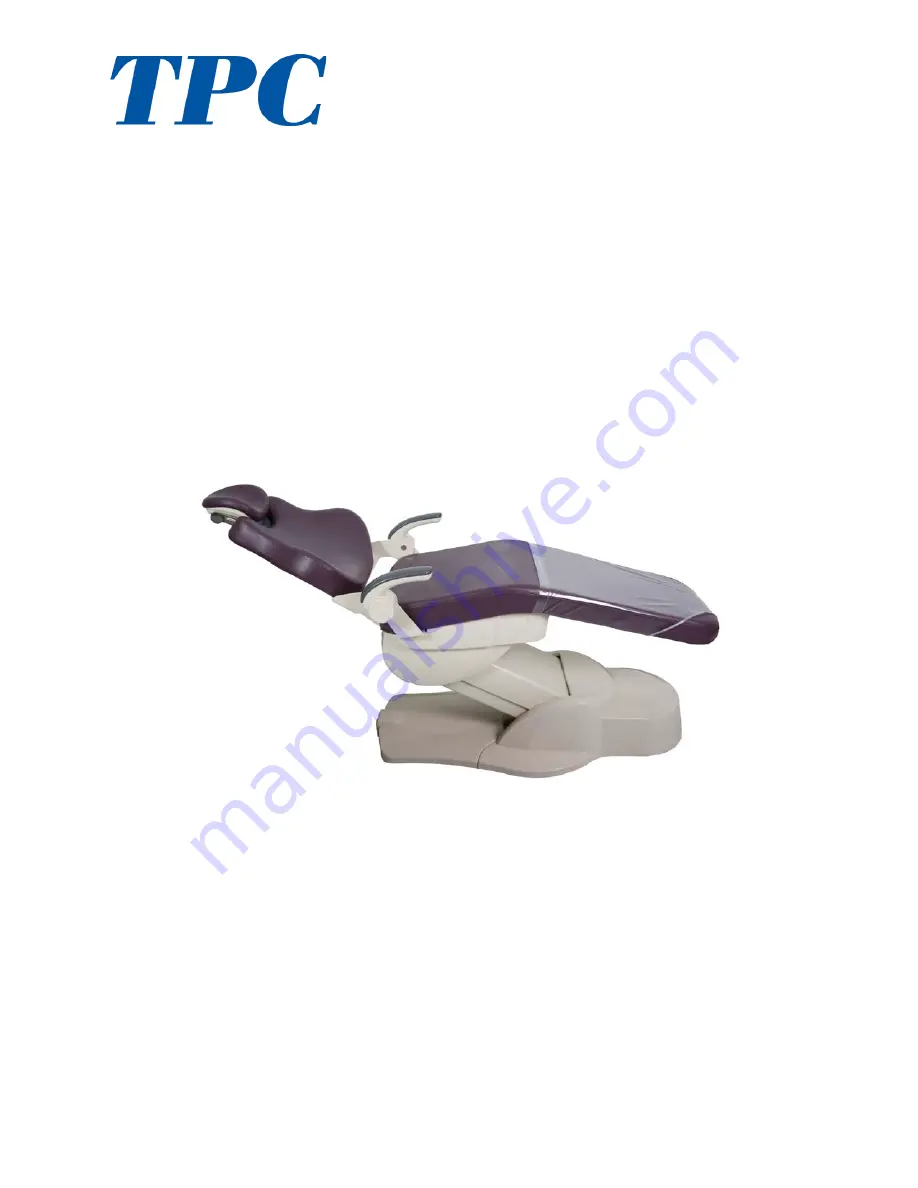
Page 11: ...11 www tpcdental com Laguna 2000 Electromechanical Patient Chair Operating instructions...
Page 12: ...o recline press down on left side of foot control disc 3 Preset Operation Momentarily press pre set switch 1 or 2 on the foot control 4 Automatic Return Momentarily press 0 switch on foot control to a...
Page 13: ...rneath 7 Armrest Rotation Either armrest can be rotated upward by grasping the end portion of armrest pulling upward 8 Headrest Adjustments Height of headrest can be adjusted simply by pulling headres...
Page 14: ...14 www tpcdental com...
Page 15: ...15 www tpcdental com...
Page 16: ...16 www tpcdental com...
Page 17: ...17 www tpcdental com...
Page 18: ...sinfectant to soak in or dry on the surface wipe off with soap and water PLEASE KEEP LIQUIDS AWAY FROM ELECTRICAL CONNECTIONS Most electrical control switches ARE NOT hermetically sealed When a switch...
Page 19: ...ms against the freight carrier must be initiated at the time the damaged items are received The claim is the responsibility of the customer We are improving our products on a continuous basis We reser...
Page 20: ...when motor is running Squealing Damage to drive extension Check drive extension for damage Dental Chair does not go low or high enough Limit switch moved or is damaged Adjust limit switch or replace i...
Page 21: ...of 600 lbs or damage may occur Don t let more than one patient sit in the chair at one time Don t stand anywhere on the dental chair Don t operate the dental chair around any flammable liquids Don t...
Page 22: ...e screws shown 2 Remove the front cover 3 Remove the bracket cup from the chair bracket 4 Install bracket onto the dental chair 5 Install the side cover over the bracket as shown Repalce screws 7 Re i...
Page 23: ...ight head to arm Switch on off Adjustment To switch the lamp On and Off press and release the switch to the LEFT or RIGHT side When the lamp is switched On Off the device will beep once DON T push and...
Page 24: ...1 www tpcdental com Mirage Dental Delivery Unit Model 2000 2015 Installation Instructions TPC 851 S Lawson St City Of Industry CA 91748 P626 810 4337 Fax 626 810 4245...
Page 25: ...Inventory 3 Installation and coordination 4 Optional Cuspidor Installation 10 Cuspidor Plumbing Connections 11 Junction Box Connections 12 Post Mount Utility Center Adjustments 13 Pressure Adjustment...
Page 26: ...Cosmetic beauty ring 2 Post mount utility center Utility center Junction box frame cover Master controls attached to the umbilical Misc beauty rings and quick connects HEV SE valves with tubing Water...
Page 27: ...w 3 Leveling Chair bracket The chair bracket has a total of 8 set screws Use the lower set screws to adjust the PMU left right front and back This will make large adjustments to the tilt of the post t...
Page 28: ...verify if the PMU is aligned straight with dental chair armrest Then proceed to tighten the set screws 5 Verify the PMU is level before tightening the set screws on chair bracket There are 8 set screw...
Page 29: ...adjust its angle 7 Remove the PMU side cover To remove it pull on the lower lip to detach its magnetic connection Place it out of the way to ensure it does not get damaged This side cover will remain...
Page 30: ...e set screw to secure the light post in place 9 Take the delivery unit flex arm out and place the additional cosmetic ring on it as shown below Once in place take all lines and feed it through the bus...
Page 31: ...ou fed through in the previous step Take the touch pad wire shown below and feed it through the chair bracket as shown 11 Route the touch pad cable along the chair bracket channel Then feed it through...
Page 32: ...the flex arm Grey female from umbilical to Grey male from the flex arm Purple female from umbilical to Purple male from the flex arm Dark Red female from umbilical to Dark Red male from the flex arm B...
Page 33: ...he cuspidor is completely seated in the bushing 15 Take the cup fill and bowl rinse spout and insert them into the corresponding sockets When inserting the spouts into the sockets make note of the not...
Page 34: ...p 17 Remove the cap from the large water supply line Connect the water supply line to the cuspidor Remove the cap from the signal air line then connect it to the cuspidor 18 The 2000C cuspidor possess...
Page 35: ...ge blue line that exits the back of the master control valve 21 Once the connections are made you may open the angle stops or equivalent shut off valve Once the valve is open you may check the mater c...
Page 36: ...to supply the bottle Tension Adjustments 2 In a situation that you need to add tension to the delivery unit flex arms please see the following locations NOTE tension adjustments are only a temporary f...
Page 37: ...arm See image Once the screws are loose use the two adjustment screws in the center on each side to level the head To adjust the unit head tilt remove the flex arm end cap closest to the delivery uni...
Page 38: ...rom umbilical to delivery unit arm 1 Yellow 6 X 4 Supply line T to unit head 2 Black 6 X 4 from output from foot control 3 Small Yellow Small Yellow Master Switch return 4 Small Gray Small Gray supply...