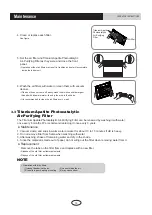
Open the front panel, remove the 4 screws and dis-
mount the front grille while pulling it forward.
Follow the procedure below when removing the slit
portions.
Front panel
Open the front panel
Remove
front grille
Casing
Front
grille
Remove 4 screws
3 tabs
For Moldings
Remove the pillars. (Remove the slit portions on the
bottom frame using nippers.)
For Side Piping
Remove the pillars.
1)Remove the 7screws.
2)Remove the upper casing (2 tabs).
3)Remove the left and right casings (2 tabs on each
side ).
4)Remove the slit portions on the bottom frame and
casings using nippers .
5)Return by following the steps in reverse order(3>2>
1).
3)Side
casings
2)Upper casing
3)Side
casings
Remove the pillar
Remove 7 screws
Casing
Remove the pillar
Casing
Remove the pillar
Bottom frame
Secure using 6 screws for floor installations.(Do not forget to secure to the rear wall.)
For wall installations, secure the mounting plate using 5 screws and the indoor unit using 4 screws.
Follow the arrows to disengage the clasps on the
front case to remove it.
Installing indoor unit
1.Preparation
2.Installation
2
3
INSTALLATION INSTRUCTIONS
Installation of indoor unit


