8
Set up
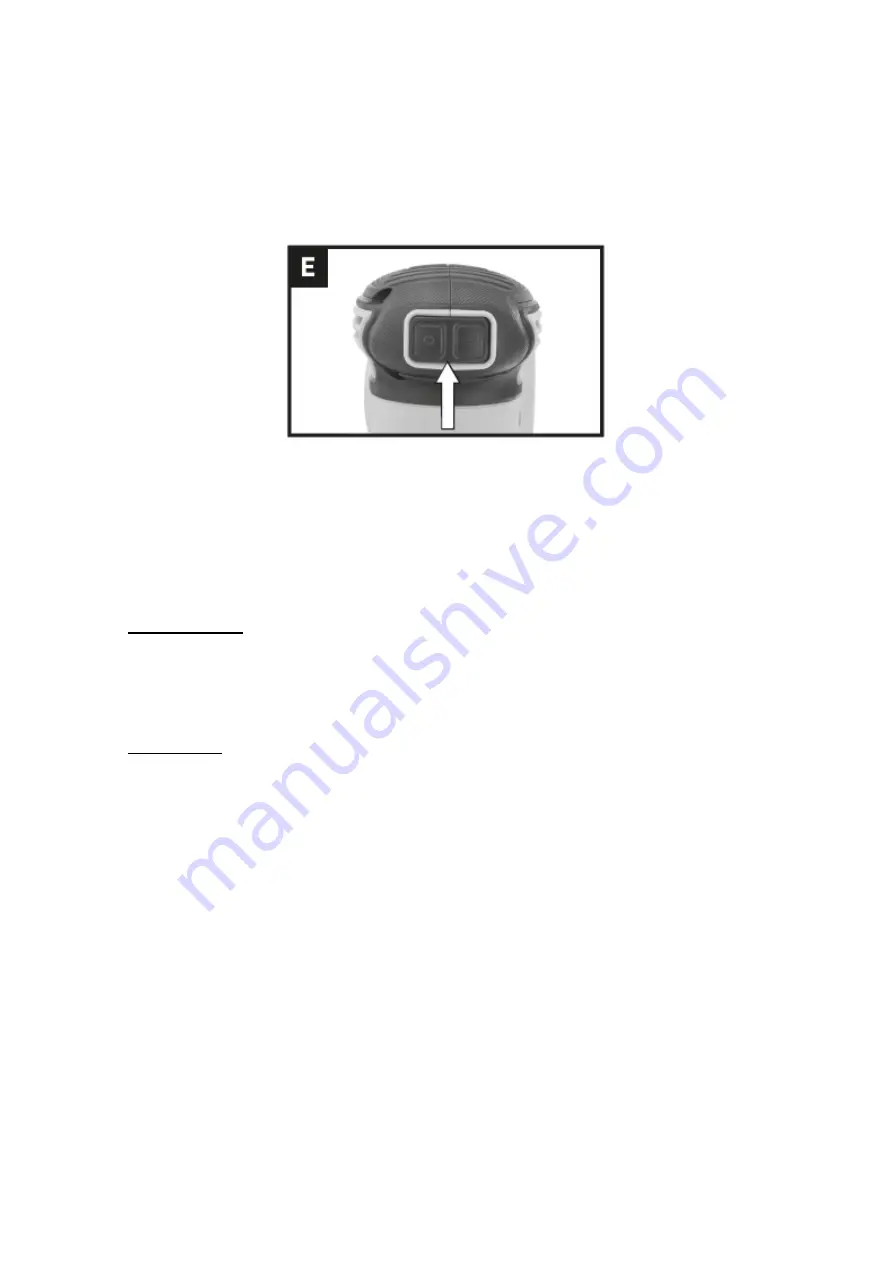
ON/OFF switch (see fig. E)
•
To turn on your sander, press the protective cover over the switch indicated by
the "I" mark.
•
To stop your sander, press the protective cover indicated by the "0" mark.
Note: Before using the tool, please read the instruction book carefully.
Surface sanding
•
Place the machine with the full sandpaper on the surface to be worked on.
•
Ensure even sanding pressure:
Less sanding pressure increases sanding capacity and protects the machine and
sanding tool.
•
Sanding capacity and pattern are primarily determined by sandpaper selection
(grit size), sanding pad spin speed, and applied pressure.
Coarse sanding
•
Place coarse grit sandpaper in the machine.
•
Apply only light sanding pressure to achieve greater stock removal.
Fine sanding
•
Put a fine grit sandpaper on the machine.
•
Using moderate pressure, move the machine in a circular pattern or alternately
in the longitudinal and transverse directions over the work piece.
•
Do not tilt the machine to avoid sanding through the workpiece (eg when sanding
sheet metal).
•
After finishing work, turn off the machine and lift it off the workpiece.
Orbital sanding
•
Guide your sander parallel to the work surface and move it in circles or in a cross
pattern.
•
Do not pick up the tool to avoid unwanted deep sanding marks.
•
The amount of material removed is determined by the speed of the sanding disc
and the grit size used.
•
The speed of the sanding disc decreases in relation to the pressure applied to
the tool.
•
For faster removal, don't increase the pressure on the tool, but use a coarser grit
size.
Summary of Contents for TRDSLI2001
Page 1: ...1 v BATTERY ORBIT SANDER...
Page 12: ...12 BATTERY ORBIT SANDER...


