5-3. Electrical adjustment
5-3-1. Menu selection
1-38
Step
Figure
Explanation
5
6
7
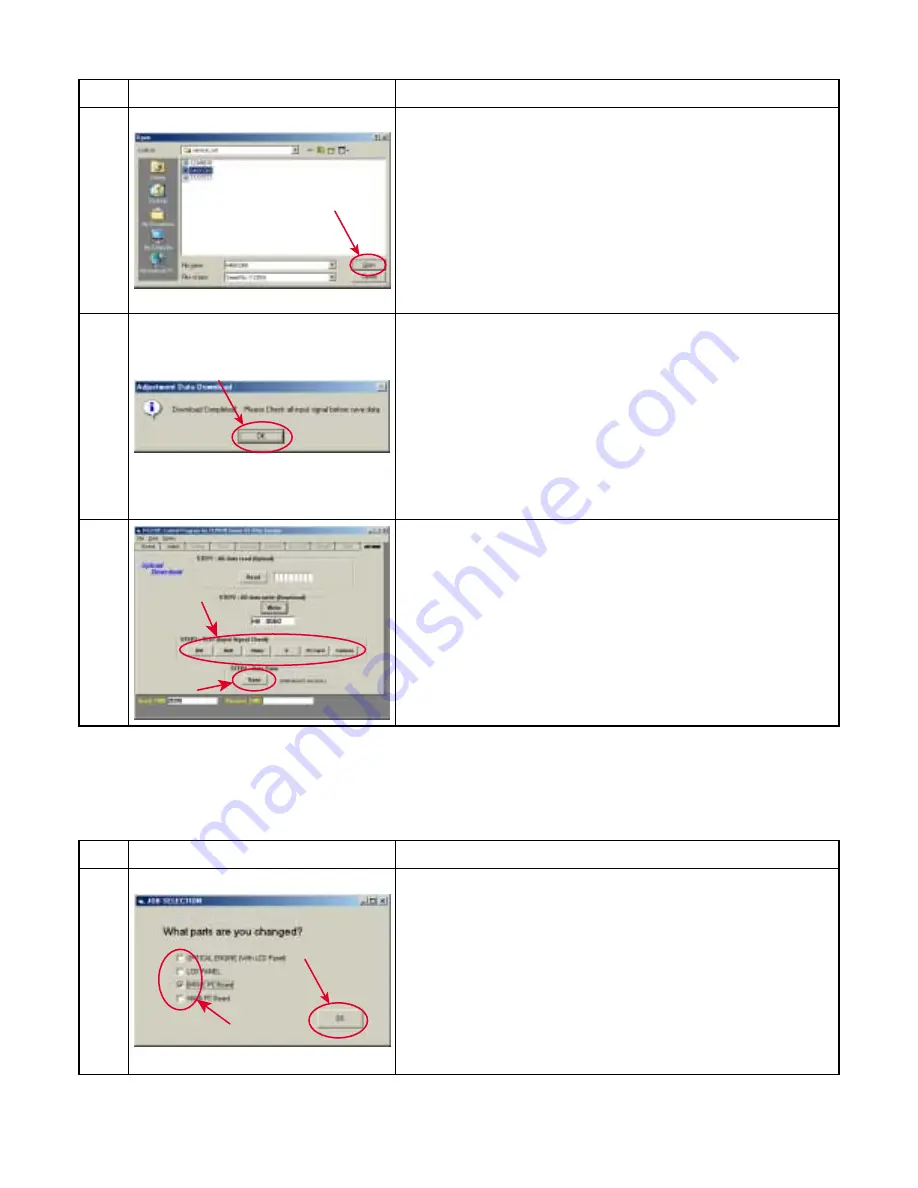
When this dialog is indicated, select the data file (=Serial
Number).
Press [Open] button.
When this message screen appears, press [ok] button.
Then, all data (in the old PCB) will be written to the
projector.
Check the all input signals.
All input signals is fare, press [Save] Button.
Step
Figure
Explanation
1
Start the download software (TLPX10S.exe).
Select the parts that you changed.
Press [OK] button.


