b. Place the printer in the square-shaped filler panel.
c. Route the keyboard cable to the side of the tab as shown in Figure 3 on
page 4.
d. Route all cables attached to the printer through the center opening of the
system unit and place the printer (with its filler panel, if it is a single-station
printer) on the system unit.
e. If you have additional fillers to install, go to “Installing fillers for the SJ6
printer.”
f. Lift the system unit rear cover and attach any cables from the printer to the
system unit. (If this is a EIA-232-attached printer, reattach the brick power
cord if you had to detach it to route it through the center opening.)
7. Turn
On
the printer:
v
Connect the power adapter supply cable to a properly wired and grounded
AC power source.
v
Turn
On
the power switch
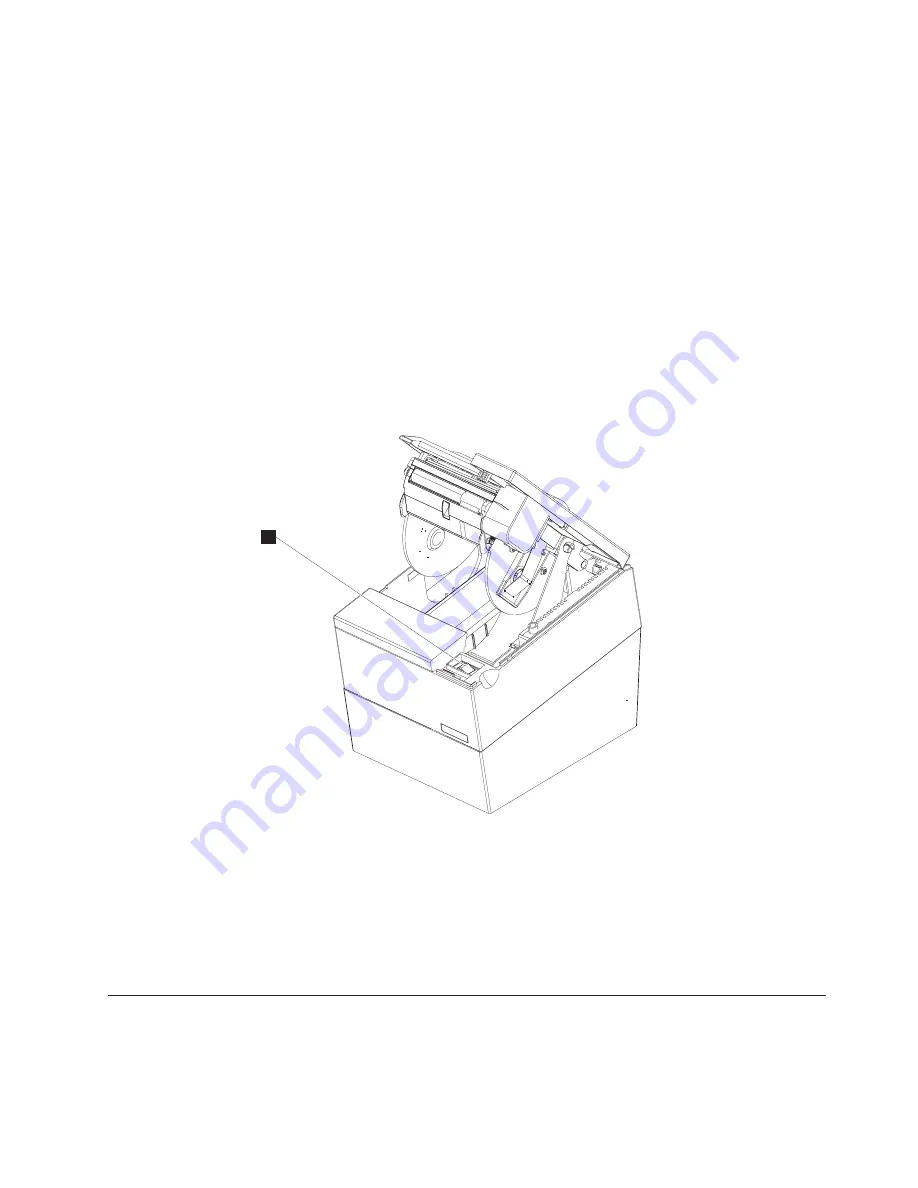
A
under the top cover of the printer.
8. Load the paper roll into the printer. See “Paper loading” on page 8 for the
proper procedure.
9. Initial installation is now complete. Go to Chapter 3, “Testing and problem
analysis,” on page 11 for further instructions.
10. Fiscalization – Refer to local procedures for the steps needed to place the
fiscal printer into service.
Installing fillers for the SJ6 printer
Notes:
1. On an integrated unit, pull out on the locking lever at the left side of system unit.
A
Figure 2. Power switch
Chapter 1. Installation instructions
3
|
|
|
|
|
|
|
|
|
Summary of Contents for SureMark 4610-SJ6
Page 6: ...vi 4610 SJ6 Fiscal Printer User s Guide ...
Page 8: ...viii 4610 SJ6 Fiscal Printer User s Guide ...
Page 12: ...xii 4610 SJ6 Fiscal Printer User s Guide ...
Page 14: ...xiv 4610 SJ6 Fiscal Printer User s Guide ...
Page 16: ...xvi 4610 SJ6 Fiscal Printer User s Guide ...
Page 22: ...6 4610 SJ6 Fiscal Printer User s Guide ...
Page 26: ...10 4610 SJ6 Fiscal Printer User s Guide ...


