7
Introduction
Notes on discs
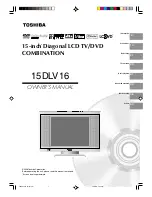
On handling discs
Do not touch the playback side of the disc.
Do not attach paper or tape to discs.
On cleaning discs
Fingerprints and dust on the disc cause picture and
sound deterioration. Wipe the disc from the center
outwards with a soft cloth. Always keep the disc
clean.
If you cannot wipe off the dust with a soft cloth, wipe
the disc lightly with a slightly moistened soft cloth and
finish with a dry cloth.
Do not use any type of solvent such as thinner,
benzine, commercially available cleaners or antistatic
spray for vinyl LPs. It may damage the disc.
On storing discs
Do not store discs in a place subject to direct sunlight
or near heat sources.
Do not store discs in places subject to moisture and
dust such as a bathroom or near a humidifier.
Store discs vertically in a case. Stacking or placing
objects on discs outside of their case may cause
warping.
Playback side
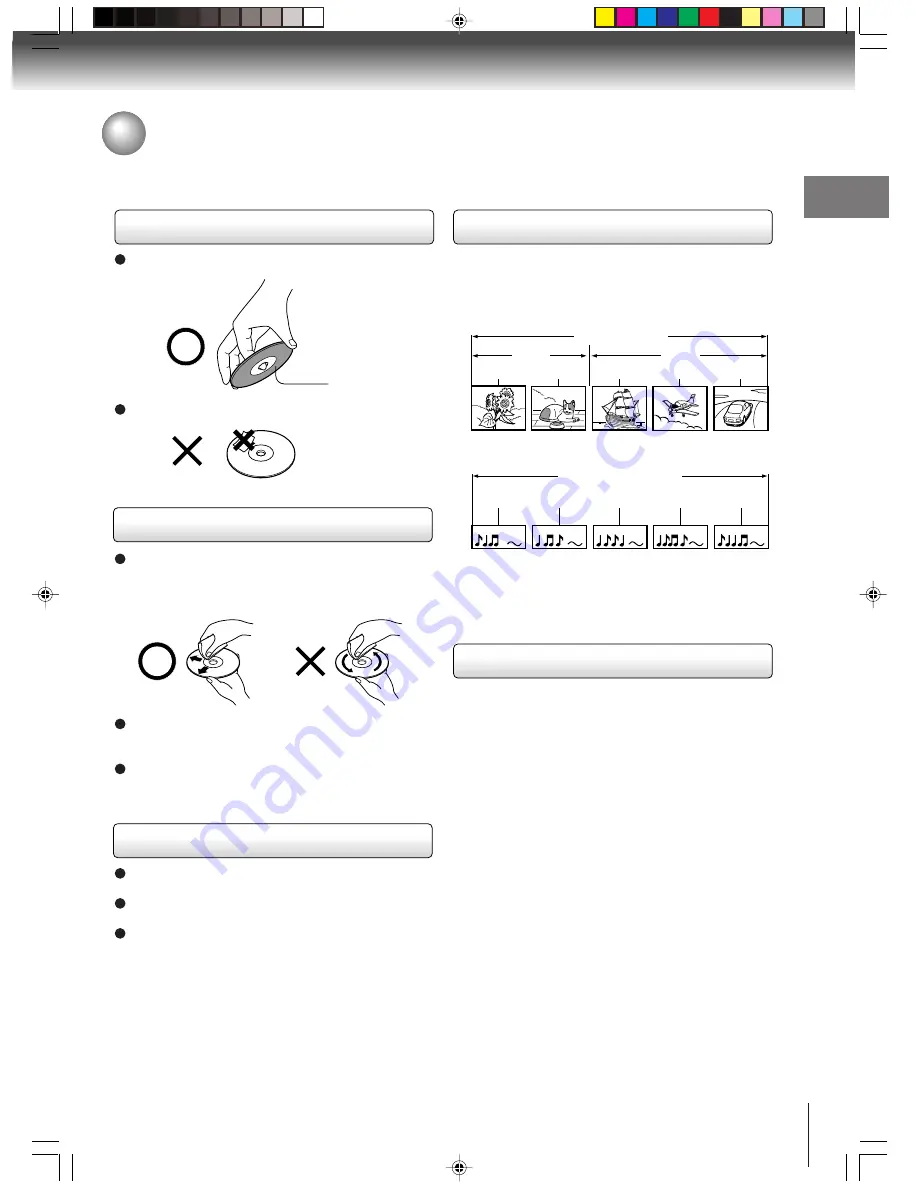
DVD video disc
Title 1
Title 2
Chapter 1
Chapter 2
Chapter 1
Chapter 2
Chapter 3
Track 1
Track 2
Track 3
Track 4
Track 5
Structure of disc contents
Normally, DVD video discs are divided into titles, and
the titles are sub-divided into chapters. VIDEO CDs and
audio CDs are divided into tracks.
DVD video disc
Video CD/Audio CD
Each title, chapter or track is assigned a number, which
is called “title number”, “chapter number” or “track
number” respectively.
There may be discs that do not have these numbers.
Notes on copyright
It is forbidden by law to copy, broadcast, show,
broadcast on cable, play in public, and rent copyrighted
material without permission.
This device does not tape-record copy protected DVD
Video Discs.
The device is not to be used for copying copyrighted
content without the express written permission of the
copyright owner.
Obtaining such permission is the sole responsibility of
the user.
This product incorporates copyright protection
technology that is protected by method claims of certain
U.S. patents and other intellectual property rights
owned by Macrovision Corporation and other rights
owners. Use of this copyright protection technology
must be authorized by Macrovision Corporation, and is
intended for home and other limited viewing uses only
unless otherwise authorized by Macrovision
Corporation. Reverse engineering or disassembly is
prohibited.
Video CD/Audio CD
J2D8
1
701A (E)p02-13.p65 28/5/04, 1:39 PM
7