


59
Getting Started
Using the computer for the first time
5.375 x 8.375 ver 2.3
Using the computer for the first time
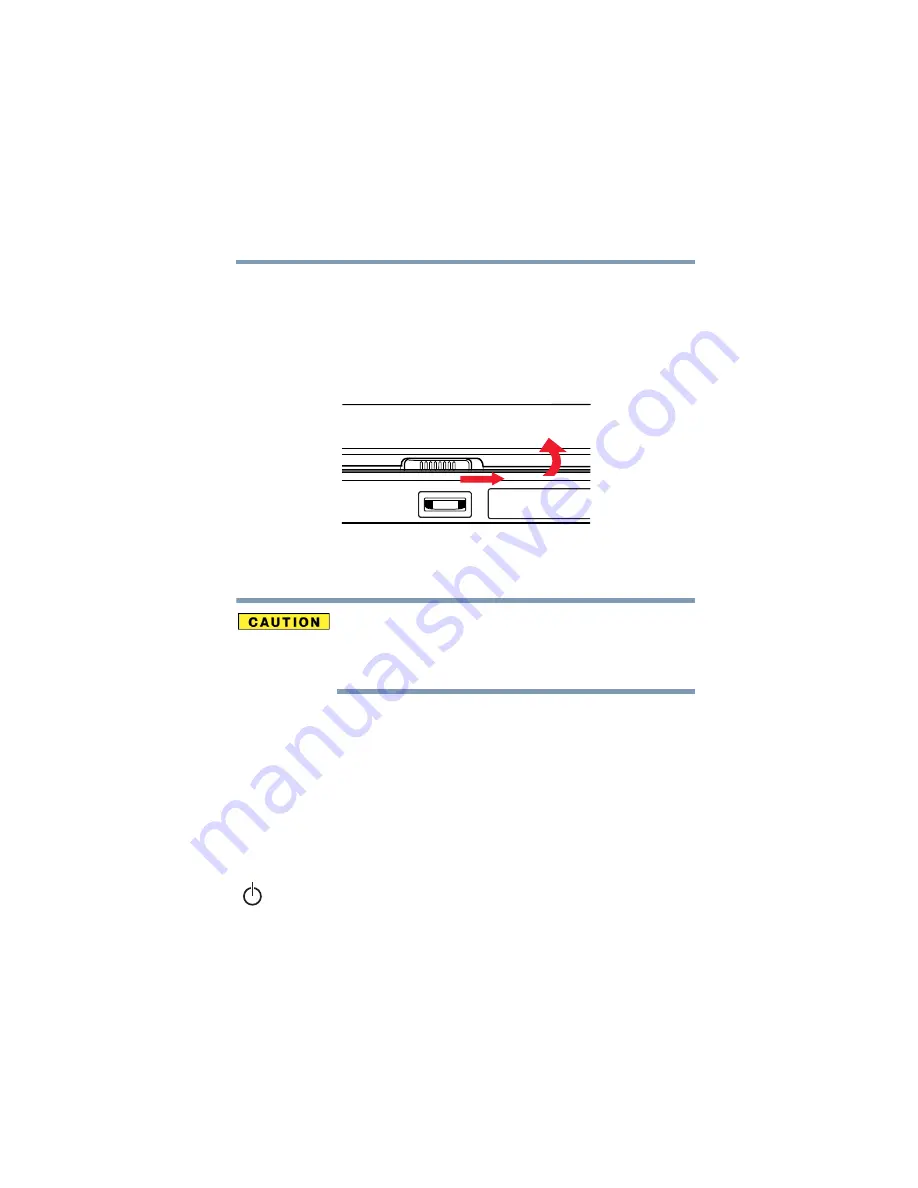
Opening the display panel
Slide the display latch to the right and lift the display panel
.
Opening the display panel
To avoid damaging the display panel, don’t force it beyond the
point where it moves easily.
Never lift or move the computer using the display panel.
Small bright dots may appear on your TFT display when you
turn on your computer. Your display contains an extremely
large number of thin-film transistors (TFT) and is
manufactured using high-precision technology. Any small
bright dots that may appear on your display are an intrinsic
characteristic of the TFT manufacturing technology.
Turning on the power
1
Check that any drives on the computer are empty.
2
Turn on the computer by pressing and releasing the
power button located on the top of the keyboard. For an
illustration to help you locate this button, see
.


