


1
E
ng
lis
h
{
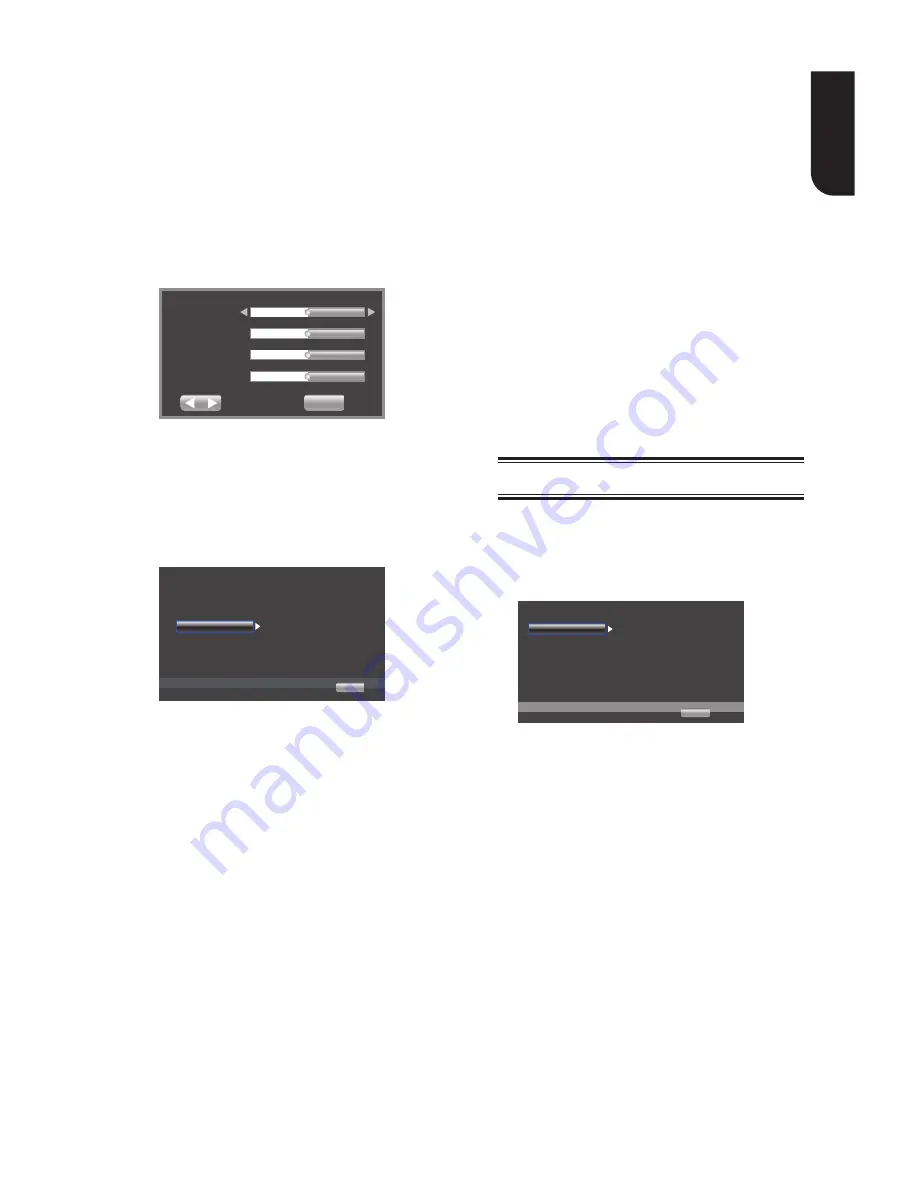
Contrast
}-..press.
/
.to.adjust.
the contrast of display, goes left
means.low.contrast.and.right.means.
high.contrast.
{
Hue
}-.press.
/
.to.adjust.the.Hue.
of display, goes left means low hue
and.right.means.high.hue.
{
Saturation
}-. press.
/
. to. adjust.
the saturation of display, goes left
means.low.Saturation.and.right.means.
high.saturation.
3..Press.RETURN.to.exit.
Brightness
Contrast
Hue
Saturation
Return Exit
Change
•
[Sharpness]
Select the level of sharpness: High,
Middle, Low
{
High
}-.Select.High.sharpness.level
{
Middle
}-.Select.Middle.sharpness.level
{
Low
}.-.Select.Low.sharpness.level
[Motion Video Process]
TV
Video Mode
Standard
Noise Reduction
0
Use cursor key to move focus,use
“OK” key ro select
Video Process
Motion Video...
Color Adjust
... Display Setting...
SETUP Exit
•
[Video Mode]
Select the output mode of video,options
include: Standard, Vivid, Cinema, Custom,
these.can.change.the.output.display.
{
Standard
}.output.video.signal.without.
any.processing.and.in.standard.mode.
{
Vivid
}.output.video.signal.in.vibrant.
color.mode.
{
Cinema
}.output.video.signal.in.cinema.
mode.
{
Custom
} you can define your own video
mode by adjusting the video Brightness,
Saturation, Hue, Contrast, Sharpness and
CTI.
•
[Color Adjust]
you can define your own Color
adjustment.when.you.select.the.Custom.
video.mode.and.you.can.adjust.the.Color.
of red, green, blue, yellow, cyan and
magenta.
{
Red
} Define your own red Color by
adjusting the brightness, saturation and hue.
{
Green
}.
Define your own green Color by
adjusting the brightness, saturation and hue.
{
Blue
}.
Define your own blue Color by
adjusting the brightness, saturation and hue.
{
Yellow
} Define your own yellow Color
by adjusting the brightness, saturation
and.hue.
{
Cyan
}
Define your own cyan Color by
adjusting the brightness, saturation and hue.
{
Magenta
}.
Define your own magenta Color
by adjusting the brightness,saturation and hue.
•
[Noise Reduction]
Reduces.the.noise.of.the.playback.picture.
{
0
}.–.Shows.the.original.picture.as.
recorded.
{
1
}.–.Executes.3D.noise.reduction.which.
detects.and.deletes.the.noise.by.
comparing.each.picture.frames.
{
2
}.–.Executes.MPEG.noise.reduction.
which.reduces.the.block.noise.and.
mosquito noise on the subtitles on the
movie.
{
3
}.–.Executes.both.MPEG.noise.
reduction.and.3D.noise.reduction.
Audio Setting
1
.
Press.SETUP
[General Setting]
menu.is.displayed.
2
.
Press
to.select.
[Audio Setting]
,
then.press.
..
3
.
Select an option, press
to.access.
SETUP Exit
Audio Output
Spdif
PCM
PCM
48K
Use cursor key to move focus,use
“OK” key ro select
HDMI
Down_samp
Off
DRC
... Audio Setting...
4
.
Press
/
to.select.a.setup.option.and
press
..
5
.
Select.the.setting.you.wish.to.change
and press OK to confirm.
-.Press
to.return.to.the.previous.
menu.
-.Press
SETUP.to.exit.the.menu..
[Audio Output]
•
[Spdif]
Select.the.output.mode.of.COAXIAL.
jack, options include Bitstream, PCM,
Reencode.and.Off.
{
Bitstream
}.–.Output.digital.signal.
without.any.processing.
{
PCM
}.–.Output.digital.signal.with.
processing, only two channels export.
{
Reencode
}.–.Auto.select.signal.type.
from.COAXIAL.jack.according.to.the.
Audio.stream.on.disc.
{
Off
}.–.No.output.for.S/PDIF.


