E-6
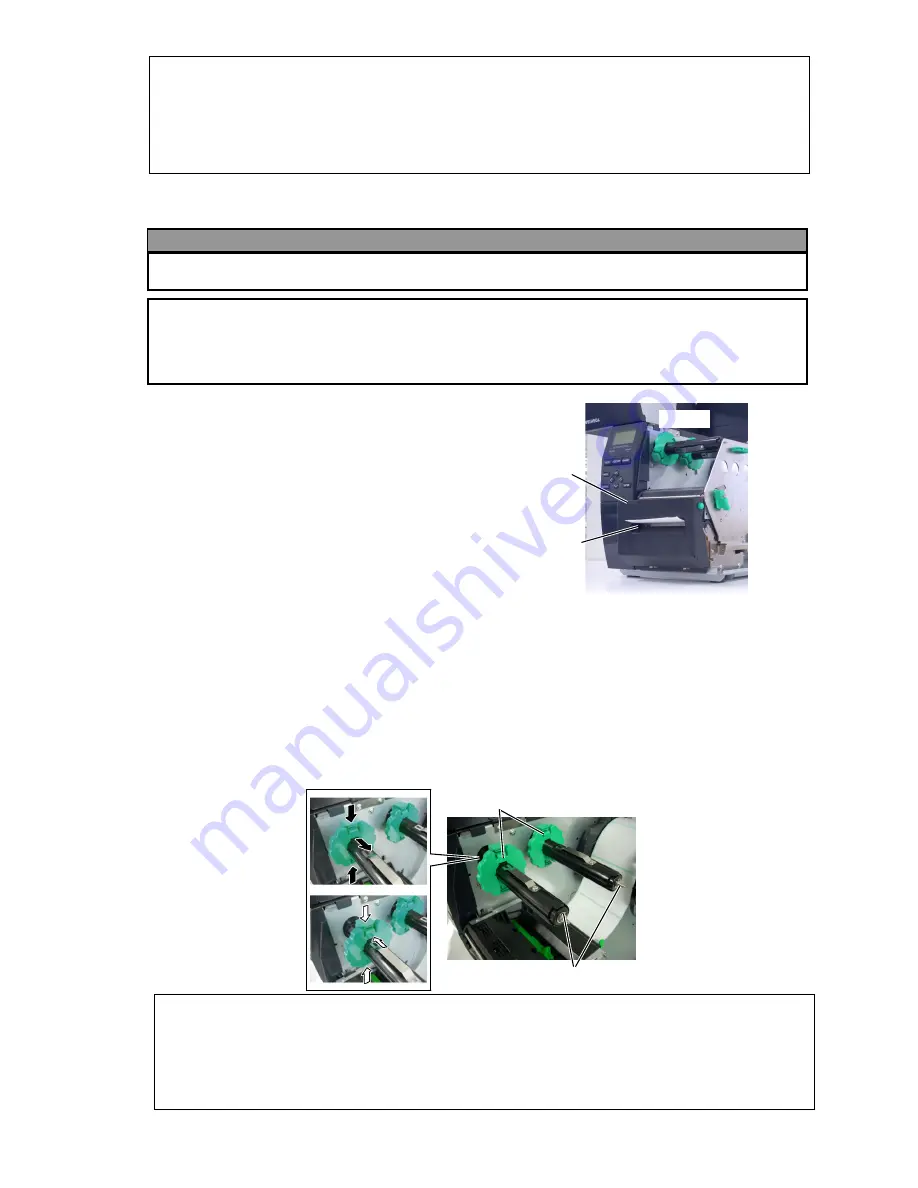
Media Outlet
Cutter Module
Loading with cutter
When the optional Cutter Module is fitted, the
media is automatically cut. A
disc
cutter
is
available as an option. Insert the leading edge
of the media into the cutter until it comes out
the Media Outlet of the Cutter Module.
3.2 Loading the Ribbon
There are two types of media available for printing on: these are thermal transfer media and direct
thermal media (a chemically treated surface). DO NOT LOAD a ribbon when using a direct thermal
media.
1. Grasp the tabs on the top and bottom of the Ribbon Stoppers and move the Ribbon Stoppers
back to the end of the Ribbon Shaft.
NOTES:
1. When attaching the ribbon stoppers, make sure that the pinchers face into the printer.
2. Be sure to remove any slack in the ribbon when printing. Printing with a wrinkled ribbon will lower the
print quality.
3. The Ribbon Sensor is mounted on the rear of the Print Head Block to detect a ribbon end. When a ribbon
end is detected, “NO RIBBON” message will appear on the display and the ERROR LED will illuminate.
WARNING!
The cutter is sharp, so care must be taken not to injure yourself when handling the cutter.
CAUTION!
1. Be sure to cut the backing paper of the label. Cutting labels will cause the glue to stick to the
cutter which may affect the cutter quality and shorten the cutter life.
2. Use of tag paper when the thickness exceeds the specified value may affect the cutter life.
NOTES:
1. Be sure to set the Selection Switch to
STANDARD/PEEL OFF
position.
2. The backing paper is easier to feed back to the Take-Up Spool if the Front Plate is removed.
3. Fit the Take-Up Clip so that the longer side of the clip is fitted into the shallow groove in the Take-Up
Spool.
4. The backing paper can be wound directly onto the Take-up Spool or a paper core.
Ribbon Stopper
Ribbon Shaft


