– 13 –
GENERAL ADJUSTMENTS
Adjust convergence from center to circumference in order.
KEY FUNCTION IN THE CONVERGENCE ADJUSTMENT:
Up :
2 button
Selet Green color:
3 button
Left :
4 button
Blinking of cursor ON/OFF:
5 button
Right:
6 button
Adjust mode ON/OFF:
7 button
Down:
8 button
Vertical stripe ON/OFF
9 button
Erase Green line:
0 button
Erase Red line:
100 button
Erase Blue line:
ENT button
Note:
Adjusting procedure in replacing convergence board.
1. User convergence center check. Make sure the best con-
vergence setting is about the center of adjustable range.
2. CENTERING ADJUSTMENT
3. PICTURE POSITION ADJUSTMENT
4. HIT, WID ADJUSTMENT
5. CONVERGENCE ADJUSTMENT
6. Execute TOUCH FOCUS following instructions displayed
on the screen after finishing CONVERGENCE ADJUST-
MENT.
7. If TOUCH FOCUS ERROR is displayed after finishing
TOUCH FOCUS, the method of CROSS-HATCH PAT-
TERN after CONVERGENCE adjustment is different from
what is exhibited on the right figure, or HARDWARE is out
of order.
RCUT
40H
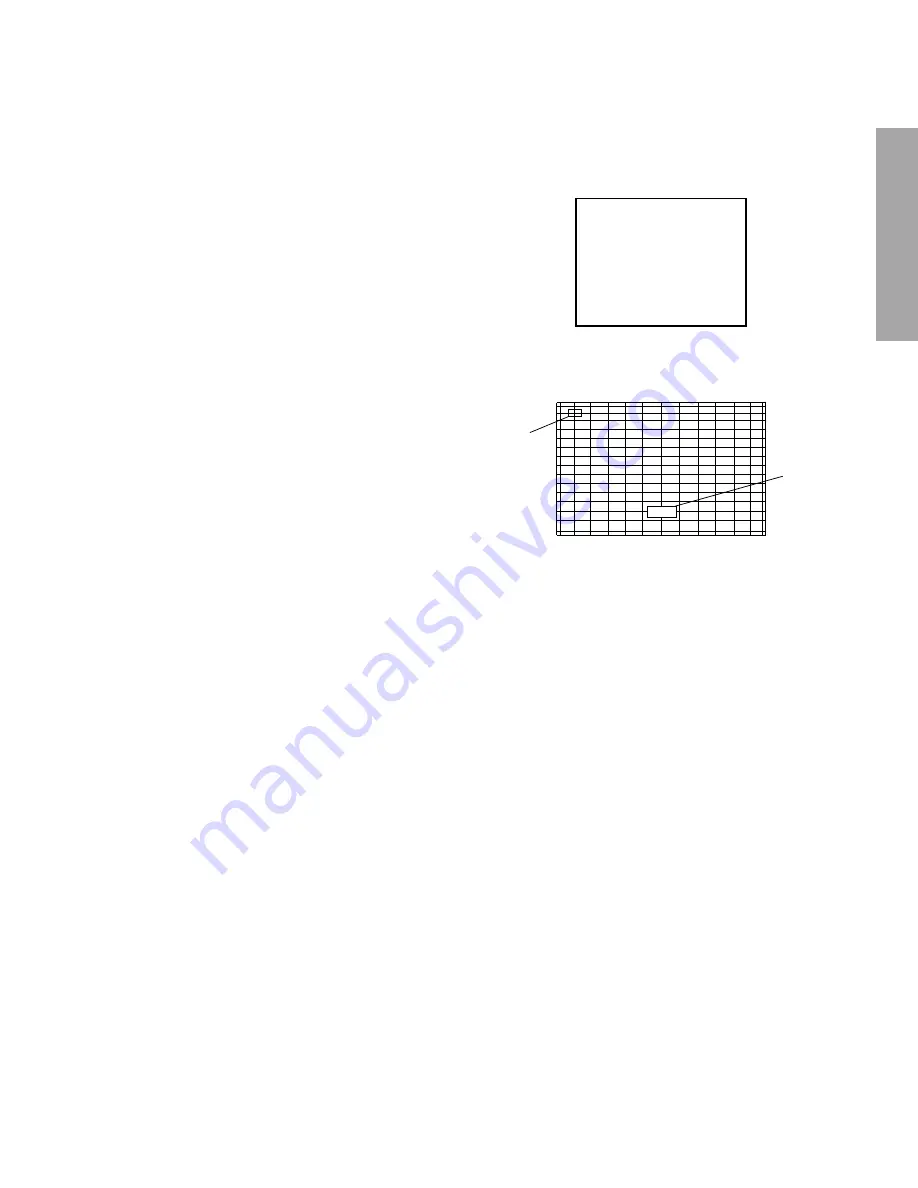
2. Press “7” button to display the built-in cross-hatch pattern
and press "9" button to display the vertical stripes.
1. Select the adjustment mode following the steps on page
9.
FULL
Cursor
X: I
Y: I
C: R
FULL
3. Adjustment around cursor can be done.
The pattern includes three colors (R, G, B).
The cursor should be blinking in Red.
This means that the Red color is adjustable.
4. Press “3” button to select Green color to be adjusted.
5. Press “5” button to stop the blinking of cursor.
6. Press “2 (up)”, “8 (down)”, “4 (left)” or “6 (right)” to obtain
the correct cross-hatch pattern as above.
If necessary, the specified color line can be erased from
the screen.
100 button ...................... to erase Red line
0 button ...................... to erase Green line
CH RTN button ...................... to erase Blue line
7. Press “5” button to make the cursor blinking.
8. Press “2”, “8”, “4”, “6” buttons to move the cursor to other
point to be adjusted.
9. Repeat steps 5 to 8.
10. Repeat steps 4 to 9 to adjust Red and Blue colors.
Converge the selected color line into the Green line.
11. Press “7” button to memorize the adjusted states.
At this time, picture changes for about 1 second.
12. Press the TOUCH FOCUS button when "PLEASE PUSH
TOUCH FOCUS" is displayed on the screen.
13. TOUCH FOCUS is executed.
14. It returns to the normal screen after displaying "TOUCH
FOCUS FINISHED".
CONVERGENCE ADJUSTMENT
Summary of Contents for 65H81
Page 21: ...CIRCUIT BLOCK DIAGRAM 21 22 65H81 Series BLOCK DIAGRAM ...
Page 52: ...THIS PAGE IS INTENTIONALLY LEFT BLANK 54 SPECIFIC INFORMATIONS ...
Page 53: ... 55 56 SIGNAL BOARD PD0073 BOTTOM FOIL SIDE ...
Page 54: ... 57 58 DEF POWER BOARD PD0074 BOTTOM FOIL SIDE ...
Page 55: ... 59 A V BOARD PD0075 BOTTOM FOIL SIDE ...
Page 56: ... 60 SRS 3D BOARD PD0076 BOTTOM FOIL SIDE ...
Page 57: ... 61 DPC BOARD PD0077 BOTTOM FOIL SIDE ...
Page 58: ... 62 DIGI CONV BOARD PD0078 BOTTOM FOIL SIDE ...
Page 59: ... 63 CONV SEN BOARD PD0079 BOTTOM FOIL SIDE CRT DRIVE RED BOARD PD0080 BOTTOM FOIL SIDE ...
Page 60: ... 64 CRT DRIVE GRN BOARD PD0080 BOTTOM FOIL SIDE CRT DRIVE BLE BOARD PD0080 BOTTOM FOIL SIDE ...
Page 63: ... 67 WOW BOARD PD0220 BOTTOM FOIL SIDE ...
Page 64: ... 68 NEXT HYPER BOARD PD0264 BOTTOM FOIL SIDE ...
Page 66: ... 70 SPECIFIC INFORMATIONS MEMO ...
Page 67: ... 71 SPECIFIC INFORMATIONS MEMO ...
Page 68: ... 72 SPECIFIC INFORMATIONS MEMO ...
Page 70: ......
Page 72: ......
Page 73: ......
Page 74: ......
Page 75: ......
Page 76: ......
Page 77: ......
Page 78: ......
Page 79: ......
Page 80: ......
Page 81: ......
Page 82: ......
Page 83: ......
Page 84: ......
Page 85: ......
Page 86: ......
Page 87: ......
Page 88: ......
Page 89: ......
Page 90: ......
Page 91: ......
Page 92: ......
Page 93: ......
Page 94: ......
Page 95: ......
Page 96: ......
Page 97: ......
Page 98: ......
Page 99: ......
Page 100: ......
Page 101: ......
Page 102: ......
Page 103: ......
Page 104: ......
Page 105: ......
Page 106: ......
Page 107: ......
Page 108: ......
Page 109: ......
Page 110: ......
Page 111: ......
Page 112: ......
Page 113: ......
Page 114: ......
Page 115: ......
Page 116: ......
Page 117: ......
Page 118: ......
Page 119: ......
Page 120: ......
Page 121: ......
Page 122: ......
Page 123: ......
Page 124: ......
Page 125: ......
Page 126: ......
Page 127: ......
Page 128: ......
Page 129: ......
Page 130: ......
Page 131: ......


