60
CONTROLS AND FEATURES
En
glish
c
Press
c
to select
Start
, and then press
OK
to open
Photo Frame
.
To open from the Quick Menu
a
Press
QUICK
to open the
Quick Menu
.
b
Press
B
or
b
to select
Photo Frame
, and then press
OK
to open
Photo Frame
.
To close Photo Frame:
a
Press
EXIT
.
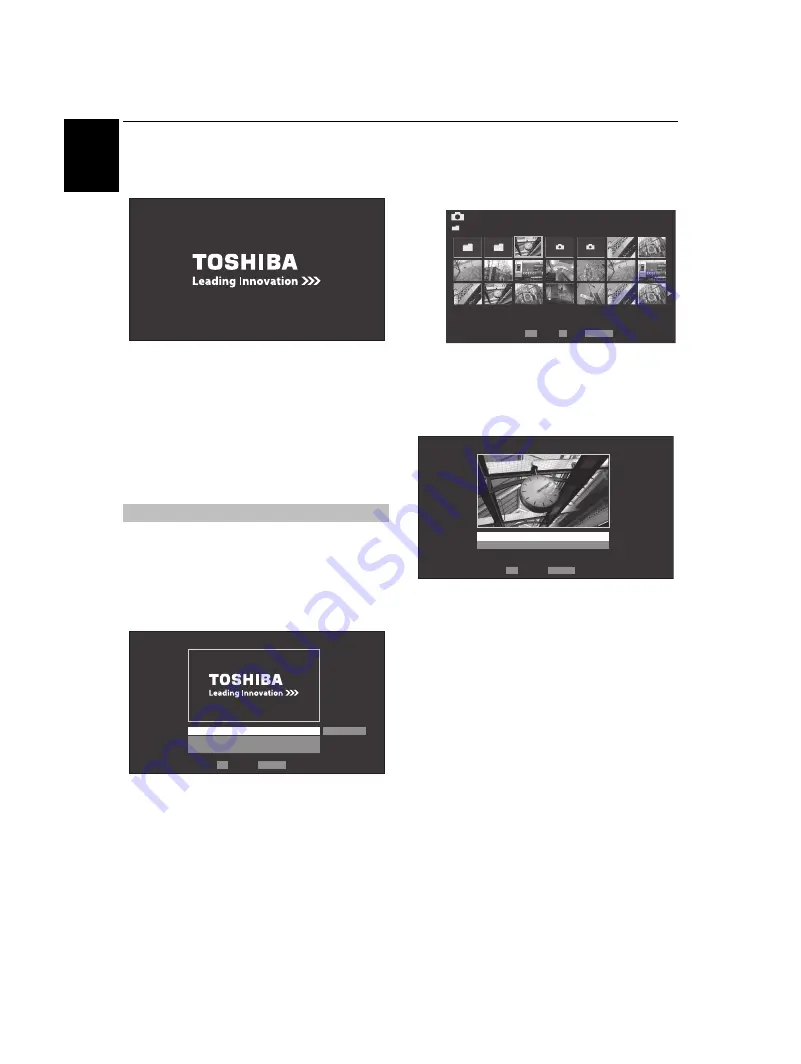
In the preview screen, you can set various settings for Photo
Frame.
Photo Select
a
In the
Photo Frame Setup
menu, press
B
or
b
to
select
Photo Select
, and then press
OK
.
b
If the device selection screen appears, press
B
or
b
to
select the appropriate device, and then press
OK
.
c
Press
B b C c
to select the photo you want to copy
from the USB storage device or DLNA CERTIFIED™
server to the TV’s flash memory, and then press
OK
.
Photo Edit
a
Press
B
or
b
to select
Photo Edit
, and then press
OK
.
b
Press
B
or
b
to select
Rotate
or
Delete
.
c
Set the following items as required.
•
Rotate
— Press
OK
to rotate the image
90°clockwise.
•
Delete
— Press
OK
. A confirmation window will
appear. Press
C
or
c
to select
YES
, and then press
OK
.
d
Press
RETURN
.
Setting the features
Photo Frame Setup
Photo Select
Photo Edit
Settings
Start
Back
Enter
OK
RETURN
Photo Select
/Folder
1/54
E05265464.jpg
06:36 Tue, 26 Apr
1920 x 1080
Select
OK
Page
Back
P
RETURN
OK
RETURN
Photo Edit
Rotate
Delete
Back
Enter


