


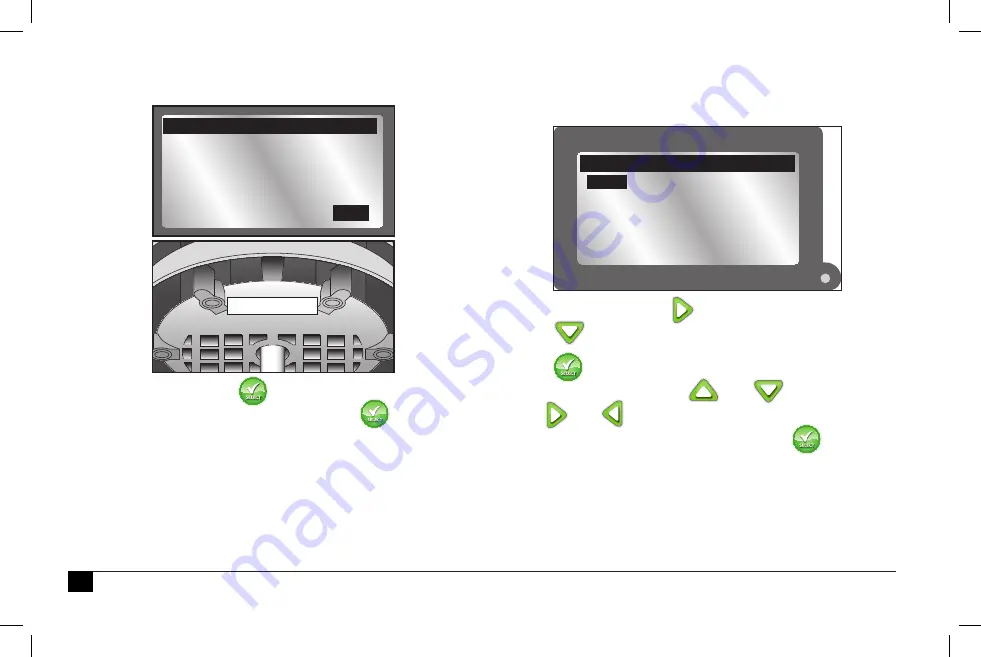
6
6. The controller should detect the sensor. Confirm that the
device ID detected matches the sensor’s actual ID.
If it does match, press
and continue to add the sensor.
If it does
not
match, change to
NO
, press
, and repeat
steps 3-6.
7. The next step is to enter the location information. It is
possible to enter either by zip code or Latitude and
Longitude coordinates (available from Google Maps®).
To adjust
TYPE
, press
to move to
ZIP CODE
.
Press
to select
LONG/LAT
or
ZIP CODE
.
8. Press
. Adjust the Zip Code or Latitude and
Longitude values with the
and
buttons.
Use
and
to switch between number fields.
9. When done, move to
CONTINUE
. Press
.
After a moment, the screen returns to the
ADD/REMOVE DEVICE
screen.
The sensor is now added.
To actually control irrigation, it
must be added to a schedule
(see page 9)
.
WEATHER
DEVICE ID 05 43 31
STATUS
ACTIVE
CORRECT?
ADD/REMOVE DEVICE
YES
SN: 054331
ZIP CODE
ZIP CODE 92504
CONTINUE
MY LOCATION
TYPE
Summary of Contents for EVO-WS
Page 31: ...15 Notes d installation ...
Page 47: ...15 Installationshinweise ...
Page 63: ...15 Note sull installazione ...
Page 79: ...15 Notas de instalação ...
Page 95: ...15 Notas de instalación ...


