


Form No. 3397-156 Rev A
Automated Row Selection Kit
2024 Directional Drill
Model No. 132-4193
Installation Instructions
WARNING
CALIFORNIA
Proposition 65 Warning
This product contains a chemical or chemicals known to the State of California to
cause cancer, birth defects, or reproductive harm.
Safety
Safety and Instructional Decals
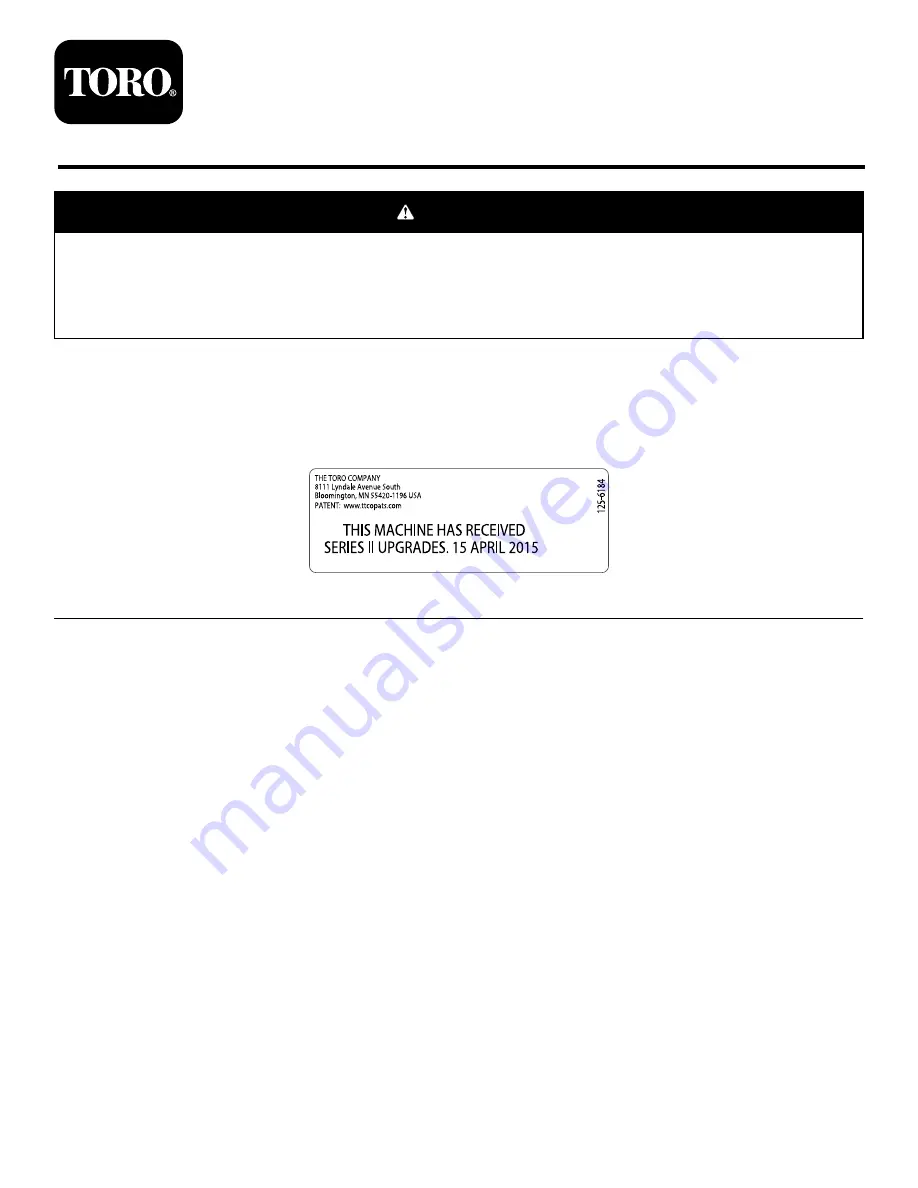
125-6184
© 2015—The Toro® Company
8111 Lyndale Avenue South
Bloomington, MN 55420
Register at www.Toro.com.
Original Instructions (EN)
Printed in the USA
All Rights Reserved
*3397-156* A


