


5
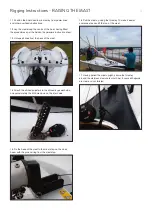
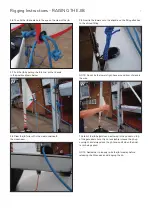
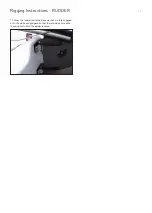
2:1 Attach the boom onto the mast with the pin on the lower of
the two fittings. Remember to put the pin in from the top and
flip the pin end over.
2:2 Next attach the strut to the upper fitting on the mast.
Ensure the toggle is correctly orientated as per the Selden/
Superspar info sheet. Fix the gnav strut carriage on top
of the boom, although this should already be fixed for you.
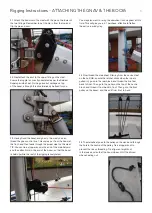
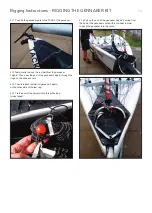
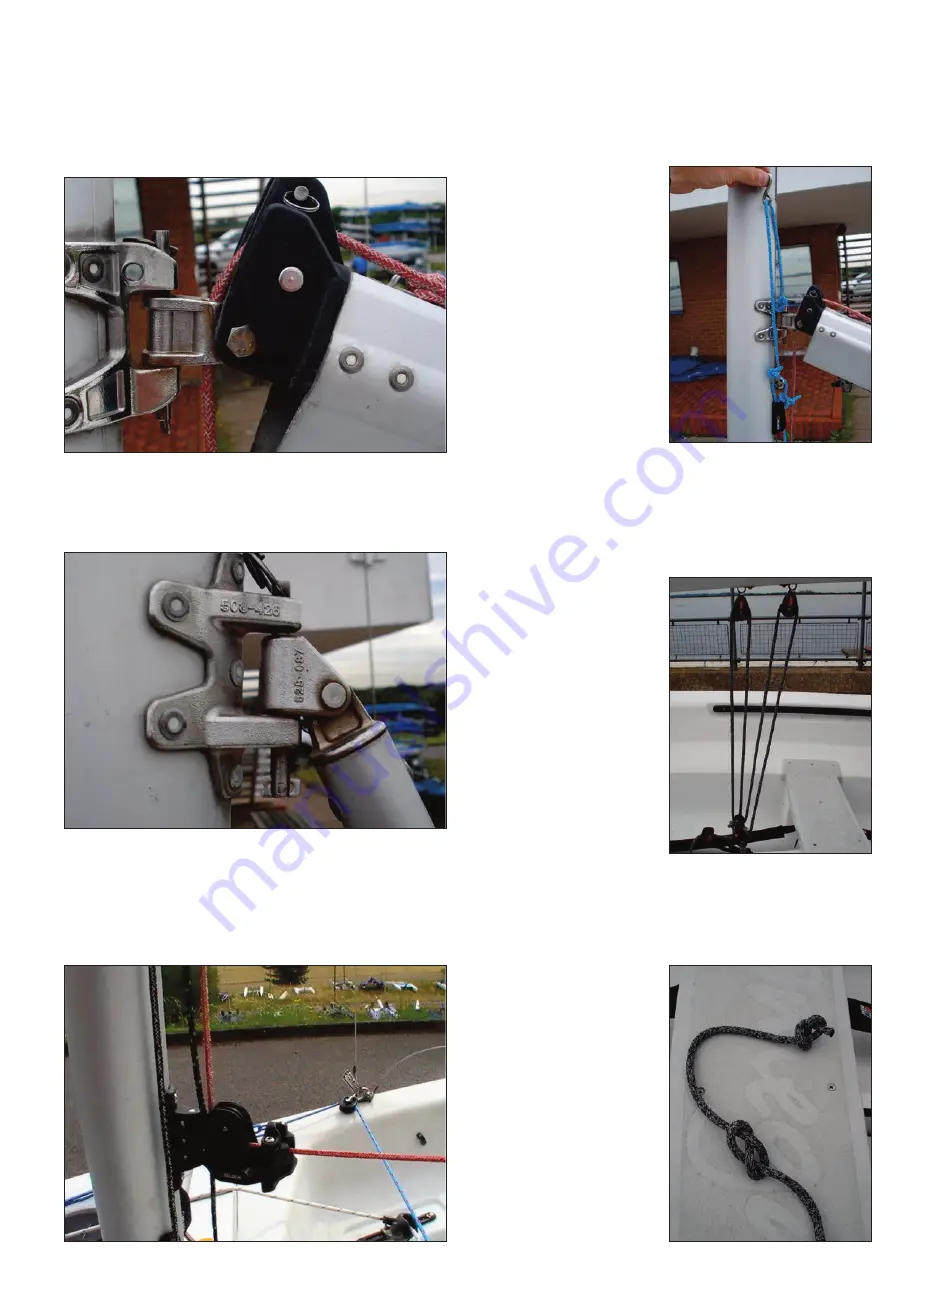
2:3 Having fixed the boom and gnav to the mast you can
thread the gnav control line. This comes out from the boom at
the front, and then feeds through the swivel cleat on the mast.
TIP: You can tie a stopper knot in the end of the main halyard
and then attach this to the end of the boom, so that the boom
is held up while the rest of the rigging is completed.
You may also want to re-rig the downhaul / cunningham at this
time. This will give you a 4:1 purchase, effective to flatten
the sail on a windy day.
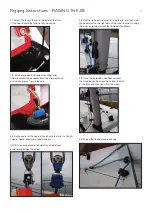
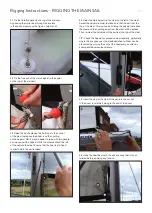
2:4 Now thread the mainsheet. Starting from the centre cleat
on the hull (NB: ensure the ratchet clicks when the rope is
pulled in), go up to the rear block, and thread the line from
back to front. Then go to the pulley on the top of the centre
block, and thread it from back to front. Then go to the front
pulley on the boom, and thread it from front to back.
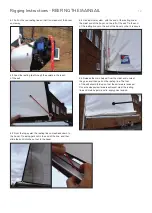
2:5 The mainsheet goes to the pulley on the deck and through
the hole in the centre of the pulley. Tie a stopper knot to
prevent the line unthreading. Tie a figure of eight knot
in the loose end so that the boom does not hit the shroud
when sheeting out.
Rigging Instructions - ATTACHING THE GNAV & THE BOOM