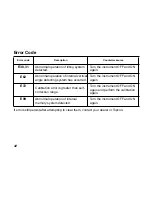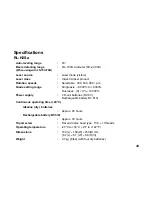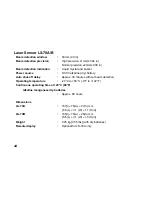
32
Grade Setting Error
Perform the following check only after completing "Horizontal Calibration" and “Hori-
zontal Rotation Cone Error” procedures.
(1) Checking
1
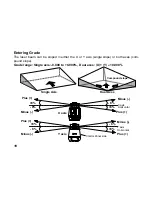
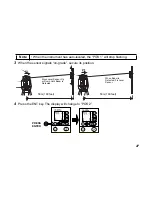
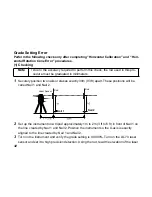
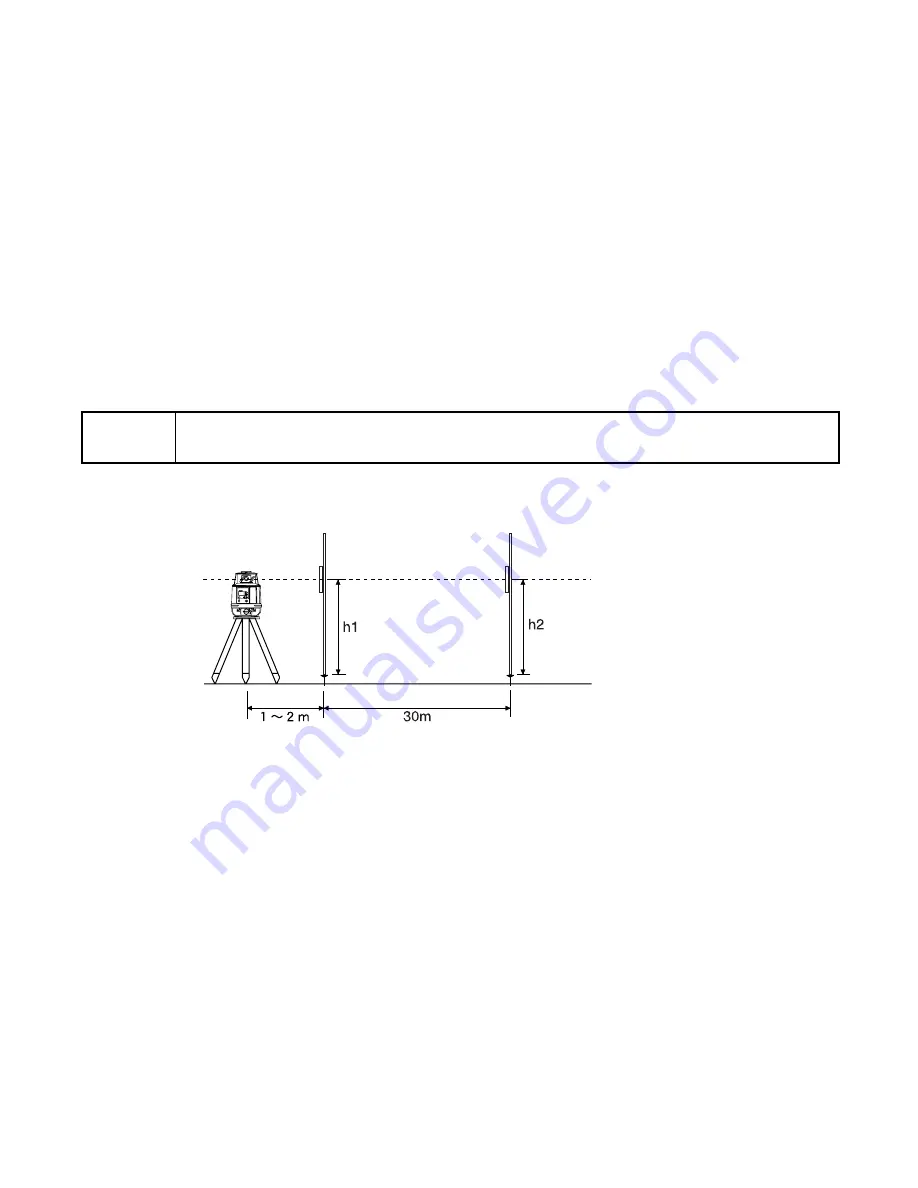
Securely position two nails or stakes exactly 30m (93 ft) apart. These positions will be
called Nail 1 and Nail 2.
2
Set up the instrument on a tripod approximately 1m to 2m (3 ft to 6 ft) in front of Nail 1 on
the line created by Nail 1 and Nail 2. Position the instrument so the X-axis is exactly
aligned to the line created by Nail 1 and Nail 2.
3
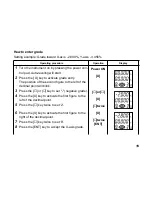
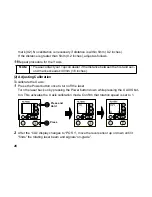
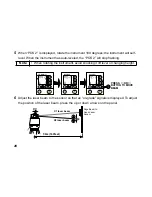
Turn on the instrument and verify the grade setting is 00.000%. Turn on the LS-70 laser
sensor and set it to high precision detection. Using the rod, read the elevation of the laser
Note
• Due to the accuracy required to perform this check, the rod used in this pro-
cedure must be graduated in millimeters.
X
rpm
100
MANU
×
POWER
%
ON
ENT
Nail 1
Nail 2
Laser Sensor
Rod
Rod
Summary of Contents for RL-H2Sa
Page 1: ...INSTRUCTION MANUAL ROTATING LASER RL H2Sa POWER MANU ON ENT X Y RL H2Sa x100 rpm...
Page 2: ......
Page 47: ......

