


English
8
‧
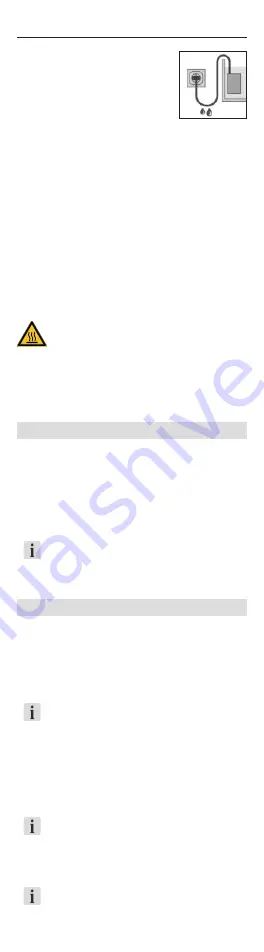
Protect the socket and
plug against moisture. It is
recommended to form a drip
loop with the cable to prevent
any water running along the
cable to the socket.
‧
The electrical data of the appliance must
match the data of the power source.
This data is found on the type plate,
the packaging, and in these instructions.
‧
Only connect the device to a power outlet.
Current correctly installed with contact
grounding. Unplug the device from socket
outlet to disable remote command.
‧
‧
Danger of burning! The appliance is very hot
during and directly after operation. Never
touch hot parts or the heating zone
d
!
Commissioning
Installing the heater (⌦A)
1. Remove the transportation protection
e
.
2. Connect the suction device
c
to the suction device mount
b
.
3. Connect the suction device mount to the heater (not in the area
of the heating zone
d
, the control light
f
and the indicator
LED
g
).
4. Attach the appliance below water level on the inside of your
aquarium (
⌦B/C
). Take care of the minimum water level.
▶
The heater must be rinsed well in order to guarantee consistent
water heating. Therefore, place the heater in an area with a
strong flow.
▶
Only install the heater in a vertical position.
Operation
System requirements
Wireless Connection (Wi-Fi) capable device (smart phone, tablet, desktop
computer, etc.)
Creating a network
1. Plug in aquarium heater to begin operation. The Wi-Fi indicator
LED
g
light on the heater will light up.
‧ White flashing LED: Network is being sought or created.
‧
Blue LED: Network is connected and ready to start.
Connecting to the WLAN network
2. Open the network settings on your device (smart phone,
tablet, etc.).
3. Connect it to the WLAN network (SSID) that was just created by
your aquarium heater:
EHEIM heater XXXXXXXX
4. Enter the network security key.
You find the SSID and the network security key on the mains cable
or scan the QR-Code 1 for connection setup.
Navigating to the Website
5. Open your internet browser and go to
http://192.168.1.1
You can also use the QR code 2 to open the software in the browser.


