26
maintenance
PowrBeast
7.8
SerVIcINg The hyDrAulIc moTor
Attention
Servicing of the hydraulic motor should be carried
out in a clean, dust free area only. Any dust or
metallic particles left in the motor or entering
it on reassembly may damage the critical parts
and affect its service life and warranty. All parts
should be inspected for absolute cleanliness.
i
In order to service the hydraulic motor, it is
recommended that the piston be set in the
middle of its stroke. Follow the steps below.
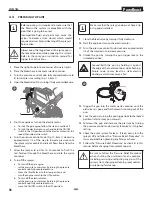
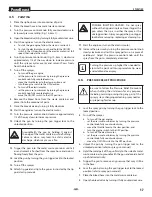
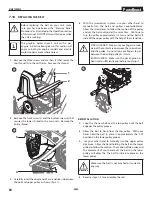
1. Turn the pressure control knob all the way counterclockwise
to the lowest setting.
2. With the fluid section submersed in a bucket of water, start
the engine or turn on the electric motor.
3. Turn the pressure control knob clockwise 1-2 full turns.
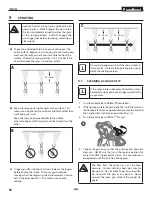
4. Once the pump is primed, turn the relief valve to SPRAy.
5. While watching the piston stroke from the window on the
back side of the motor/pump and using the smallest tip
available (for slowest piston speed possible), spray water
back in to the bucket (or other waste container). Stop
spraying when the piston is in the desired location.
6. Turn off the engine or electric motor.
7. Continue by following the steps below.
DISASSemBlINg The hyDrAulIc moTor
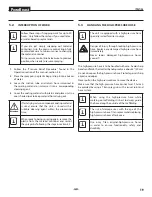
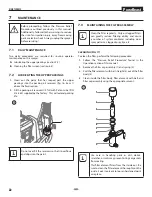
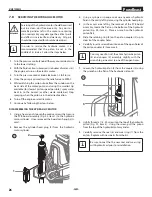
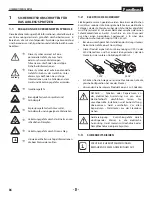
1. using a hex wrench, loosen the captive screws that secure
the PCB board assembly (Fig. 23, item 1) to the hydraulic
motor cylinder. Once removed, the board can hang by its
cord.
2. Remove the cylinder head plug (2) from the hydraulic
motor cylinder.
2
1
3. using a syringe or sponge, soak up any excess hydraulic
fluid in the cavity left by removing the cylinder head plug.
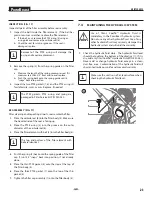
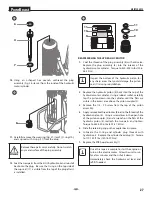
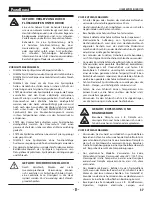
4. In the access area left by the removal of the PCB board
assembly, locate the flats on the bottom of the hydraulic
piston (Fig. 24, item 3). Place a wrench on the hydraulic
piston flats.
5. Slide the retaining ring (4) on the piston coupler (5) up to
clear it of the coupler holes.
6. Carefully insert a screwdriver into one of the open holes of
the piston coupler (5) to secure it.
i
you may need to twist the entire hydraulic piston
(4) and coupler (5) assembly slightly with the
wrench to gain access to one of the open holes.
7. Loosen the hydraulic piston (4) from the coupler (5) using
the wrench on the flats of the hydraulic piston (4).
4
5
3
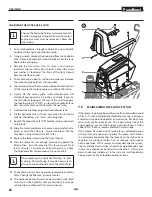
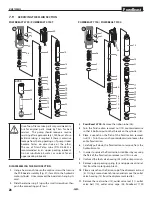
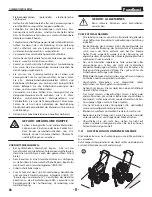
8. Lightly thread a 1/4 - 20 screw into the top of the hydraulic
piston (Fig. 25, item 4). using the screw, pull the piston
from the top of the hydraulic motor cylinder.
9. Carefully remove the seal (6) and wear ring (7) from the
piston. Replace with new parts from the kit.
i
Be sure to coat the the new seal and wear ring
with hydraulic oil prior to reinstallation.

