English
© Titan Tool. All rights reserved.
9
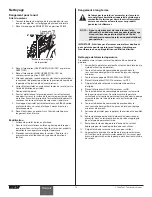
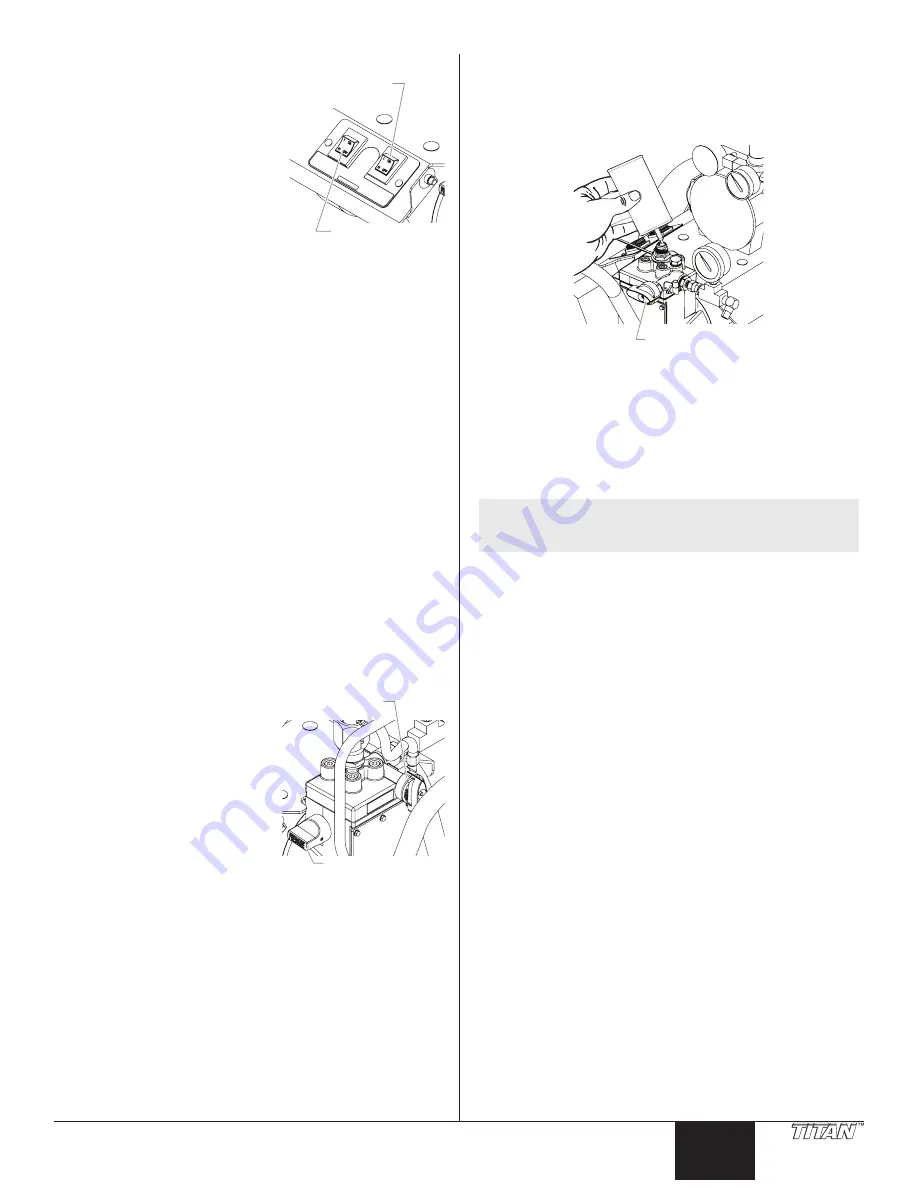
clearing the Suction Tube (optional)
Compressor
ON/OFF Switch
Pump ON/OFF
Switch
1. Turn the pressure control
knob counterclockwise to the
minimum setting.
2. Turn the PRIME/SPRAY valve to
PRIME.
3. Move the pump ON/OFF switch
to the OFF position.
4. Move the compressor ON/OFF
switch to the OFF position.
5. Wait a couple seconds, then
trigger the gun into the material
container to release built up fluid
pressure from the pump and air
pressure from the compressor.
6. Lock the gun by flipping the trigger lock into lock position
(see spray gun manual).
7. Remove the suction hose from the material and hold it above
a bucket of water or solvent. Leave the return hose in the
material bucket.
IMPOrTaNT: Do not use mineral spirits or paint thinner on latex
paint, the mixture will turn into a jelly-like substance that is
difficult to remove.
8. Move the pump ON/OFF switch to the ON position.
9. Turn the pressure control knob to 1/2 maximum pressure.
This will draw the remaining material in the suction hose
through the pump, down the return hose and into the
material bucket.
10. Turn the pressure control knob counterclockwise to the
minimum setting.
11. Remove the spray tip and guard and place them into a
container of the appropriate solvent.
12. Place the attached suction hose and return hose into the
container of water or appropriate solvent.
13. Increase the pressure to 1/2 the maximum pressure. Let the
water or solvent circulate for 2-3 minutes to flush paint out of
the pump, the suction hose and the return hose.
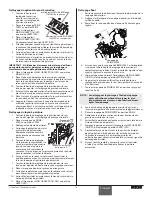
clearing the Paint Hose
1. Turn the pressure control knob counterclockwise to the
minimum pressure setting.
PRIME/SPRAY
Valve
Pressure
Control Knob
2. Turn the PRIME/SPRAY valve
to SPRAY.
3. Unlock the spray gun trigger.
4. Carefully trigger the gun with
the spray tip removed against
the inside of the material
container.
5. Turn the pressure control
knob slowly clockwise until
material starts to flow into
the container. As soon as
the water or solvent starts to
emerge from the spray gun,
release the trigger.
6. Change to clean water or solvent and continue circulating for
another 5 minutes to thoroughly clean the hose, pump and
spray gun.
7. Turn the pressure control knob counterclockwise to its lowest
setting.
8. Turn the PRIME/SPRAY valve to PRIME.
9. Trigger the gun into the water or solvent container to release
built up fluid pressure from the pump.
10. Lock the gun by flipping the trigger lock into lock position
(see spray gun manual).
11. Move the pump ON/OFF switch to the OFF position.
Final cleanup
1. Remove the hopper assembly or optional suction set from the
inlet valve.
2. Clean the threads of the inlet valve with a damp cloth.
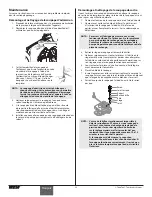
3. Fill the inlet valve with water or with a light household oil.
PRIME/SPRAY
Valve
4. Make sure that the PRIME/SPRAY valve is set to PRIME and that
the pressure control knob is turned counterclockwise to its
lowest pressure setting.
5. Turn on the pump by moving the pump ON/OFF switch to the
ON position.
6. Increase the pressure by turning the pressure control knob
clockwise 1/2 turn.
7. Turn the PRIME/SPRAY valve to SPRAY to distribute the oil.
NOTE: Proper cleaning and oiling of the pump after use are
the most important steps to perform to insure proper
operation after storage.
8. Turn the pressure control knob counterclockwise to its lowest
setting.
9. Turn the PRIME/SPRAY valve to PRIME.
10. Unlock and trigger the gun to remove any pressure that may
still be in the hose.
11. Lock the gun by flipping the trigger lock into lock position
(see spray gun manual).
12. Turn off the pump by moving the pump ON/OFF switch to the
OFF position.
13. Remove the material hose and air hose from the spray gun
using two adjustable wrenches. Refer to the spray gun
Owner’s Manual for gun cleaning instructions.
14. Wipe the entire unit, hose, and gun with a damp cloth to
remove accumulated paint.


