Tiger Box 3U16 Assembly Guide
Initial Setup of the
22
2.
Make sure the IP address of your computer is on the same subnet as the Public port
(set it to 172.16.100.101, for example).
Note:
For more details about changing your IP address, refer to the
documentation of your operating system).
Tip:
Once you finish the initial setup and set another IP address to the Public port,
you can revert back to your old IP address.
3.
In a web browser, type the pre-defined IP address of the appliance for the Public
port:
172.16.100.100
4.
Press Enter.
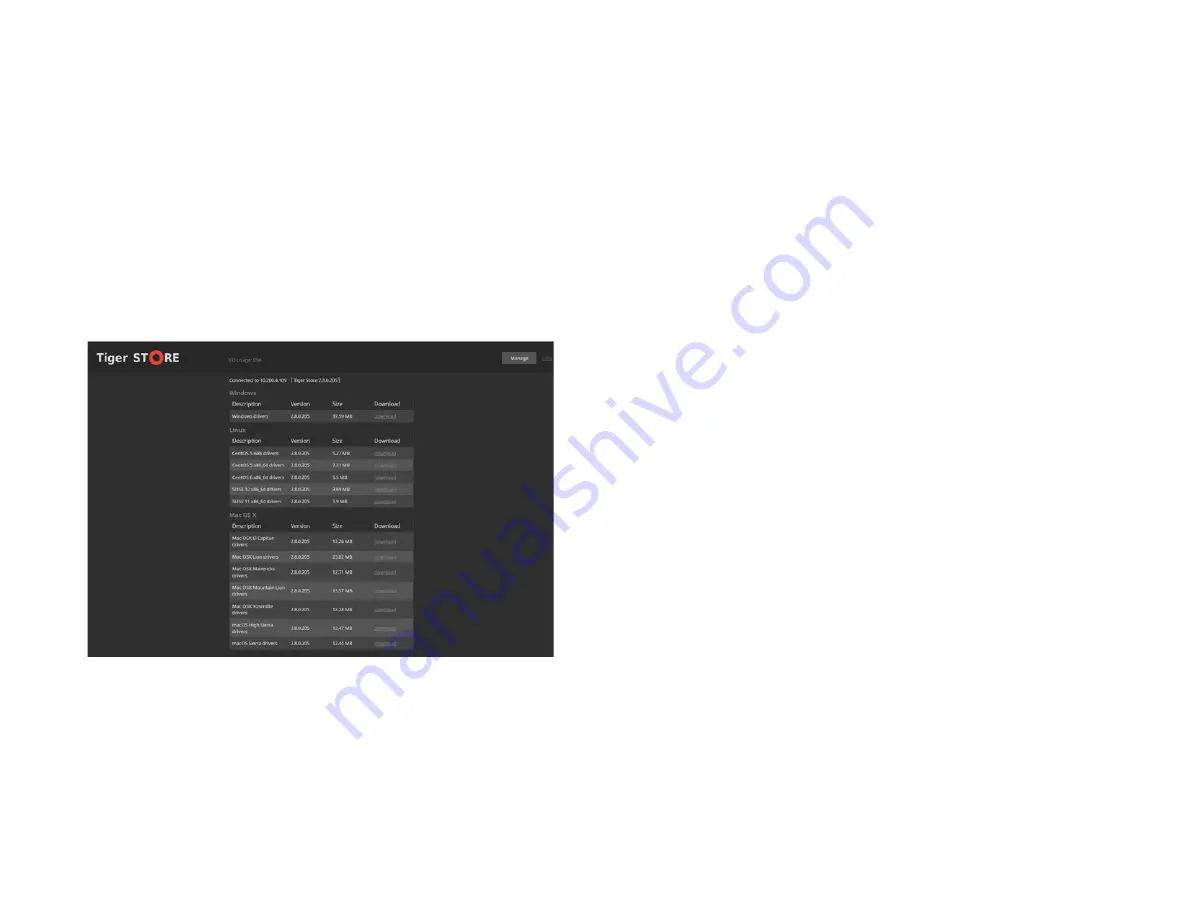
The web interface of Tiger Store loads.
5.
Click Manage and enter the following password:
admin
To access the web interface through the Admin port:
Important:
You can access the appliance through the Admin port if such port is
predefined by your vendor.
1.
Set the IP address of the computer on which you will connect to the Admin port to
be on the same network as the preset IP address of the Admin port - 1.21.32.1 (for
Tiger Box appliances shipped before 01 November 2016) or 1.2.3.4 (for Tiger Box
appliances shipped after 01 November 2016).
Important:
Even though your Tiger Box may be keeping the original IP address
(1.21.32.1), should you restore on the appliance a firmware image from a USB
flash drive, which has been sent to you after 01 November 2016, the IP address
of the Admin port will change to 1.2.3.4.
For example, if the Admin port of your appliance uses IP address 1.21.32.1, set the
IP address of your computer to 1.21.32.2 and the subnet mask to 255.255.255.0. If
the Admin port of your appliance uses IP address 1.2.3.4, set the IP address of your
computer to 1.2.3.10 and the subnet mask to 255.255.255.0.
2.
Connect the computer to the Admin port of the appliance.
3.
In a web browser, type the preset IP address of the appliance for the Admin port:
1.21.32.1
or
1.2.3.4


