19
ST PLUS
ENGLISH
ENGLISH
ST PLUS
19
Driver Installation
The Device Drivers & Uti User’s Manual
disc contains the drivers and utilities necessary
for the proper operation of the computer. This
setup will probably have al- ready been done for
you. If this is not the case, insert the disc and
click
Install Drivers
(button), or
Option Drivers
(button) to access the
Optional
driver menu.
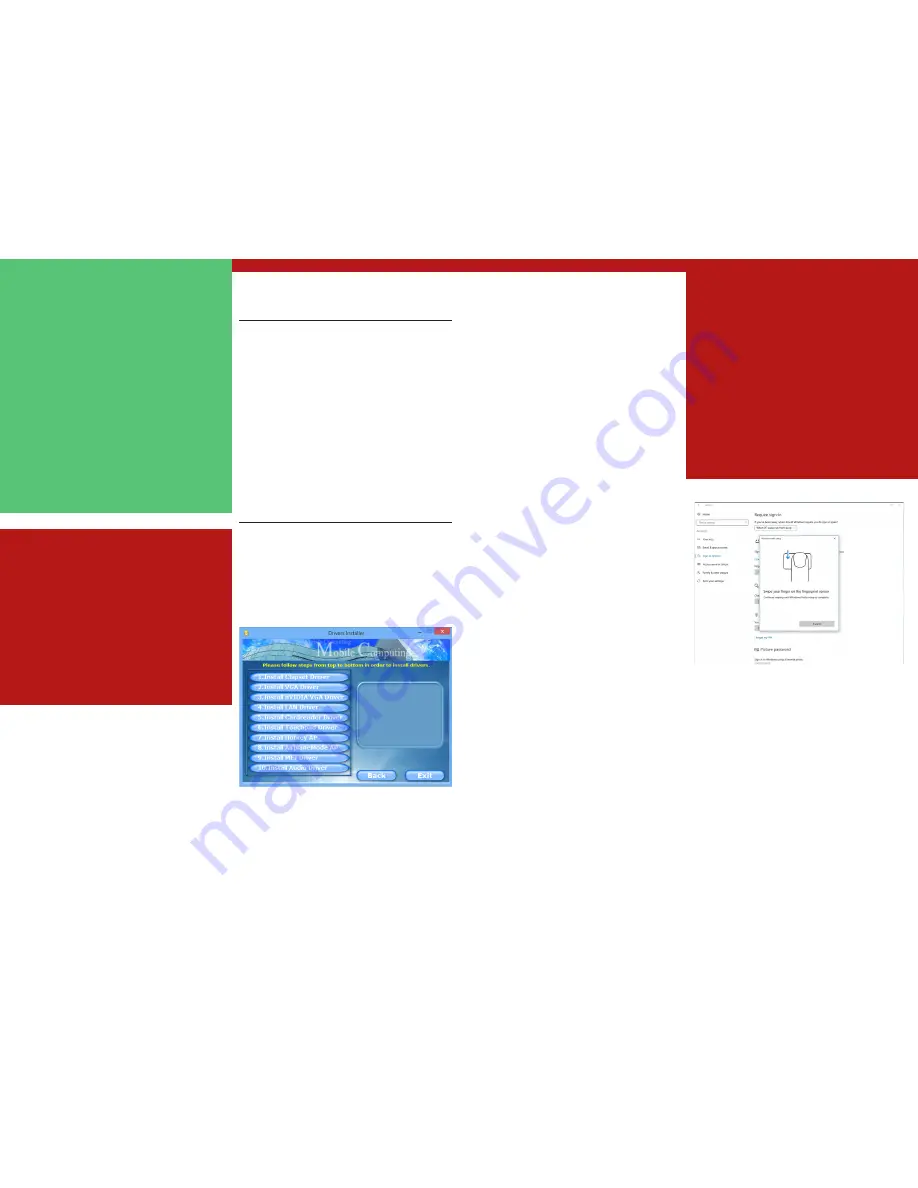
Install the drivers
in the order indicated
in
Figure 26
. Click to select the drivers you wish to
install (you should note down the drivers as you
install them).
Note
: If you need to reinstall any
driver, you should uninstall the driver first.
Manual Driver Installation
Click the
Browse CD/DVD
button in the
Drivers Installer
application and browse to the
executable file in the appropriate driver folder.
If a
Found New Hardware
wizard appears during
the installation procedure, click
Cancel
, and
follow the installation procedure as directed.
Driver Installation General Guidelines
As a general guide follow the default on-screen
instruc- tions for each driver (e.g.
Next > Next >
Finish
) unless you are an advanced user. In many
cases a restart is re- quired to install the driver.
Make sure any modules (e.g. WLAN or Bluetooth) are
ON
before installing the appropri- ate driver.
Windows Update
After installing all the drivers make sure you enable
Windows Update
in order to get all the latest
security updates etc. (all updates will include the
latest
hotfixes
from Microsoft).
Driver Installation & Power
When installing drivers make sure your compu-
ter is powered by the AC/ DC adapter connec-
ted to a working power source. Some drivers
draw a significant amount of power during the
installation procedure, and if the remaining ba-
ttery capacity is not ade- quate this may cau-
se the system to shut down and cause system
prob- lems (note that there is no safety is- sue
involved here, and the battery will be rechar-
geable within 1 minute).
Figure 26
- I
nstall Drivers
Fingerprint Reader
(Option)
(Optional for Models A & C Only)
Install the driver and enroll your fingerprints as
instructed below before use. The fingerprint
reader module uses the Sign-in options
configuration of the Windows Account.
Fingerprint Reader Driver
Installation
1
. Click
Option Drivers
(button).
2
. Click
2.Install Fingerprint Driver > Yes.
3
. Click
Next > Install > Finish.
Fingerprint Module Configuration
1
. Click the
Settings
item in the Start Menu.
2
. Click
Accounts
and then click
Sign-in
options.
3
. You will need to add a
Windows
password
(click
Add
under
Password
).
4
. After you have added the password you will
need to also add a
PIN
.
5
. Under
Windows Hello
click
Set up
under
Fingerprint
.
6
. The wizard will then guide you through the set
up process to scan your fingerprints.
7
. You will be instructed to
swipe the same
finger
across the reader a number of times.
8
. Click
Close
when complete.
9
. You can choose to
Add another
finger (this is
recommended) or
Remove
the
current fingerprint reading.
10
. You can now scan your fingerprint to log-on
to the computer.
Driver Installation & Power
When installing drivers make sure your compu-
ter is powered by the AC/ DC adapter connec-
ted to a working power source. Some drivers
draw a significant amount of power during the
installation procedure, and if the re- maining
battery capacity is not ade- quate this may
cause the system to shut down and cause
system prob- lems (note that there is no safe-
ty is- sue involved here, and the battery will be
rechargeable within 1 minute).
Figure 27
-
Accounts - Sign-in options


