THOMSON PDP2762X User Manual Download Page 24

EN

EN

Transferring Music

Transfer Files via
MusicMatch Jukebox

1. Drag and drop desired tracks from the 

Music Library to the Playlist display 
and save the playlist.

2. From the menu area, select 

Files/Send 

to Portable Device

or click 

Send to 

Portable 

under the 

copy

item on the 

left side of the MusicMatch Jukebox 
screen to display the Portable 
Device Manager screen.

3. Click on 

Options

and select your 

portable device under 

Select Device

Click 

OK

.

Your device should be listed under 

Portable Device

.

4. Select the playlist item and drag it to 

the active device listed under 

Portable 

Device

.  Only those playlists  saved in 

step 1 are displayed on the playlist 
window.
The songs in the playlist will now be 
automatically transferred to your Lyra 
Digital Audio Player.

During transfer a progress indicator
appears in the 

Portable Device Manager

screen, and "USB Transferring" flashes in
the Lyra player’s LCD.

Note 

Be sure to save the playlist

or it will not be displayed on

the playlist window of the Portable

Device Manager screen.

Note 

Some wma files may be DRM

protected. You must acquire

licenses for DRM protected wma

files before they can be played on

the Lyra player.

For more information, go to

www.microsoft.com/windows/

windowsmedia/drm

Transferring Music

Transfer Files via Windows
Explorer (Drag and Drop)

If your Lyra Digital Audio Player isn’t
already connected to your computer,
connect the Lyra Digital Audio Player to
the computer using the provided USB
cable as illustrated on page 

35

and turn

on the unit.

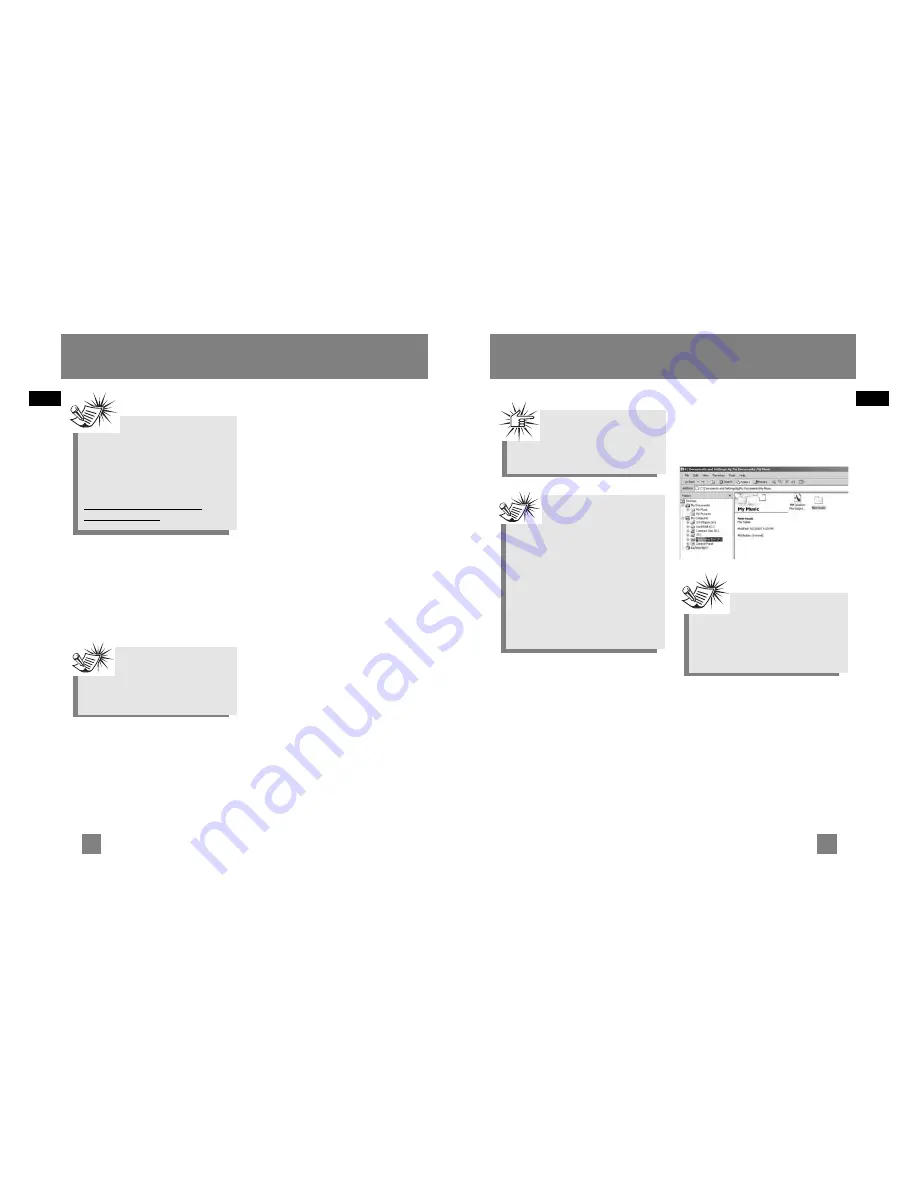
From Windows Explorer, highlight all the
files/folders you want to transfer to your
Lyra Digital Audio Player and drag them
to the drive letter that is associated with
it.

Note 

If you’re running Windows

2000 you must stop the

device before unplugging it. Click

the icon (the 

Unplug or Eject

hardware icon) from the system

tray and select the USB Mass

Storage device for the drive letter

associated with the Lyra player, and

select the device you want to stop.

See the Windows Help for details

about the Unplug or Eject Hardware

topic.

Note 

You must profile your contents after

file transfer in order for the new

files to appear in the Navigation

Menus.

Attention 

Make sure all data are

transferred to the Lyra

Digital Audio Player before

unplugging the USB cable.

38

37

Summary of Contents for PDP2762X

Page 1: ...struction book prior to using your new product for the first time Es importante leer este manual antes de usar por vez primera su euipo u s e r m a n u a l mic M E N U R E C THOMSON 46 quai Alphonse L...

Page 2: ...baladeur peut endommager l oreille de l utilisateur TO REDUCE THE RISK OF ELECTRIC SHOCK DO NOT REMOVE THE COVER OR BACK NO USER SERVICEABLE PARTS ARE INSIDE REFER SERVICING TO THE QUALIFIED SERVICE...

Page 3: ...may not i modify translate reverse engineer decompile disassemble except to the extent that this restriction is expressly prohibited by law or create derivative works based upon the Program or ii cop...

Page 4: ...HE MAXIMUM EXTENT PERMITTED BY APPLICABLE LAW IN NO EVENT SHALL THOMSON ITS AFFILIATES OR ITS DEALERS BE LIABLE FOR ANY SPECIAL INCIDENTAL INDIRECT OR CONSEQUENTIAL DAMAGES WHATSOEVER INCLUDING WITHOU...

Page 5: ...f the Lyra Player must comply with all applicable international and national laws including the U S Export Administration Regulations that apply to the WMA Software incorporated in the Lyra Player THI...

Page 6: ...reset Station 20 Clearing Preset Station 20 Suppressing Stereo Signal 21 Record FM Radio 21 Selecting Recording Duration 21 Selecting Recording Destination22 View FM Recording 22 Delete FM Recording 2...

Page 7: ...dows Media audio WMA content as well as content purchased from most online music download services After purchasing and downloading music to your PC you are now ready to move content to your player To...

Page 8: ...diately Leaking batteries may cause skin burns or other personal injury Do not charge batteries which are not intended to be recharged Dispose of batteries according to federal state and local regulat...

Page 9: ...ne is labeled L 1 Slide the ear hook behind the ear with the ear pad on the front of the ear 2 For best sound quality make sure the earpad fits closely with your ear How to Use Your Belt Clip The belt...

Page 10: ...usic mode Skips to the next song Press and hold to scan forward In radio mode Scans up radio frequency 3 ON PLAY PAUSE Turns the unit on In music navigation mode Starts music playback In music playbac...

Page 11: ...ey were recorded Voice Recs Voice Recordings Voice recordings are listed in the order they were recorded Line in Recs Line in Recordings Line in recordings are listed in the order they were recorded F...

Page 12: ...a playlist or a song Press again to pause playback Press ON PLAY PAUSE again to resume playback Tip You can also press and hold ON PLAY PAUSE to toggle between music and radio mode Menu Navigation 1...

Page 13: ...ew music sub menu 2 Use UP and DOWN to move the cursor to Clear MySel and press SELECT Digital Music Operation 16 Skipping Tracks To go to the previous track press and release LEFT To skip to the next...

Page 14: ...w the music sub menu 2 Use UP and DOWN until the cursor is at Repeat 3 Press SELECT to toggle among repeat options Repeat Off default Repeat is off Repeat One Repeats the current song Repeat All Repea...

Page 15: ...tions saved in preset memory Press ON PLAY PAUSE to select between Preset mode and Manual mode Manual Tuning a Station Press LEFT to tune down radio frequency Press RIGHT to tune up radio frequency Pr...

Page 16: ...EN 21 Radio Suppressing Stereo Signal If FM stereo reception is weak select mono sound to reduce the noise 1 From the radio submenu use UP and DOWN to move the cursor to Mode 2 Press SELECT or RIGHT t...

Page 17: ...ess SELECT or RIGHT to select between internal INT and external EXT memory View Voice Recording 1 In the main menu use UP and DOWN to move the cursor to Voice Recs Voice Recordings 2 Press SELECT or R...

Page 18: ...Rec Dur Recording Duration 2 Press SELECT or RIGHT to select among Max 60m 30m and 5m Go to Music Go to Radio Go to Line in RecDur Max Settings Mem Usage Selecting Recording Destination 1 From the lin...

Page 19: ...nter the Settings menu 4 Use UP or DOWN to move the cursor to the setting you want to change 5 Press RIGHT or SELECT to select among options for each setting Contrast 5 4 3 2 1 0 1 2 3 4 5 Backlight 5...

Page 20: ...This unit may temporarily cease to function if subjected to electrostatic disturbance To resume normal operation it may be necessary to cycle the power off and back on or to remove and reinstall the b...

Page 21: ...e running Windows 2000 XP no additional drivers are required If you re running Windows 98SE Me you must install the USB drivers from the CD ROM in order for the Lyra Digital Audio Player to function p...

Page 22: ...r to start 2 Follow the on screen instructions to setup and install MusicMatch Jukebox For more information on MusicMatch Jukebox click Tutorials on the CD or go to www musicmatch com Note It is recom...

Page 23: ...MusicMatch Jukebox or via Windows Explorer If your Lyra Digital Audio Player isn t already connected to your computer connect it to the computer using the provided USB cable as illustrated on the pre...

Page 24: ...files may be DRM protected You must acquire licenses for DRM protected wma files before they can be played on the Lyra player For more information go to www microsoft com windows windowsmedia drm Tran...

Page 25: ...gital Audio Player using Windows Explorer drag and drop will not appear in the Navigation Menus until you profile the contents 1 Connect your Lyra Digital Audio Player to the computer using the provid...

Page 26: ...trates Bitrates support by the player mp3 32 to 320 kbps wma 48 to 192 kbps WMA files may be DRM protected and you don t have the proper rights license to play the files Check the website and or appli...

Reviews: