


8
MENUS
MAIN MENU
Press the
MENU
button
to display the Main menu. It offers the following options :
Picture adjustments
,
Audio adjustments, PIP/POP adjustments, TV channels search
menu
(only in TV mode) and PC adjustments (only in PC mode). It also allows to
define your preferences in the
Setup
menu.
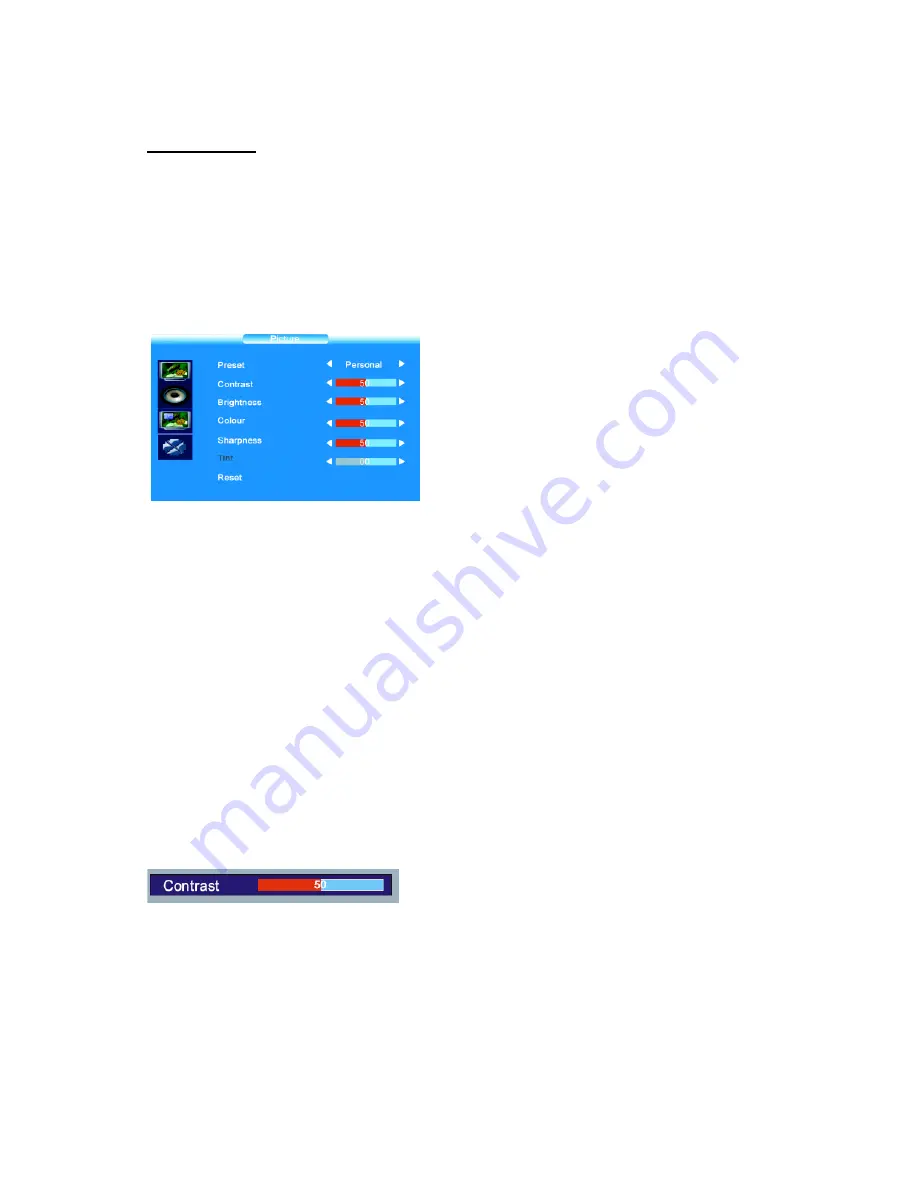
P
ICTURE ADJUSTMENTS
Display the Main menu by pressing
MENU
button
.
Select the
Picture
menu using the
/
buttons.
Press the
OK
button to confirm
.
Use the
/
buttons to select each option.
Preset
: choose between
Personal
,
Vivid
,
Standard
or
Mild
.
Personal
gives access to following adjustments.
Contrast
,
Brightness
,
Colour and Sharpness
: adjust these settings as required using
the
/
buttons.
Tint
:
This option is only available for NTSC audio-visual sources.
Adjust the tint of the picture using the
/
buttons.
Reset
: Return to default settings. Press
OK
button to return to default settings.
Press the
EXIT
button to exit the
Picture
menu.
Note : this menu is removed automatically after a few seconds without using the
remote control.
When you adjust a menu option (Contrast for
example), the menu is replaced by a sub-menu as
illustrated. Press the
OK
button to return to the
Picture
menu.


