


11
C
HANNELS SEARCH
Channels search
involves selecting all the settings required to be able to search for
and store all the channels you can receive.
Make sure that the television is switched on and follow all the steps in turn specified
on this page.
Display the Main menu by pressing
MENU
button
.
Select the
Installation
menu using the
⁄
button.
Press the
OK
button to confirm
.
Use the
Ÿ
/
⁄
buttons to select each option.
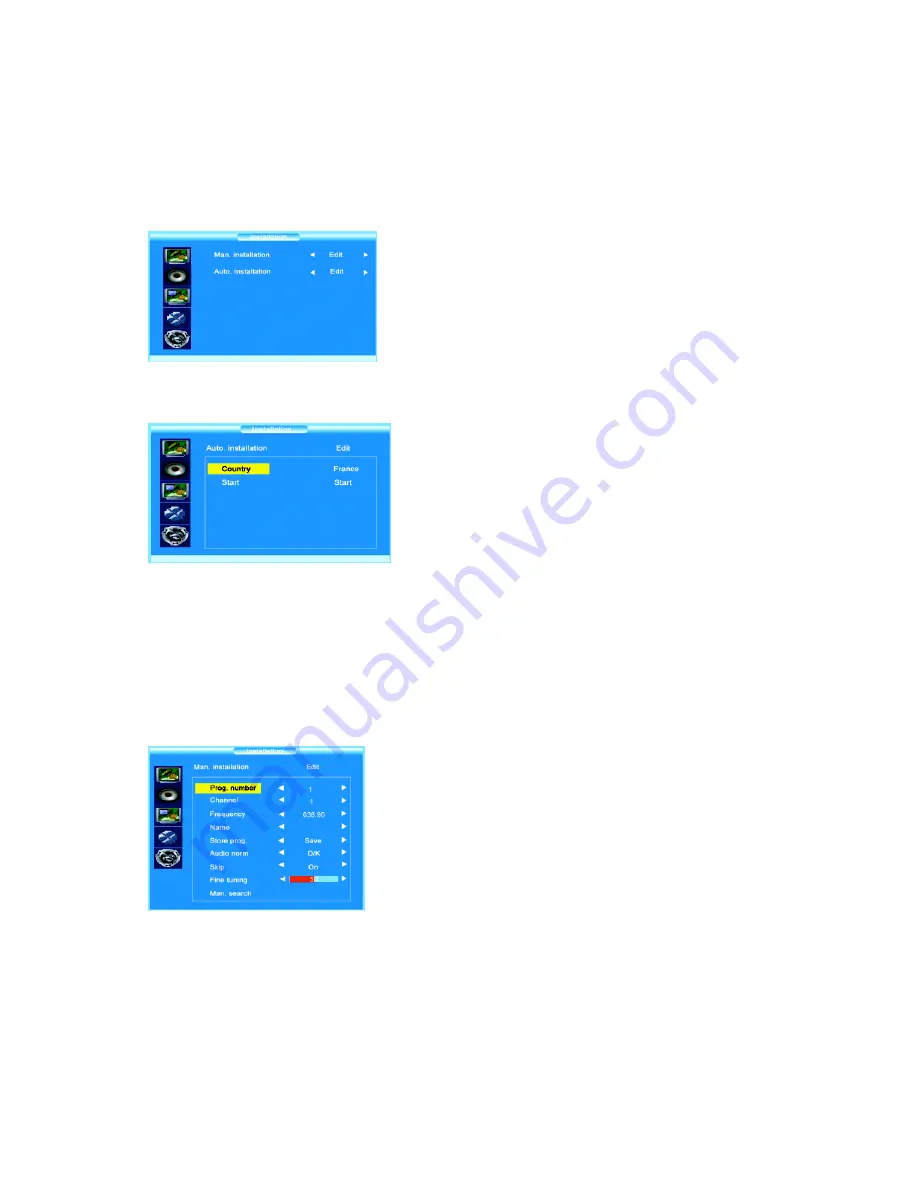
Automatic set-up
Select
Auto. installation
using the
⁄
button.
Press the
OK
button to display the
Auto.
installation
menu
.
Use the
Ÿ
/
⁄
buttons to select each option.
Country
: Select the relevant country using the
!
/
ÿ
buttons.
This is the country you are in, or the country whose channels you want to receive if
you live near its borders.
If you do not find your country, select
Auto
.
Start
: Press
OK
button to
s
tart channels searching
Manual set-up
Select
Man. installation
using the
⁄
button.
Press the
OK
button to display the
Man.
installation
menu
.
Use the
Ÿ
/
⁄
buttons to select each option.
Prog. number
: Allows to select the program on which you want save a new channel
or a program you want to modify.
-
Using the
!
/
ÿ
buttons, select the program.
Frequency :
Allows to enter a specific frequency for tuning.
-
Using
the
⁄
button, select the
Frequency
option and press the
OK
button.
Using the 0~9 digit and
!
/
ÿ
buttons, enter desire frequency and press the
OK
button.