


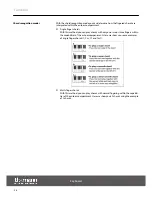


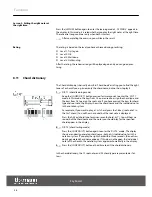
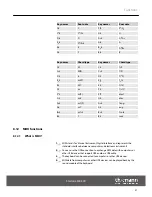
8.3.2 Starting Auto Accompaniment (all tracks)
1.
Press the
[STYLE]
button to enter
[STYLE]
mode. The display shows
‘STYLE ’
and
the currently selected Style.
2.
Select the desired Style using the buttons
[+]
and
[–]
or the numeric buttons.
3.
Press the
[CHORD]
button to enter Chord Recognition mode. The area defined
for the left hand becomes the Auto Accompaniment area and chords played
here are automatically recognized and used as a base for the Auto Accompani‐
ment with the selected Style.
4.
Press the
[SYNC START]
button to turn on the Synchronous Start function. The
indicators for the beats within the bar are flashing in the display according to
the set tempo. Once you play a chord with your left hand, Auto Accompani‐
ment will start.
5.
Try playing other chords with your left hand.
6.
Press the
[START/STOP]
button again to stop the Auto Accompaniment.
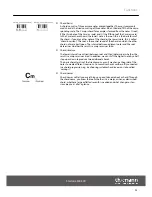
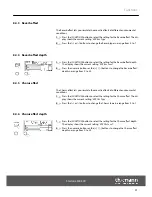
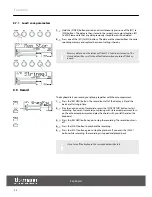
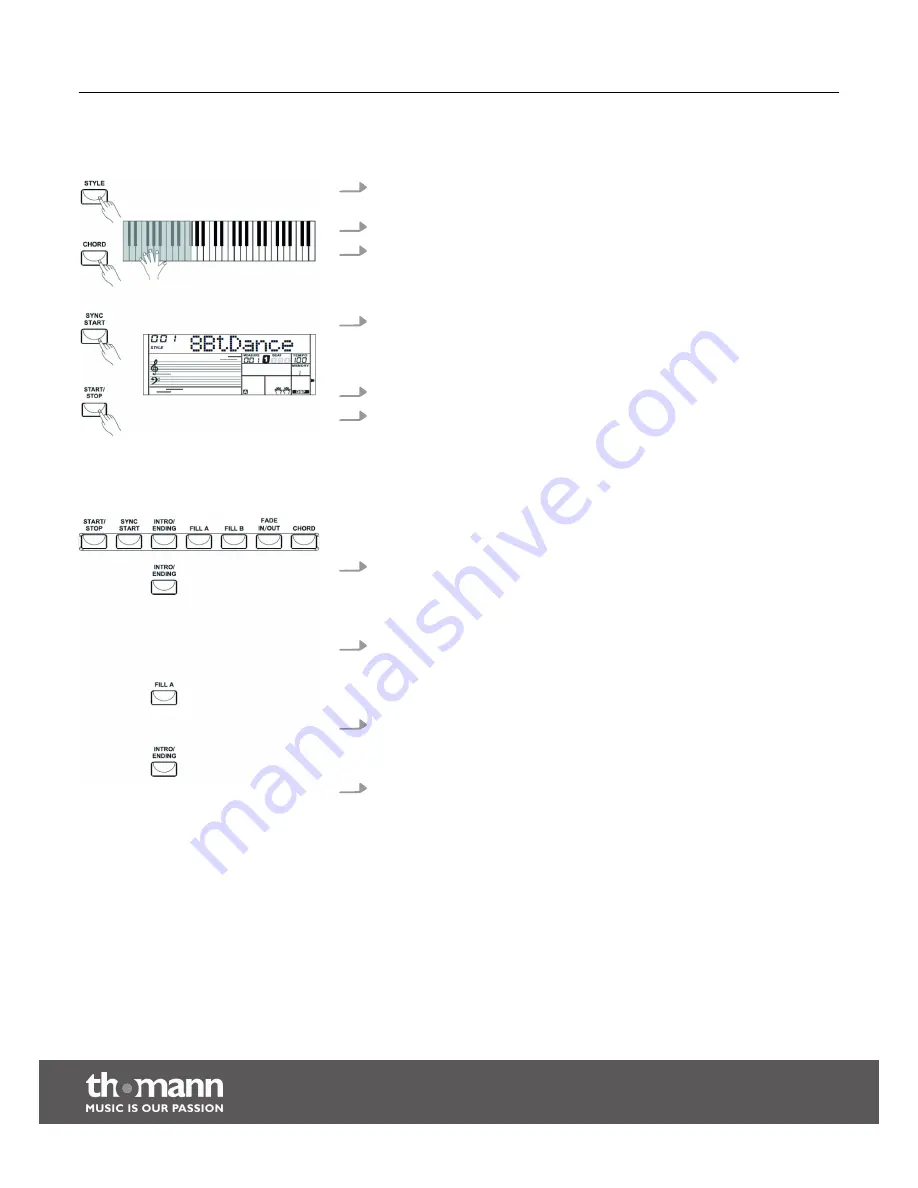
8.3.3 Auto Accompaniment patterns
Auto Accompaniment is controlled via several patterns: Intro, Main (A, B), Fill-in (A,B),
and Ending.
1.
INTRO
To insert an Intro, press the
[INTRO/ENDING]
button before beginning to play.
Depending on the selected Style, the rhythm starts with two to four bars, fol‐
lowed by the main part.
2.
MAIN
The main part is an Accompaniment pattern of several bars that is repeated
indefinitely until a button is pressed to call another pattern of the Auto Accom‐
paniment.
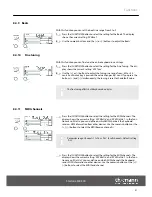
3.
FILL
With activated Auto Accompaniment, you can press the
[FILL A]
or
[FILL B]
button to insert a Rhythm or Accompaniment part.
4.
ENDING
If you press the
[INTRO/ENDING]
button while Auto Accompaniment is acti‐
vated, an ending part suitable for the Accompaniment is started, finishing the
song.
Functions
keyboard
22


