Page 30
Installation, use and maintenance guide
SlimQuadro Idra 14
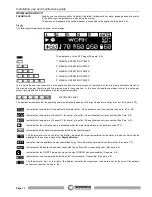
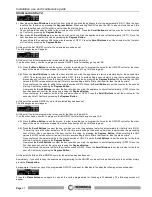
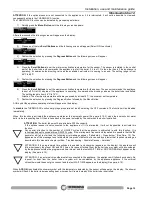
After a few seconds the following screen will appear on the display:
2) Press one of the two
Scroll Buttons and the following screen will appear (Select ON to activate).
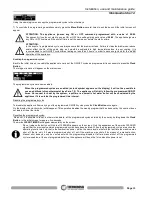
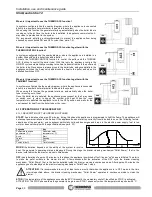
3) Confirm the selection by pressing the
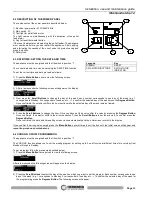
Degrees Button and the following screen will appear:
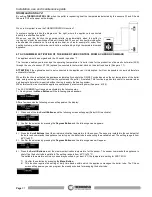
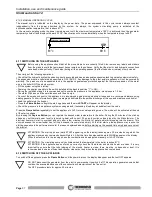
4) Press the
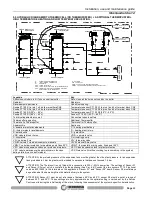
Scroll Buttons to set the activation temperature for Sensor S2. Sensor S2 is installed in the top part of the puffer
and it commands the appliance to start up as it is exhausting the available heat inside it. The setting range is between 40 °C
and 65 °C.
5) Confirm the selection by pressing the
Degrees Button and the following screen will appear.
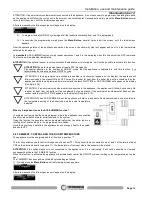
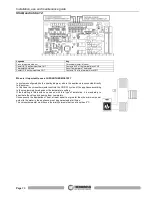
6) Press the
Scroll Buttons to set the activation temperature for Sensor S1. Sensor S1 is installed in the lower part of the puffer
and it commands the appliance to shut off as the puffer is satisfied. The setting range is between 60 °C and 70 °C.
The settable temperature will in any case always exceed, by at least 4°C,the temperature setting for S2.
7) Confirm the selection by pressing the
Degrees Button then press the Menu Button several times to exit the screen, until the
initial screen appears.
At this point the appliance operating status will appear on the display.
To
disable the THERMOCONTROL function simply repeat operations 1 and 2, but this time select the OFF command. The function
will be disabled immediately.
ATTENTION: it is advisable to set the action temperature for sensors S1 and S2 as indicated in the hydraulic diagrams
in this manual. Pay special attention to the number of ON/OFF cycles that the appliance is subjected to with this
function. It is recommended not to exceed three ON/OFF cycles. If the startups are frequent and repeated it is possible
the the generator will fail to start and the following error message appear : “Failed start – Clean burner” (See Para. 10).
The appearance of this message is not attributable to a product defect but is caused by a brazier that requires cleaning
as described in this manual in chapter entitles: “Troubleshooting – Possible Causes – Solutions”.
ATTENTION: By setting the THERMOCONTROL ON the appliance will only start up and shut off autonomously
according to the temperature settings of sensors S1 and S2.
ATTENTION: If the programmed time schedule is enabled (a clock symbol appears on the display) the appliance will
follow exclusively the preset ON and OFF times. No request for heat from the puffer will be considered by the appliance
outside the programmed time interval and the texts WAIT TIME or NO PROGRAM will appear on the display (See
Para. 6.10).
ATTENTION: If an external chronothermostat is connected to the appliance, the appliance will follow it exclusively. No
request for heat from the puffer will be considered by the appliance if the external chronothermostat does not give
consent and the text WAIT TIME appears on the display (See para. 6.10).


