2.1
REV-5
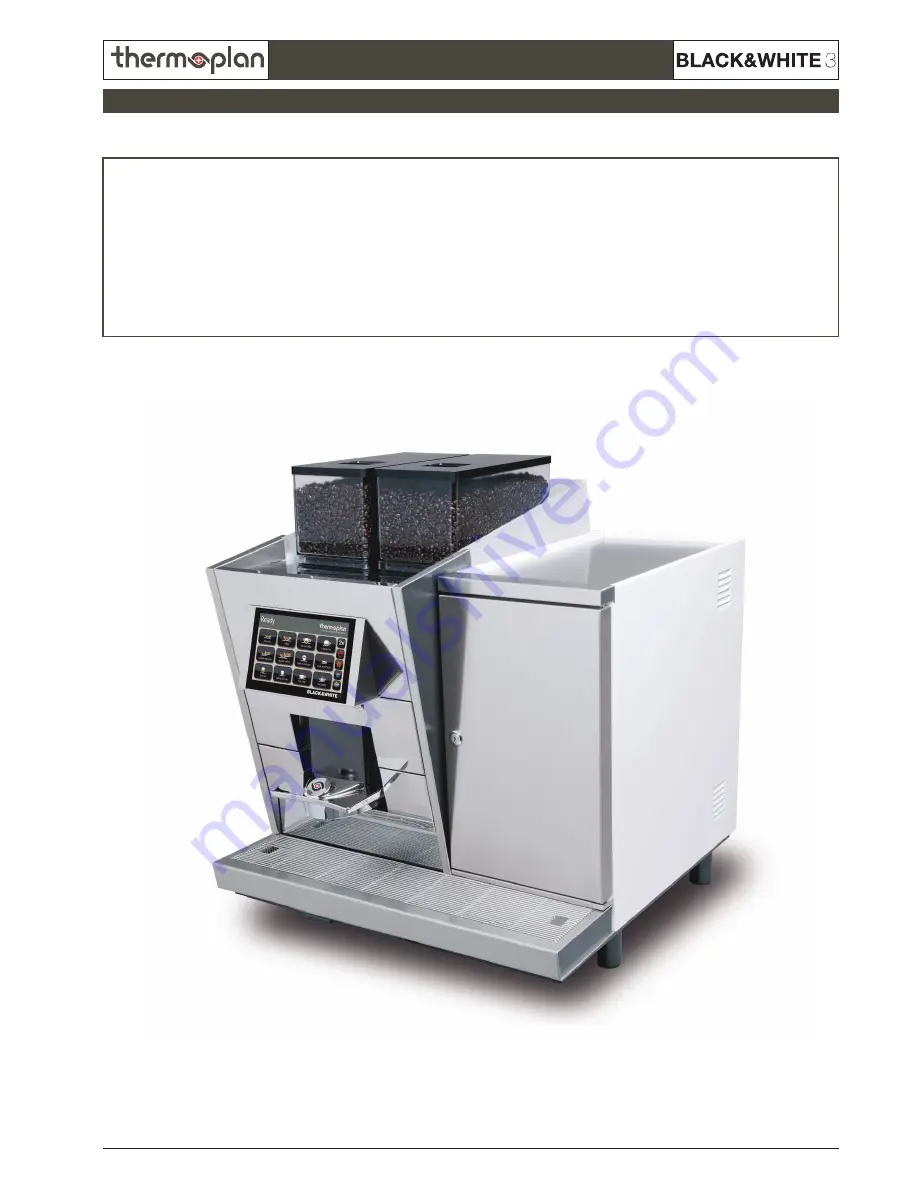
SECTION 2
© 2015 by Thermoplan AG, Subject to change
Technical Manual
Installation / Initial Start-Up / Safety
Page 1: ...2 1 REV 5 SECTION 2 2015 by Thermoplan AG Subject to change Technical Manual Installation Initial Start Up Safety ...
Page 2: ...st edition SO 1 2011 08 30 Different modifications RE 2 2013 11 11 Revision for US market SO 3 2014 11 18 New machines added B CTMC CTM RU added layout changes MST 4 2015 06 01 New section added Handling of electronic components MST 5 2016 02 26 Added installation instructions of UT under counter refrigerator RZ 6 7 8 9 10 Document Installation startup and security ...
Page 3: ... 5 SECTION 2 2015 by Thermoplan AG Subject to change Technical Manual Index Installation 2 4 2 5 Installation refrigerator 2 6 2 7 Start up 2 8 The way to perfect coffee enjoyment 2 9 Safety in operation 2 10 ...
Page 4: ... simple adapters and extensions and the limit power load shown on multiple adapters When the unit is permantly connected to a field terminal a disconnect switch must be installed at the field terminal The disconnect switch shall disconnect all lines from power net except grounding To prevent dangerous overheating uncoil the power cord to its full length When the power cord or plug is damaged you m...
Page 5: ...ther strong detergents Also prohibited to use for cleaning are acetic acid etc Only use comercially available detergents Do not put plastic parts polyamids into microwave ovens at any time as the microvaves will affect and deteriorate the plastic material Do not clean the machine with a jet of water CLEANING Installation and putting into operation Important indications DISPOSAL The packaging mater...
Page 6: ... by one This drawing shows how the correctly installed connection looks like when looking from below This drawing shows how the cables are plugged correctly to connect machine and refrigerator The part correctly mounted is flush between the refrigerator and the machine Install part 2 see set above at the back of the machine Install part 1 of the set under the drip trays between refrigerator and ma...
Page 7: ...ged correctly to connect a BW3 Connect the FEP pipe part 2 at the bottom back of the refrigerator and Connect the milk hose part 1 see set above to the available elbow connector on the left side of the refrigerator and the other end of the pipe to the connector at the bottom of the coffee machine Adjust the milk rinse times in the service menu according to the tube lengths used Recommended setting...
Page 8: ...ee beans Coffee products can now be dispensed Fill chocolate hopper with chocolate powder for gastro machines Switch on refrigerator main switch on the bottom of RF Fill the milk container with milk All products can now be dispensed CAUTION Ensure hygiene The milk container has to be clean and dry Only use heat treated e g pasteurised or UHT milk Only fill the milk container using milk already ref...
Page 9: ...ime is set optimally if no water drips into the cup Relax time During the relax time it is possible for the coffee powder to expand During this process the water already absorbes some of the flavour in the coffee powder For the ristretto and espresso the relax time has to be longer than for a long coffee for which only a short or no prebrew and relax time should be set The relax time is about the ...
Page 10: ...cycles by a trained technician Unplug the power supply before servicing the machine General safety notes Strictly observe the following general safety notes Before moving the machine the milk container has to be emptied Move the machine with a lifting device or with the help of other people Use gloves and safety boots when moving the machine It is forbidden to modify or manipulate the machine The ...