3
In-Line Fuse Retro-Fit Installation - Heat King Units
IMPORTANT: Turn the unit power switch off and disconnect the positive (+) battery cable from the battery.
1. Locate and remove the existing maxi-fuse going from the alternator to the starter.
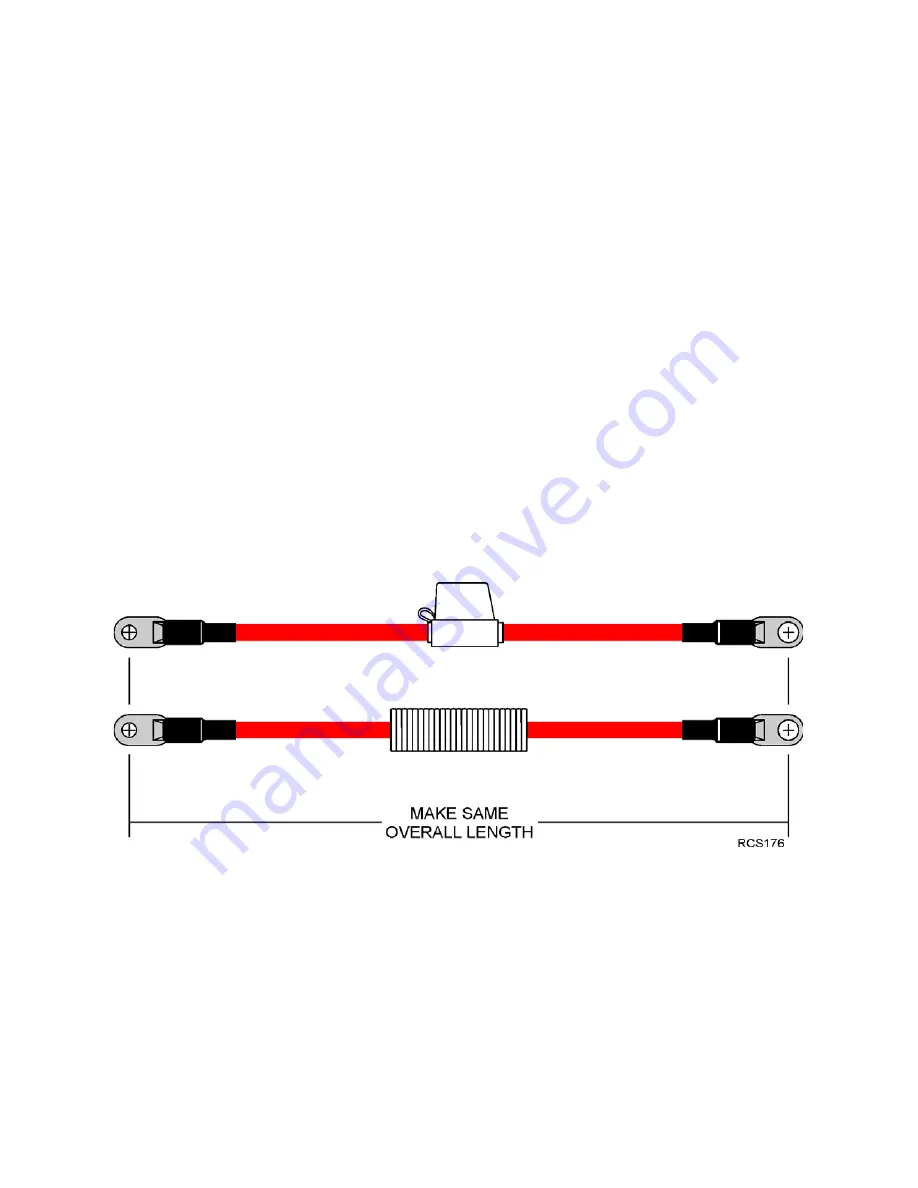
2. Lay the new in-line fuse assembly next to the maxi-fuse assembly. Cut the new in-line fuse wires so the
overall length of the new fuse assembly is the same as the maxi-fuse.
3. Strip 0.50 in. (12 mm) from each wire end.
IMPORTANT: The ring terminals used must be sized to match the battery power stud or lug bolt. Oversized
ring terminals can contribute to high resistance resulting in the fuse overheating and failure. Various size
ring terminals are provided in the kit - choose the correct size for your specific requirement.
4. Slide heat shrink tubing onto each wire positioning them away from the wire ends.
5. Securely crimp and solder a
1/4''
ring terminal onto one wire and a
5/16''
ring terminal onto the other wire.
6. Position the heat shrink tubing over the body of each terminal and wire and then apply heat.
7. Install the new in-line fuse assembly and tighten hardware securely. Use the supplied cable ties to secure
fuse assembly.
•
The in-line fuse should be positioned
vertically
to help promote water drainage.
•
Fuses mounted
horizontally
must have the slit in the sleeving pointing downwards.
8. Discard the maxi-fuse.
Summary of Contents for 42-2499
Page 4: ...4...


