


37
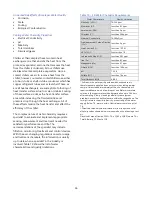
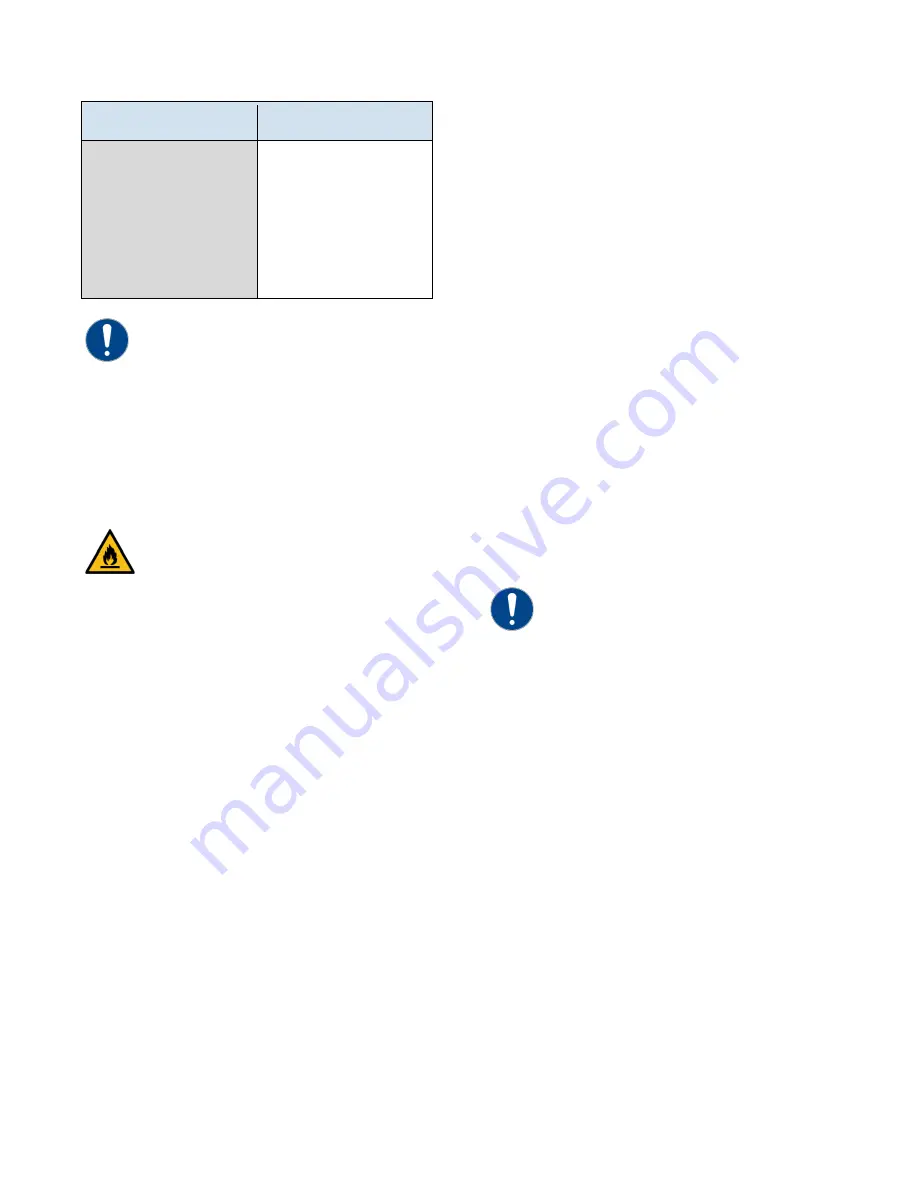
Table 20 - Recommended Glycol Solutions
Chilled Water
Temperature
Percent Glycol
By Volume
50°F (10°C)
Not required
45°F (7.2°C)
5 %
40°F (4.4°C)
10 %
35°F (1.7°C)
15 %
30°F (-1.1°C)
20 %
25°F (-3.9°C)
25 %
20°F (-6.7°C)
30 %
CAUTION: When your application requires the use of
glycol, use industrial grade glycol specifically designed
for heat transfer systems and equipment. Never use
glycol designed for automotive applications.
Automotive glycols typically have additives engineered
to benefit the materials and conditions found in an
automotive engine; however, these additives can gel
and foul heat exchange surfaces and result in loss of
performance or even failure of the chiller. In addition,
these additives can react with the materials of the
pump shaft seals resulting in leaks or premature pump
failures.
WARNING: Ethylene Glycol is flammable at higher
temperatures in a vapor state. Carefully handle this
material and keep away from open flames or other
possible ignition sources.
Step 3 - Check Condenser
There are two possible types of condensers present
in the chiller: water-cooled and remote air-cooled. It
is important to verify the chiller will have adequate
condenser cooling for proper chiller operation.
Water-Cooled Condenser Check
Check the condenser water lines to make sure all
connections are secure. Make sure sufficient
condenser water flow and pressure are available, the
condenser water supply is on, and all shut-off valves
are open. The electronic water regulating valves ship
in the closed position and opens after enabling the
circuit.
Remote Air-Cooled Condenser Check
Check the refrigerant lines to make sure all
connections are secure and the refrigeration is as
described in the installation section of this manual.
Check the remote condenser main power and
control wiring to ensure all connections are secure.
Step 4 – Check Refrigerant Valves
During shipment or installation it is possibe valves
were closed. Verify that all refrigerant valves are
open.
Step 5 – Check Low Temperature Alarm
Make sure the Low Temperature Alarm Set Point is
set appropriately for the operating conditions of the
chiller. The Low Temperature Alarm setting is in a
password protected menu of the chiller controller.
Refer to the control section of this manual for
instructions on how to access this menu. The Low
Temperature Alarm should be set at 10°F below the
minimum chilled water temperature setting that the
chiller will be operating. Also ensure the process
coolant has sufficient freeze protection (glycol) to
handle at least 5°F below the Low Temperature
Alarm setting. All chillers are shipped from the
factory with the Low Temperature Alarm set at 35°F.
This is done to protect against a possible freeze-up if
no glycol has been added to the coolant. Once the
proper glycol solution has been added, the Low
Temperature Alarm can be adjusted to the
appropriate setting.
CAUTION: The manufacturer’s warranty does not
cover the evaporator from freezing. It is vital that the
Freezestat is set properly.
Step 6 – Turn On Control Power
Turn on the control power by turning the control
power switch to "On". The panel displays should now
be illuminated. Due to extreme ambient
temperatures that the unit may be exposed to
during shipment and installation, you may encounter
a High Refrigerant Pressure alarm when you turn on
the control power. If this is the case, reset the alarm.
Do not proceed until all alarms have been reset and
no further alarm conditions are present.


