


— 20 —
Operation
Playing Songs from the USB (Continued)
18
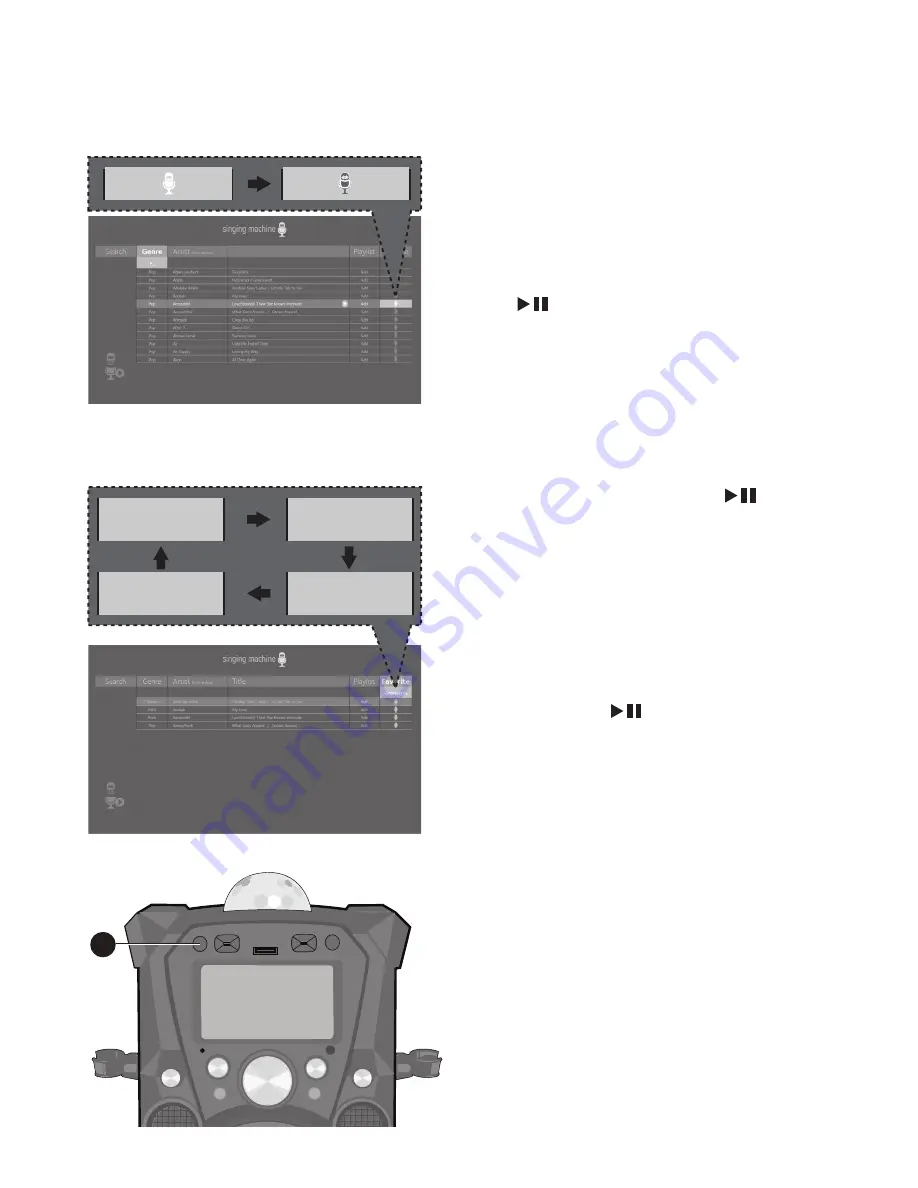
CREATING FAVORITES:
To create a
favorite playlist, select a song using
the
Navigation
5
Up and
Down
buttons, then scroll to the
Favorite
column using the
Navigation
Right
or
Left button. Press the
ENTER
button to confirm the operation;
the icon will turn from white to blue.
Repeat this step to add more songs.
Notes
:
• The Favorites will be stored even if the unit is
turned on or off.
• You can always edit Favorites after you
create them by selecting a song that was
added and pressing the
ENTER
button
again; it will change from blue to white.
19
USING THE PLAYLIST:
To play or
edit your previously created Favorite
playlist, you can use the
Navigation
Right and
Left buttons to
select the
Favorite
tag. Then press
the
ENTER
button to show the
favorites list. Perform the same steps
as shown in the USING THE PLAYLIST
section on the previous page to play
and edit the Favorite playlist.
20
Press the
ON/OFF
button to turn the
unit off.
Note
:
When in the Menu screen, press the MENU
button to go back and change categories; i.e.
while in the Playlist column press the MENU
button to go back and then select the Artist
column, etc.
<PLAY ALL>
<PRIORITY>
<RM ALL>
<REMOVE>
20


