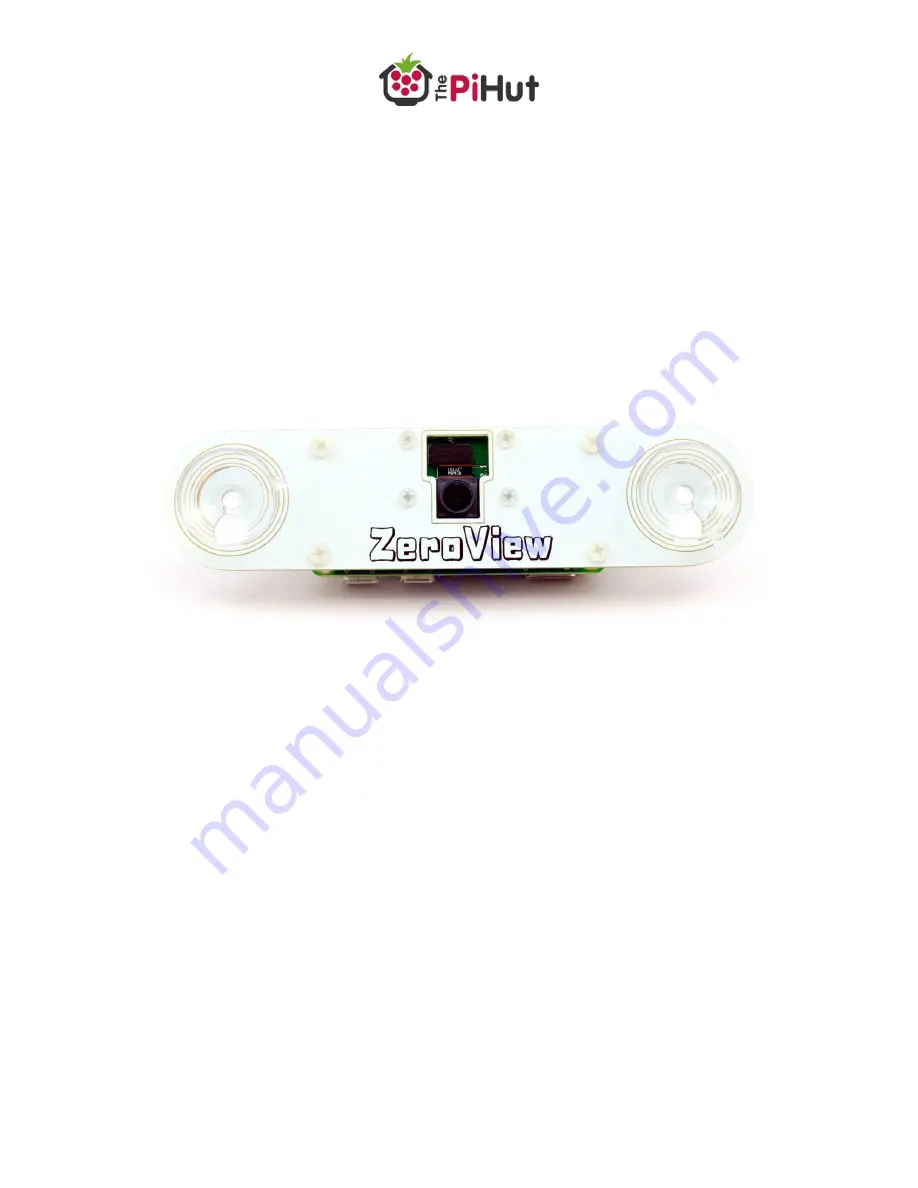
ZeroView
Raspberry Pi Camera Module Suction Mount
User Guide and Information
Product Page: ThePiHut.com/zeroview
Page 1: ...ZeroView Raspberry Pi Camera Module Suction Mount User Guide and Information Product Page ThePiHut com zeroview...
Page 2: ...2 Guide Contents Introduction 3 Design Features 4 Kit Contents 5 Assembly 6 Enabling the Camera 11 Code Examples 13 Time lapse 14 FAQs 16...
Page 3: ...the other side as long as you have permission of course Your camera cable is neatly tucked behind the Pi whilst a set of screws and nuts keeps your camera module as close as possible to the glass to...
Page 4: ...een used to mount your Pi to the ZeroView whilst allowing the camera cable to tuck underneath out of sight The Pi is mounted in a way that allows you to fit HATs and add on boards to further enhance y...
Page 5: ...5 Kit Contents The following parts should be inside your kit bag 1x ZeroView PCB 2x Suction cups 4x Threaded M2 5 10mm spacers 4x M2 5 4mm screws 4x M2 5 nuts 4x M2 6mm screws 8x M2 nuts...
Page 6: ...est your camera module before fitting to the ZeroView a dry run Read all steps through before assembling Clean the window or surface you are planning to stick the ZeroView to Take necessary precaution...
Page 7: ...7 Assembly Steps 1 Check you have everything you need Go back up to the Kit Contents section for a full list 2 Start by pushing the 6mm M2 screws through the 4 centre holes...
Page 8: ...ps keep the camera module sensor from touching the glass 4 Next place your camera module on the rear of the board with the sensor through the large centre hole The camera s mounting holes should slide...
Page 9: ...9 5 Fit the M2 5 spacers to the outer 4 holes using the 4mm M2 5 screws to fix in place The spacer section should be at the rear of the board with the screw heads at the front of the board...
Page 10: ...he way You will not need to pinch the camera cable Tip If you are using a Raspberry Pi A remove the lower spacers 7 Lastly attach the suction cups by pushing the mushroom head into the larger hole at...
Page 11: ...i s settings Don t worry it s super easy Open a terminal session and enter the following command sudo raspi config You should now see a screen like this below Use the arrow key to select the Enable Ca...
Page 12: ...12 You will then return to the main configuration tool menu Select Finish and then select Yes when the tool asks if you want to reboot Once rebooted your camera module will be ready to use...
Page 13: ...cond video we use the raspivid application raspivid o video h264 t 20000 To shoot a 5 second slow motion video we use the same command with some additional parameters This example is a 5 second clip a...
Page 14: ...Use it on a window to capture the changing weather Attach it to a fish tank or pet enclosure to view movements over time Use it on a side rear car window to capture your journey Attach it to an offic...
Page 15: ...amera module s live stream from your phone laptop tablet or any other device that offers a web browser Tip You can even view the stream from outside of your home network if you forward ports and set u...
Page 16: ...the old camera module with the ZeroView A The ZeroView works with the original v1 3 and new v2 1 camera modules The cut out in the middle of the board ensures that both types fit without any bending...
Page 17: ...andard camera module however you should ensure a source of infra red light is used on your photography subject Q What surfaces does the ZeroView work on A The included suction cups are designed to wor...