Owner’s Manual
COM
-DB90
Mobile Radio &
S4S
Stereo Intercom
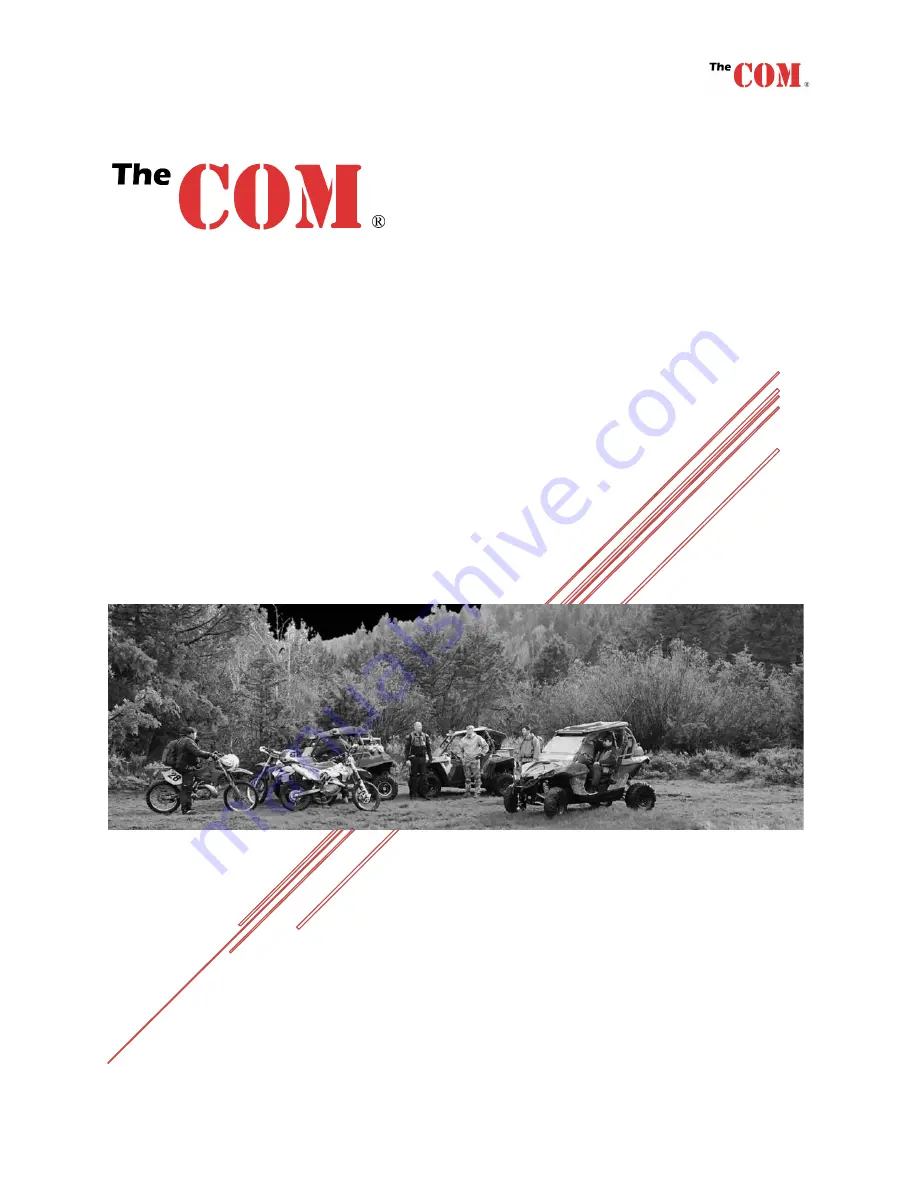
Premium UTV Communication System
Page 1: ...Owner s Manual COM DB90 Mobile Radio S4S Stereo Intercom Premium UTV Communication System...
Page 2: ...unit should give you good service Please read these instructions carefully by doing so you will get full use of the products This Manual is broken up into parts 1 Radio manual 2 Intercom manual Email...
Page 3: ...wering TheCOM 10 Turing off the Mobile Radio 10 Operations 10 Adjusting the volume 10 Receiving Transmitting a Call 10 Selecting a Channel 10 Toggling between Bands A B C D 11 Function Menu 12 Other S...
Page 4: ...et Headsets 27 Mic Placement 27 Fitting the headset parts to your helmet 27 Front Keypad Controls 29 Power On Off 29 Volume Controls 29 VOX 29 Rear Intercom Ports 30 Power Wires 30 PTT 30 Radio 30 Aud...
Page 5: ...alter or adjust the settings inside the mobile radio to exceed those limitations Any adjustment to your radio must be made by qualified technicians This device complies with Part 15 of the FCC Rules...
Page 6: ...g in permissible transmissions only avoiding channel interference with other users and being prudent with the length of your transmission time To obtain a license or ask questions about the license ap...
Page 7: ...with the general population or uncontrolled environment exposure limits transmit no more than 50 of the time The radio generates measurable RF energy exposure only when transmitting The consumer must...
Page 8: ...are damaged or lost immediately contact your dealer or us at info utvcom com Front of the Radio 1 V M Mode Switch Channel Frequency 2 Monitor Moni function 3 Call key 4 FM radio function key 5 Power O...
Page 9: ...simple channel driven radio leave on memory mode Current band indicator similar to AM and FM on your car radio Radio Volume press and hold to power down or power up Channel Selector or press to enter...
Page 10: ...on for S4S intercom connection Pinout diagram below 2 DATA Programming Jack TRS 3 5 mm Restricted to comply with FCC Part 90 3 Cooling Fan 4 SO 239 RF Antenna Connector Connects to PL 259 Antennas 5 1...
Page 11: ...e down 4 EXIT Exit the ABCD band selection activate alarm Long Press 5 SCAN Scanning function 6 LOCK High Low Power Toggle Keypad Lock Long Press 7 0 Number 0 8 1 Number 1 9 2 Number 2 10 3 Number 3 1...
Page 12: ...Narrow Band Output power H L DTF signaling Frequency Reversal CTCSS Tone Keypad Lock Radio can Transmit Receive Battery indictor Shows Receive signal intensity Shows transmit output power Shows microp...
Page 13: ...any lengths that typically fit most UTV s a If you have extra length try to re rout the coax to use up the extra length b Never coil the coax in a coil or coil the extra around the antenna 6 Route the...
Page 14: ...o the local weather channel see below common channels for weather frequency and slowly turn the radio volume clockwise until desired volume is clear Sometimes backing the volume on the radio slightly...
Page 15: ...Toggling between Bands A B C D Pressing the Exit ABCD will toggle between the four different band on the radio Current Main Band indicator Band A B C D This Icon shows that this band is being monitor...
Page 16: ...band standby M B C Main band B C band standby M B D Main band B D band standby M C D Main band C D band standby M A B C Main band A B C band standby M A C D Main band A C D band standby M B C D Main b...
Page 17: ...ugh speaker Off No DTMF tone heard DS ST Only manually keyed DTMF codes are heard ANI ST Only automatically keyed DTMF codes are heard DT ANI All DTMF codes are heard 15 BCL Busy Channel Lockout On Pr...
Page 18: ...ftware 23 EMC TP Alarm Mode ALARM Turn on alarm sound ANI Send alarm code and ID Code Both Both of the above Off Alarm mode completely disabled 24 EMC CH Alarm Channel 000 199 Specified Alarm Channel...
Page 19: ...ray 37 STA FC Status Top bar display foreground color text Select Color Black White Red Blue Green Yellow Indigo Purple Gray 38 STA BC Status Top bar display background color Select Color Black White...
Page 20: ...ter receiving correct CTDCS TONE Forward after receiving correct mono audio Menu 42 DTMF Forward after receiving assigned DTMF code ANI 52 TMR MR TMR Return time delay to primary channel this is the t...
Page 21: ...7 Menu Menu Name Description Secondary Menu Notes On After energizing you must press the power button to power on 58 RESET Reset the radio to factory defaults VFO Menu reset ALL Menu and channel reset...
Page 22: ...ange the PTT ID code Refer to Function menu to display PTT ID Scanning Modes The scanner is configurable to one of three ways of operation Time carrier or search each of which is explained in further...
Page 23: ...eeded Keypad is not responding or radio is not changing Make sure the keypad and radio is not locked look for the lock icon in the radio display Refer to the function menu to unlock the keypad radio P...
Page 24: ...W x 1 85 H x 7 5 D in Weight 998 g 2 2 lb Receiver Specifications Description Broadband Narrow Band Sensitivity 0 25 V 0 35 V Channel Choice 70 dB 60 dB Intermodulation 65 dB 60 dB Spurious Rejection...
Page 25: ...0 GMRS18 19 UHF 462 6500 GMRS19 20 UHF 462 6750 GMRS20 21 UHF 462 7000 GMRS21 22 UHF 462 7250 GMRS22 31 VHF 151 6250 151 6250 Weatherman 32 VHF 151 7150 151 7150 BFG Relay 33 VHF 154 9800 154 9800 Baj...
Page 26: ...4250 WX4 Weather 55 VHF 162 4500 WX5 Weather 56 VHF 162 5000 WX6 Weather 57 VHF 162 5250 WX7 Weather UHF Ultra High Frequency VHF Very High Frequency ____ Transmission disabled For radio licensing hel...
Page 27: ...s with Respect to Human Exposure to Radio Frequency Electromagnetic Fields 3 kHz to 300 GHz American National Standards Institute C95 3 1992 IEEE Recommended Practice for the Measurement of Potentiall...
Page 28: ...ating background engine noise and preventing excessive sound levels in the headsets Additionally greater connectivity has been provided to accommodate the increasing use of mobile phones and other aud...
Page 29: ...ternal stereos or other 3 5 mm TRS devices White noise filtration The S4S recorded and eliminated white noise during design and prototyping 4 Independent Volume Controls The only stereo intercom on th...
Page 30: ...ry terminals to avoid interference and the cables should NOT be run together with other vehicle wiring The hot wire should be fused with a 10 amp in line fuse when snipping the rear cross bar model po...
Page 31: ...in place See helmet headset install video https utvcom com installation examples All headsets IMPORTANT The white clip should be fastened to the side of the helmet to alleviate strain on the cables If...
Page 32: ...that the mic will be in line with your lips Note where the zip tie clips will secure the boom to the inside hard surface of the helmet Wipe and clean the inside surface with a cloth to remove any dust...
Page 33: ...e and your voice can be adjusted with the control on the front panel marked VOX Increasing this will require a higher speech level to activate the microphone VOX can be disabled if not required by cli...
Page 34: ...ound on the vehicle PTT The Push To Talk PTT is a 3 5 mm TRS connection that uses the Tip and Ring to make a simple switch to activate the radio PTT so you con broadcast outside the car Radio Radio co...
Page 35: ...S 2 Is headset port 2 and the volume is controlled with the 2 keypad on the front panel HS 3 Is headset port 3 and the volume is controlled with the 3 keypad on the front panel HS 4 Is headset port 4...
Page 36: ...t is properly working and is charged Check the inline fuses and replace if needed Check that the intercom is receiving 12 to 13 8 volts Check the input power connections replace if needed Make sure th...
Page 37: ...ps utvcom com Phone 208 779 2891 Email us at info utvcom com Our tech support online for self help is https utvcom com issue resolution Visit our shop at https utvcom com shop TheCOM is a registered t...