


5. PHOTO
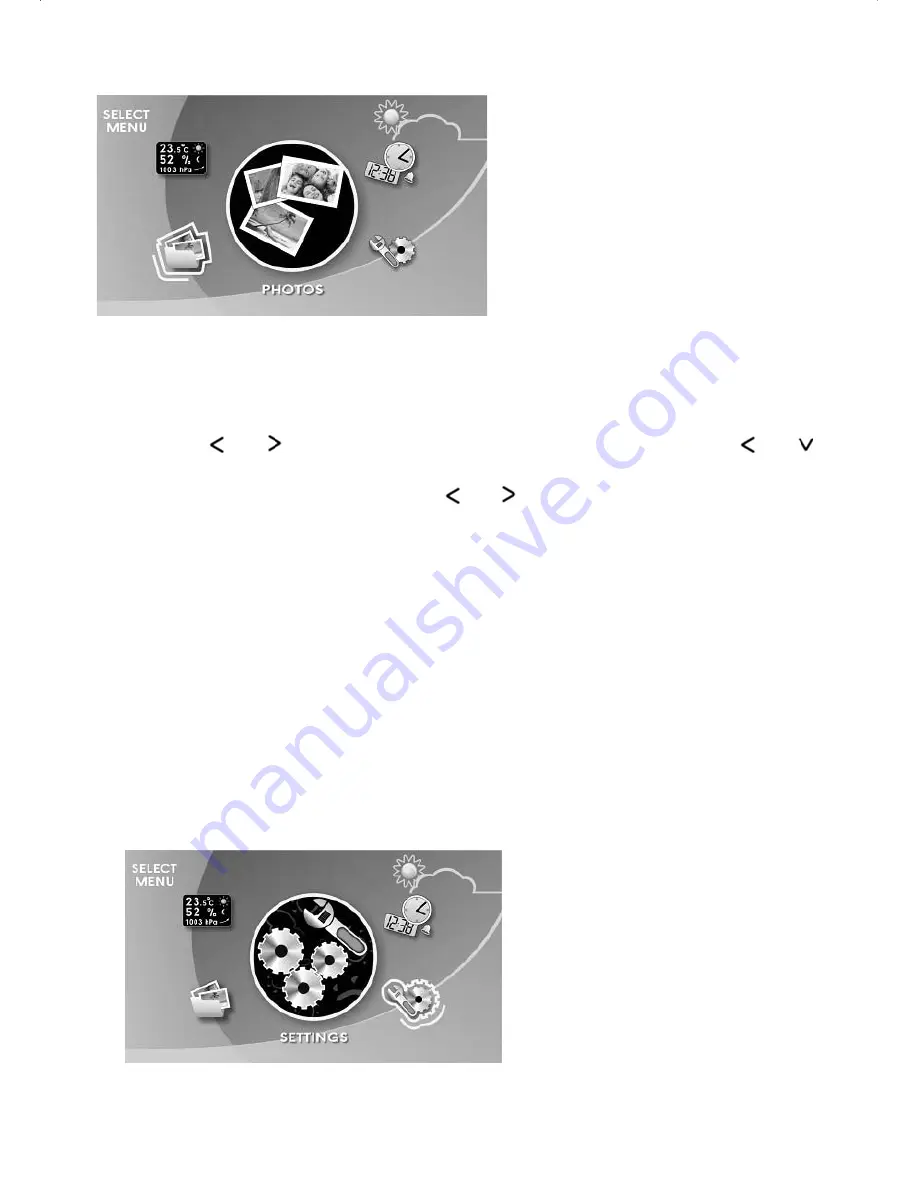
The Photo icon is located on the lower left hand corner of the Main Menu. Once the icon has been
highlighted (see the above image) press the [ENTER] button to confirm your selection.
5.1 Display a photo
Once you are in the main screen of the photo icon you will see a total of 9 prerecorded photos. If
a memory card is inserted, you will see the photos recorded there.
Press the “
” or “
” button to select the desired photo. You can also press the “
” or “
”
arrows to jump to the previous/next page. After the desired photo is highlighted press the [ENTER]
button to increase the size of the photo to a full screen display. You can also scan through the
photos in full screen mode by pressing the “
” or “
” buttons.
5.2 Sizing the screen
You can select the display screen in vertical or horizontal fit by pressing the “\/” arrow.
For Horizontal fit, the displayed photo will fit to the left and right margins. Some extend on the top
and bottom may crop away;
For Vertical fit, the displayed photo will fit to the top and bottom margins. Dark banks may appear on
the left and right side.
5.3 Dimming the screen
When viewing the photos at evening time when the environment is getting dark, it is good to reduce
the screen brightness. To do so, press the “/\” arrow.
5.4 Activate a slideshow
Once you have a photo in full screen mode press the [ENTER] button. The slide show will start
automatically and continues to run until the [ESC] button is pressed to stop the slide show. The
photo will remain in full screen mode until the [ESC] button is pressed returning the screen to the
original photo menu.
6. SETTINGS
The Setting icon is located on the lower right hand corner of the Main Menu. Once the icon has been
highlighted (see the above image) press the [ENTER] button to confirm your selection. You are then
taken to a screen similar to the below image.


