background image


8

Viewing JPEG/AVI files from an SD/MMC card 


Notice: The video-playing function is optional; some Digital Photo 
Frame models may be unable to play AVI files. 
 

i.  Connect the Digital Photo Frame to the DC 9V adapter. 

ii.  Insert the SD/MMC card into the Digital Photo Frame SD/MMC Card 

Port. Turn on the Digital Photo Frame. 

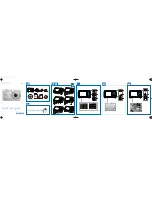
iii.  The Digital Photo Frame will automatically recognise the SD/MMC 

card and display all image thumbnails as below. 


See the following section 4.1 to display images. 
To return to the main menu, press the “ESC” button on the  
Digital Frame (or the “Back” button on the remote control) as shown 
below. 


Viewing Images 
 

1.  To view still images, enter the playback mode first and then 

enter the image thumbnail mode. (The Digital Photo Frame will 
automatically enter the image thumbnail mode right after it is 
turned on. Skip to section 4.1 “Displaying Images.”) 

 
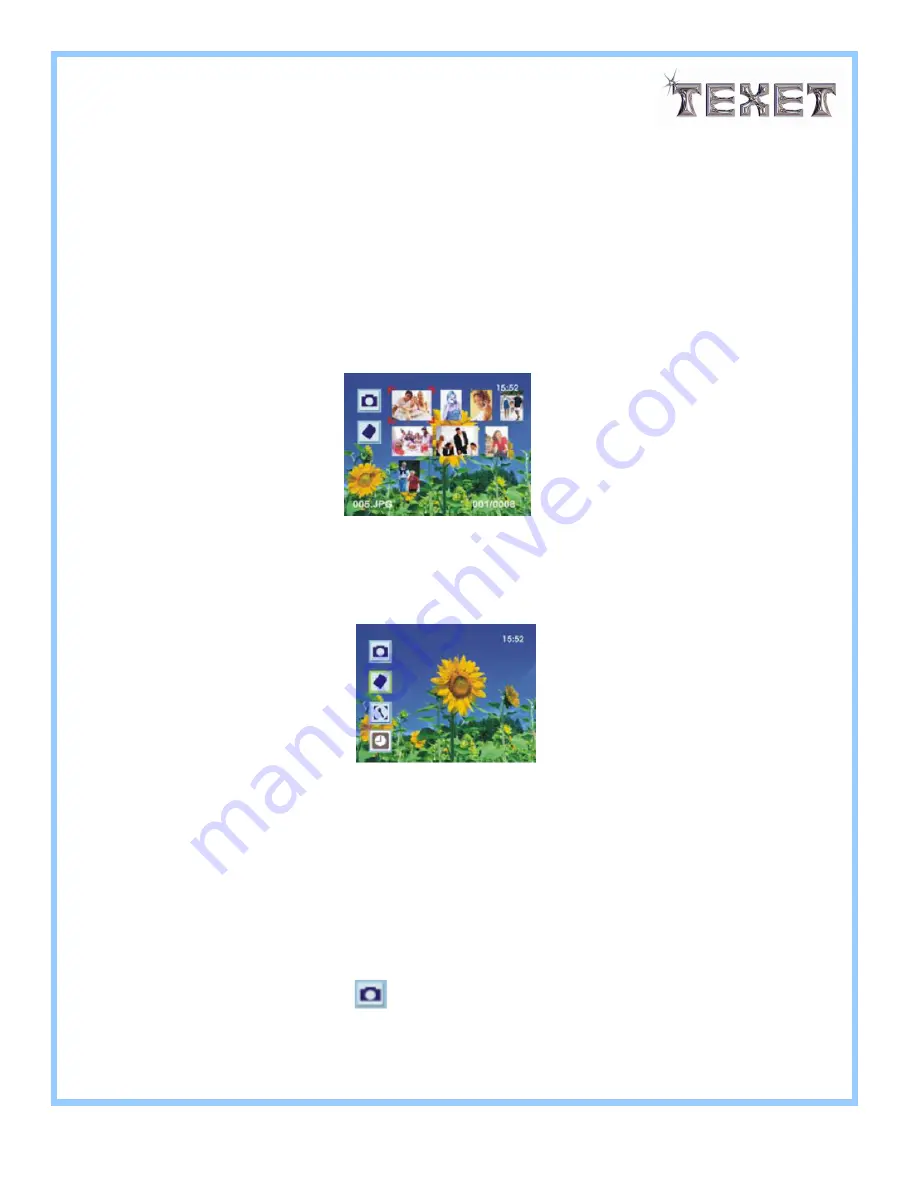
2.  To enter the playback mode, press “UP” or “DOWN” to select 

the playback icon       in the main menu and then press the 
“ENTER” button. 


Summary of Contents for DPF-510

Page 1: ...translated into any language in any form by any means optical electronic recording or otherwise without the written permission of our company We The Hira Company reserve the right to revise this manua...

Page 2: ...2...

Page 3: ...ur Digital Photo Frame 6 Remote Control 7 Viewing JPEG AVI files from a SD MMC card 8 Viewing Images 8 Displaying Images 9 Browsing Images 9 Setting an Image as the Background 9 Setting the Effects 9...

Page 4: ...ion Slot SD MMC Card Slot up to 2GB capacity Speaker Built in Speaker Mono Interface USB 2 0 Infrared IR Remote Control Other Functions Slide Show 7 Photo Effects Photo Rotation Alarm Clock Calendar S...

Page 5: ...o stop the Digital Photo Frame please follow the steps below Removing the Digital Photo Frame from a PC For Windows ME 2000 XP 1 Click on the device icon located on the taskbar Select the device you w...

Page 6: ...6 Getting to Know Your Digital Photo Frame...

Page 7: ...7 Remote Control...

Page 8: ...and display all image thumbnails as below See the following section 4 1 to display images To return to the main menu press the ESC button on the Digital Frame or the Back button on the remote control...

Page 9: ...select a thumbnail to display Press the ENTER button and the image thumbnail will be enlarged 4 2 Browsing Images When an image is enlarged press LEFT or RIGHT to view the next image 4 3 Setting an i...

Page 10: ...laying Video Clips 1 To play video clips enter the playback mode first and then enter the video thumbnail mode 2 To enter the playback mode press UP or DOWN to select the playback icon in the main men...

Page 11: ...ame or the Back button on the remote control to stop video playing 5 1 Setting Video Effects When a video clip stops playing press ENTER to set video effects as shown below 5 1 1 Press LEFT or RIGHT t...

Page 12: ...etails Time setting Time Alarm Press LEFT or RIGHT to select Time or Alarm Mode Set the date and time in Alarm Mode The Digital Photo Frame will beep at the appointed time Language Setting English Fre...

Page 13: ...isplayed images 4 To complete Setup press ESC to exit A prompt will show Save Setting Press ENTER for YES or ESC for NO Calendar Mode 1 Press UP or DOWN to enter the Calendar Mode 2 The date and time...

Page 14: ...ctly like a Card Reader It can be accessed via any Windows user interface Pictures or video clips can be copied moved or deleted in exactly the same way PC files are manipulated See USB Device Unplugg...

Reviews: