


TMP1075EVM Setup and Operation
16
SNOU157A – March 2018 – Revised April 2018
Copyright © 2018, Texas Instruments Incorporated
TMP1075EVM User's Guide
7
TMP1075EVM Setup and Operation
CAUTION
Do not exceed the power supply rating of the MSP430.
7.1
Launching and Running the Software
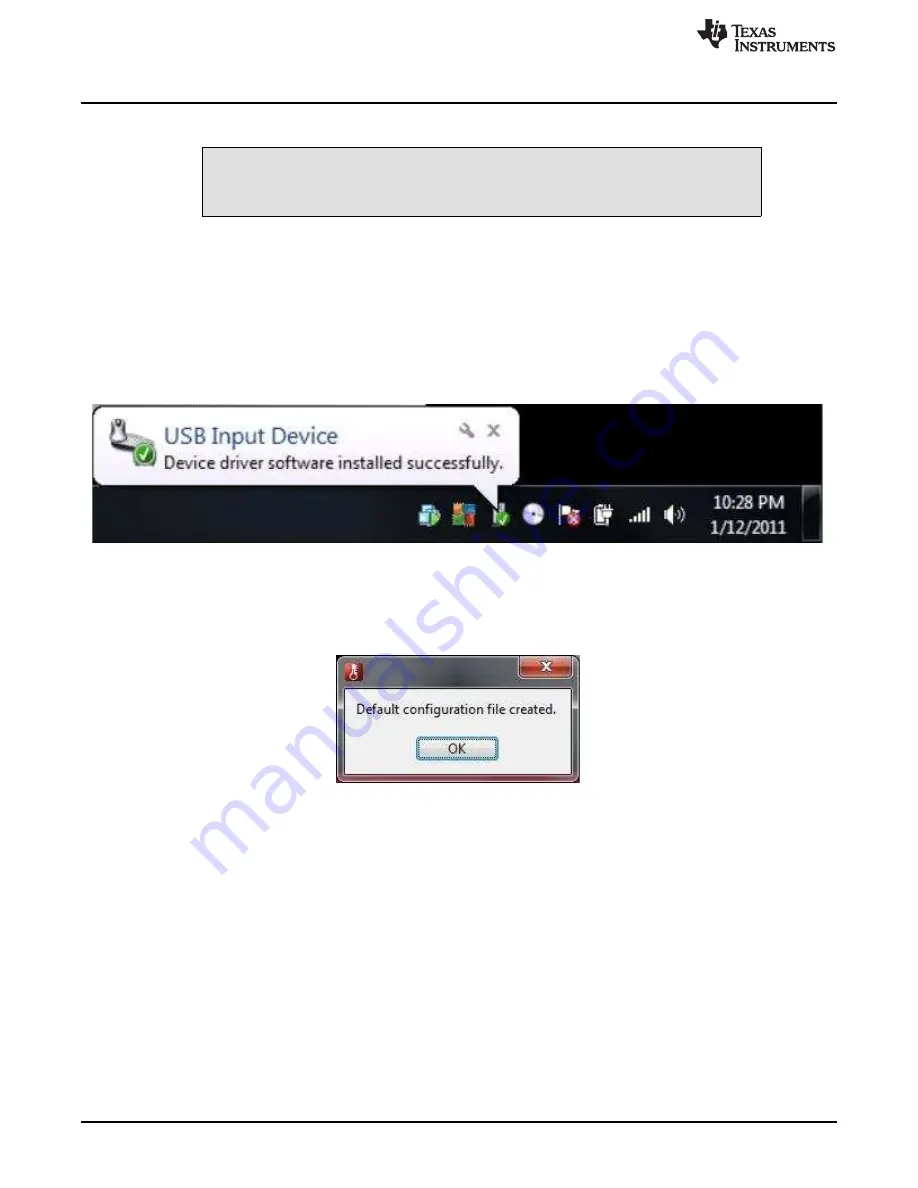
The TMP1075EVM is recognized by the host as a generic human interface device (HID); therefore, there
is no required proprietary driver to install on the user's PC. It shows the typical response to connecting the
USB-to-I2C converter board to a PC USB port for the first time. Typically, the computer responds with a
Found New Hardware: USB device pop-up dialog. The pop-up window then typically changes to Found
New Hardware: USB Human Interface Device. This pop-up indicates that the device is ready to be used.
The USB-to-I2C Converter uses the human interface device drivers that are part of the Microsoft
Windows® operating system.
Figure 19. Confirmation of USB-to-I2C Converter Driver Installation
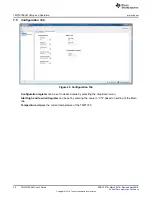
The TMP1075EVM GUI can be run from the Start Menu or from Windows desktop. It is located in a folder
Start -> Programs -> Texas Instruments -> TMP1075EVM -> TMP1075EVM.exe. Clicking the OK button
will take the user to the main window of the GUI.
Figure 20. Default Configuration
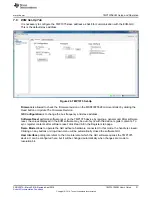
1. Connect the TMP1075EVM to a USB port on a PC as shown in
2. Launch the TMP1075EVM software by clicking on Start >> All Program >> Texas Instruments >>
TMP1075 EVM >> TMP1075EVM.exe. The TMP1075 EVM GUI should automatically initialize and
connect to the HID port. A successful connection will show
HARDWARE CONNECTED
highlighted in
green color on the bottom of the GUI status indicator. If there is a connection problem please verify if
the TMP1075EVM has an established connection with the PC. A fail connection if the status indicator
shows as
DEMO MODE
.