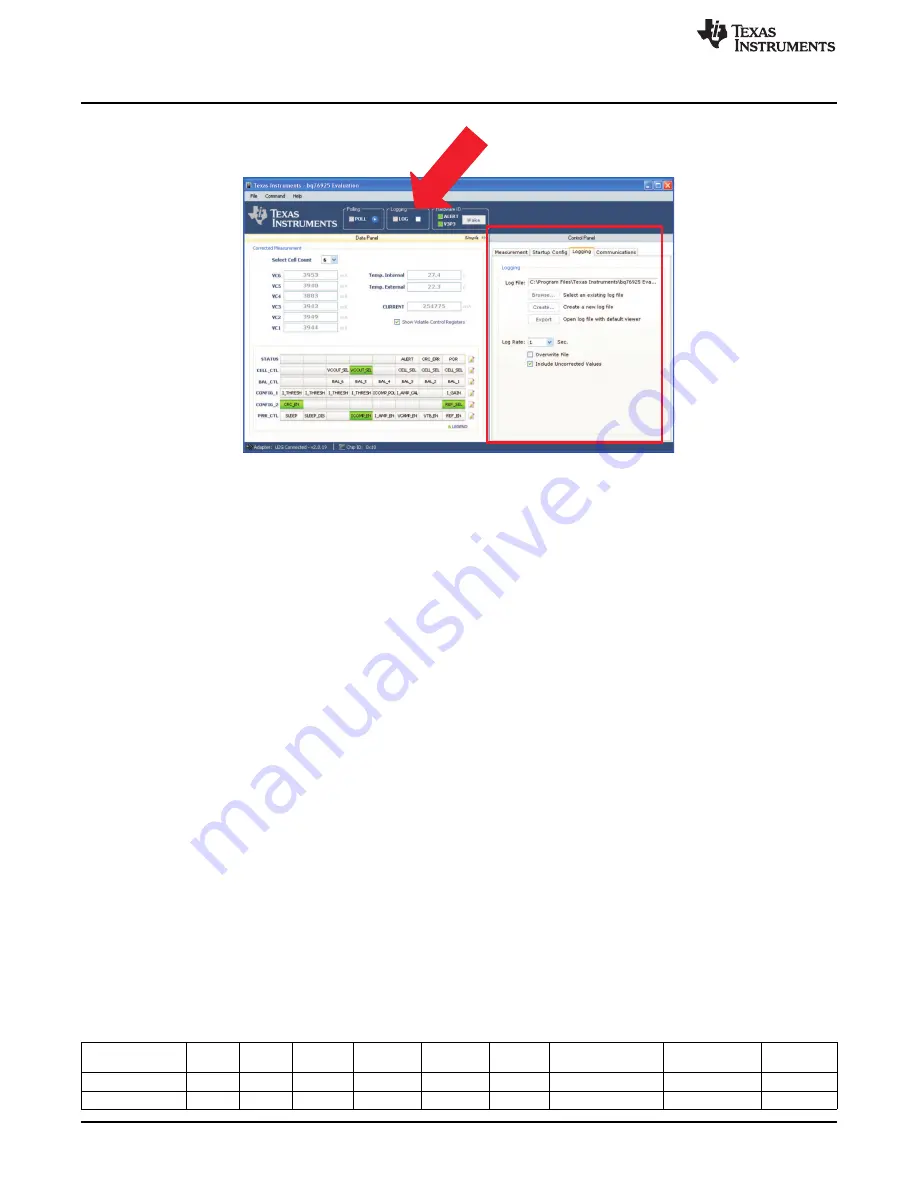
Control Panel Demonstration
Figure 17. The Logging Tab
5.12 Log File
Three buttons specify the file to be used during logging.
1. The Browse
…
button opens a dialog box to let the user choose an existing log file to use to record the
logged data.
2. The Create
…
button opens a dialog box to let the user create an existing log file to use to record the
logged data.
3. The Export
…
button opens the file listed in the text box preceded by Log File: in the program assigned
to open Common Separated Value (.csv) files on the computer. Typically, this is a Microsoft Excel
™
file.
5.13 Log File Options
The logging rate can be set by the drop-down box marked Log Rate. The logging rates are in seconds.
Two checkboxes offer options for how logging is done. The first checkbox labeled Overwrite File deletes
any existing data in the specified log file (.csv) each time logging is started. The second checkbox labeled
Include Uncorrected Values includes all of the uncorrected values for VCOUT and VIOUT.
5.14 Enable/Disable Logging
Logging is enabled by clicking the checkbox on the home screen of the software marked Logging. Then,
only after polling is started does the log file start to record samples of data. Logging is halted when polling
is stopped.
Editing of the Logging Tab is disabled when logging is enabled.
5.15 Log File Example
is an example of a log file recording. This file only includes the corrected data.
Table 17. Example Log File
Int.
Ext.
TimeStamp
VC6
VC5
VC4
VC3
VC2
VC1
Current
Temperature
Temperature
6/15/2011 9:52
3953
3935
3878
3943
3949
3944
27.4
26.8
–
722
6/15/2011 9:52
3953
3940
3878
3938
3949
3940
27.4
26.7
–
722
26
bq76925EVM Evaluation Module
SLUU514
–
July 2011
Copyright
©
2011, Texas Instruments Incorporated


