12
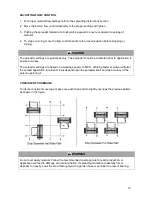
Your spreader needs to be pushed at three miles per hour, which is a brisk walking speed. Slower
or faster speeds will change the spread coverage. Wet spreading material will also change the
flow rate. Clean your spreader thoroughly after each use. Wash between the moving parts at
bottom of the hopper.
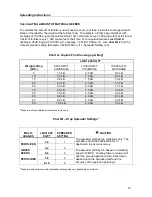
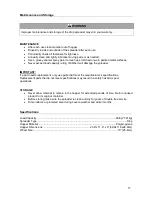
Technical specifications on the drop spreader are provided in the “Specifications” section of this
manual.
Controls and Features Identification
Read this owner’s manual before operating the equipment. Familiarize yourself with the location
and function of the controls and features. Save this manual for future reference.
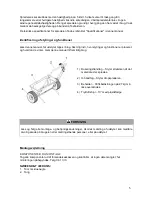
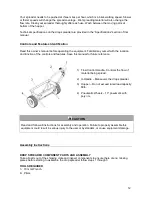
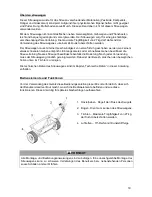
1) Flow Control Handle– Controls the flow of
material being spread.
2) U-Handle – Maneuvers the drop spreader.
3) Hopper – Do not exceed rated load capacity
60lb.
4) Pneumatic Wheels – 10” pneumatic with
poly rim.
CAUTION
Read and follow all instructions for assembly and operation. Failure to properly assemble this
equipment could result in serious injury to the user or bystanders, or cause equipment damage
.
Assembly Instructions
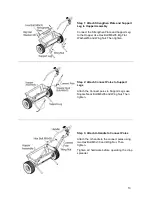
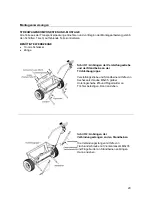
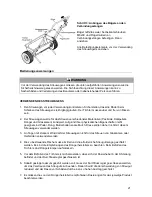
DROP SPREADER COMPONENT PARTS AND ASSEMBLY
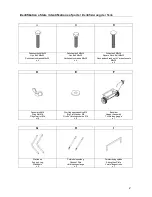
Take all parts out of the shipping crate and inspect components to ensure there are no missing
pieces before starting to assemble the drop spreader follow steps 1 through 3.
TOOLS REQUIRED
3. 10 mm Wrench
4.
Pliers


