Basic
O
peration
18
19
Initial Installation
Setting up the player
■
Switch the TV on.
■
You can also start "AUTO SEARCH" in the SETUP "PR PRESET"
➝
"AUTO SEARCH".
■
To tune in new stations (manual tuning) and to enter station names see page 27-28.
LANGUAGE SET
ENGLISH
DEUTSCH
ITALIANO
ESPAÑOL
FRANÇAIS
NEDERLANDS
PR+/-:SELECT
OK:CONFIRM SETUP:END
SETUP:END
PLEASE WAIT...
CH 25
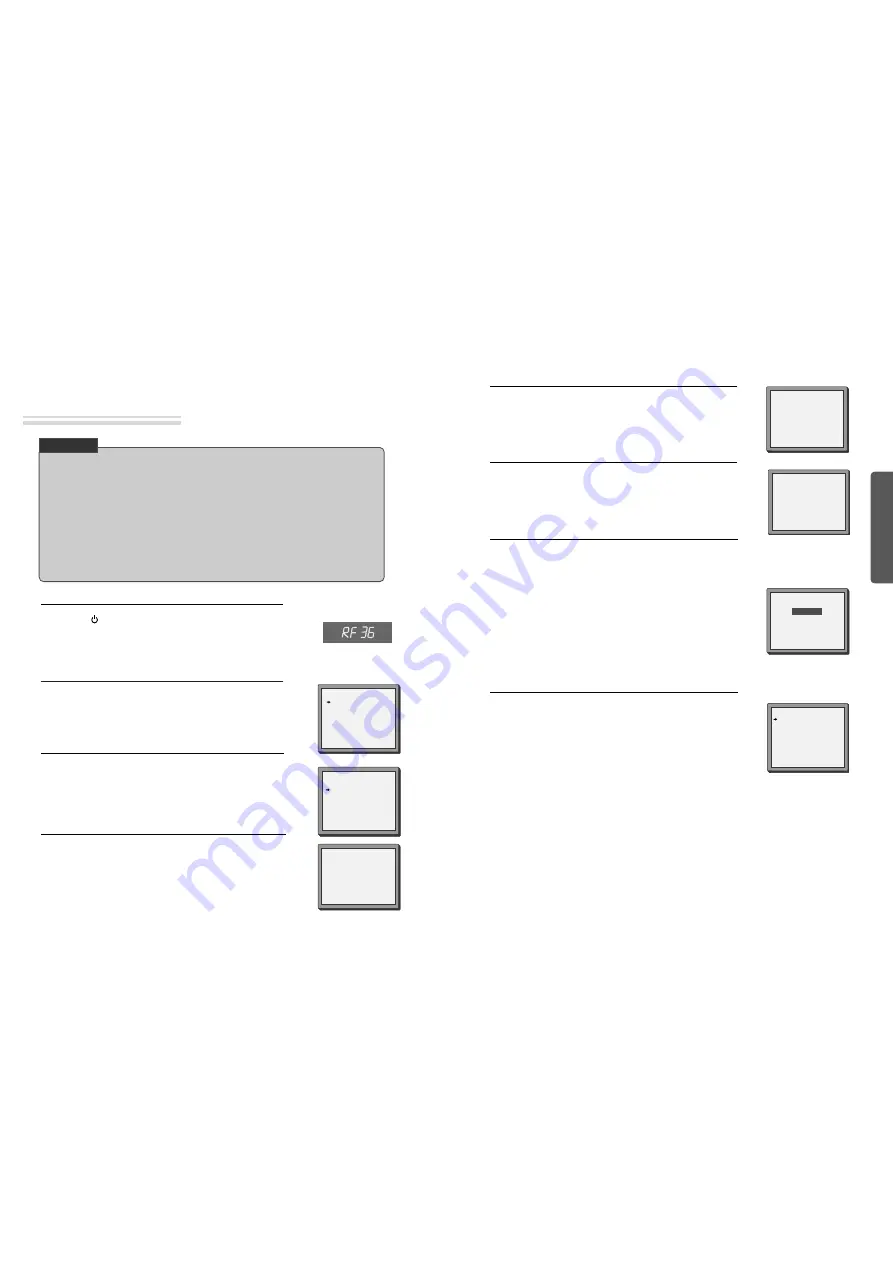
You should see this picture the first time you switch on the TV
and player.
Choose your language.
2
Press
on the remote control and RF36 will be displayed on
the front of your player.
Select a free channel on your TV and manual tune the channel
until the blue screen as shown in step 2 appears. Refer to the TV
manual for more details.
1
Then choose your country.
3
OK for "AUTO SEARCH!".
"AUTO SEARCH" tunes in all the stations you can receive in your
country.
4
• If you don't see the menu picture below after you press the menu button it may be because you
don't use a RCA cable and you need to tune the television to the player (see 'Connecting your
player through RF lead' on page 12). Normally a new player outputs a signal via the RF lead on
transmission channel 36. Search for the menu picture with the channel tuning function of your TV
set (see its user manual). Some televisions allow you to key in the transmission channel number in
their tuning set-up menu.
• In case there will be interference problems with other transmission channels when the player
outputs a signal on transmission channel 36, the AUTO SEARCH process usually recommends an
alternative, as in step 4.
• There is a another way of setting RF output channel, if needed please see 'Connections and
Assembling on page 35'. It does not apply to models which do not generate the RF output signal.
CHECK IT!
COUNTRY SET
AUSTRALIA
NEW ZEALAND
PR+/-:SELECT
OK:CONFIRM SETUP:END
Press the [OK] button to confirm the recommended RF channel.
Should you wish the stations to have the same numbers as those
used on the TV, follow the instructions in "Sorting programme
locations" on page 28.
Else ...
exit the basic installation function and enjoy your player.
7
Should you wish the stations to have the same numbers as those
used on the TV, follow the instructions in "Sorting programme
locations" on page 28.
Else ...
Press the SETUP button to exit the set-up menu and enjoy your
player
8
PLEASE CHANGE THE TV
CH TO 34.
IMPORTANT!
RF OUTPUT SET
0-9:SELECT(27-69)
OK:CONFIRM SETUP:END
CURRENT
CH 36
RECOMMENDED CH
34
If other stations are positioned on near the current RF OUTPUT
CH, the guide message appears automatically.
The player recommends the optimal RF OUTPUT CH number
automatically.
6
If the clock has not been set, the clock setting screen will appear.
Please see “Setting time and date” on page 20.
5
• If the signal from the player is coming into the TV through
the RF lead, the picture will disappear when you press OK
at step 8. You will need to re-tune your television to the new
UHF transmission channel.
MANUAL SET
PR01 P-01
PR08 P-08
PR02 P-02
PR09 P-09
PR03 P-03
PR10 P-10
PR04 P-04
PR11 P-11
PR05 P-05
PR12 ----
PR06 P-06
PR13 ----
PR07 P-07
PR14 ----
PR+/-:SELECT
OK:CONFIRM SETUP:END
Up [PR+], down [PR-], OK and 'confirm'
• Notice the on-screen prompts which the video recorder generates to tell you which button to press. In general
the up and down 'navigation' buttons select or highlight something and the OK button confirms it .
• [PR+] and [PR-] are the same buttons as 'up' and 'down'.
• In the DVD section it is usually the left and right buttons which 'select'.
CLOCK SET
0-9:SETUP (HOUR)
/
➝
:CORRECT SETUP:END
TIME - - : - -
DATE - - / - - /- - - -
➝
All manuals and user guides at all-guides.com


