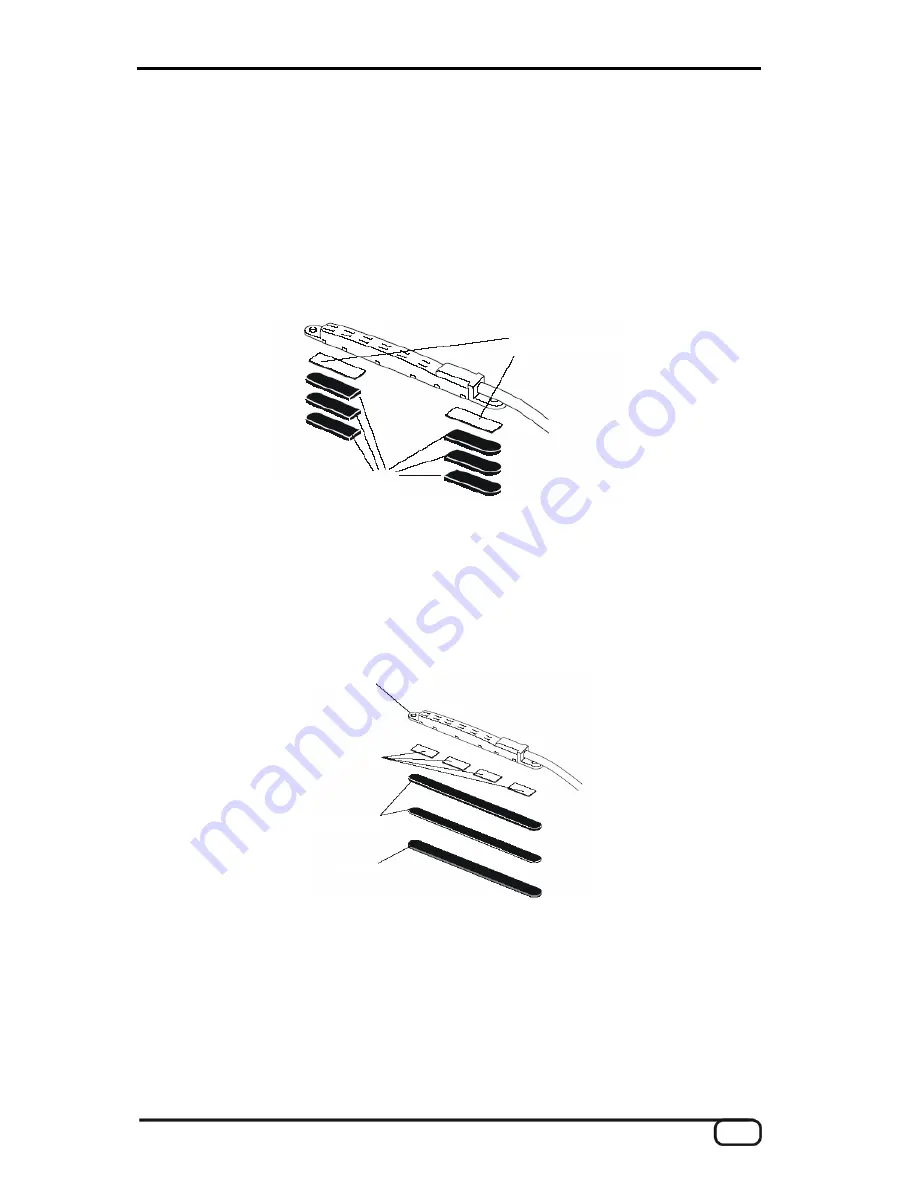
Note:
Do not initially remove the protective backing from the adhesive when adjusting the
height of the pickup. The protective backing increases the thickness of the pickup
pads and spacers by 0.1 mm – please take that into consideration when using multiple
spacers.
If the mounting surface is not level – when applying the pickup to a guitar with a
curved top, for example – add pieces of spacer shortened to one quarter or one third
of their original length at either end of the pickup. The spacers can be cut easily with
scissors.
adhesive strips
spacers
2. Attaching the pickup
Remove the strings from the instrument. Apply one layer of double-sided adhesive (mul-
tiple strips) to the underside of the pickup and remove the protective backing. Next, apply
the required spacer(s) by removing their protective backing and applying them to the un-
derside of the pickup. Carefully apply the pickup/spacer assembly to the marked location.
Replace and tune the strings.
pickup
adhesive strips
spacer A, B
pad
3. Checking the height of the pickup
Measure the height of the pickup again and play across the entire range of the instrument
to ensure that the strings do not touch the pickup at any point. If everything is correctly set
up, the installation is complete and the instrument is ready to play.
4. Changing the pickup height
Should it become necessary to change the height of the pickup, remove the strings and
release the pickup from the instrument by inserting a thin, flat object such as the blade of
AXON PU 100 (English)
13


