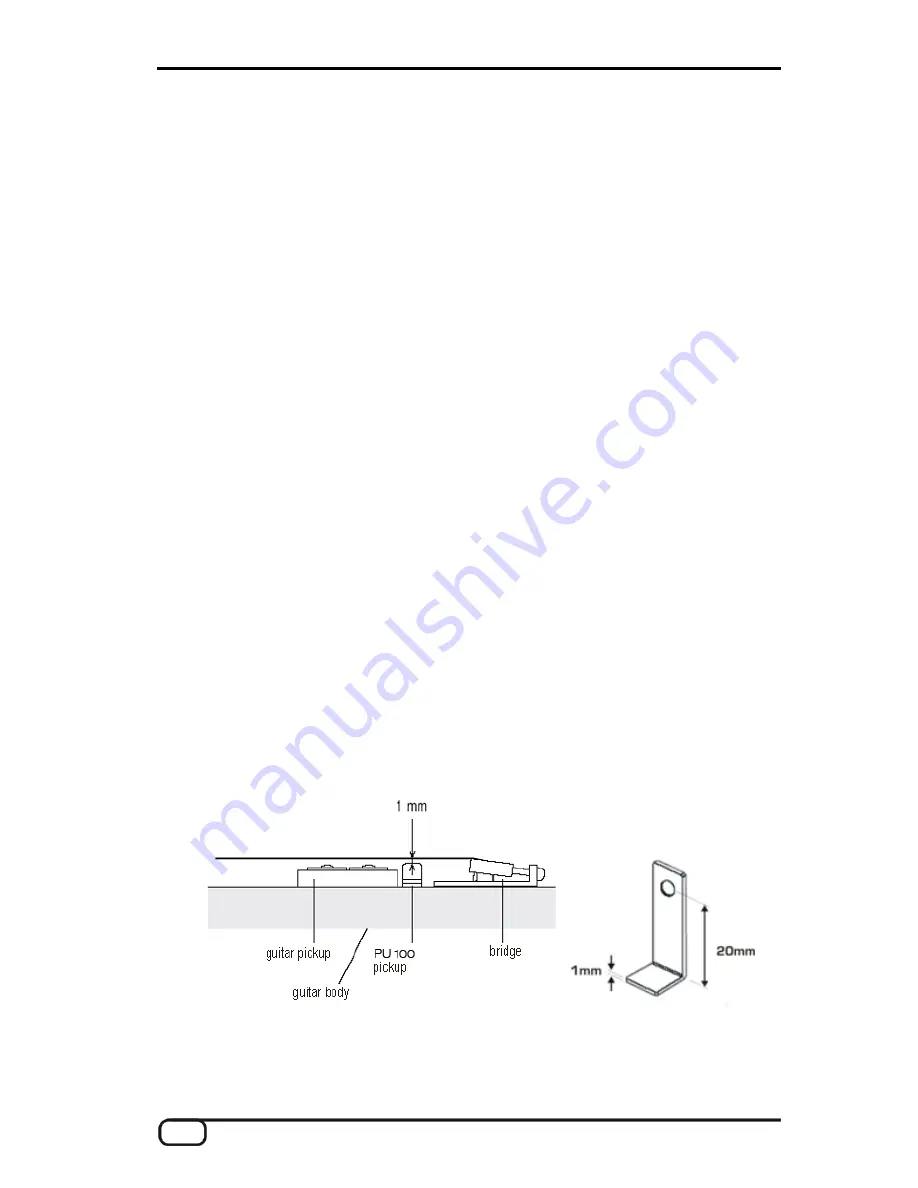
Selecting the mounting method
Mounting with adhesive strips
Permits installation without damaging the body
Requires more time and patience when setting the pickup height
Mounting with screws and springs
Ensures easy adjustment of the pickup height
Guarantees solid mounting of the pickup
Requires holes to be drilled in the body!
Mounting with adhesive strips
1. Adjusting the pickup height
Once you have determined the optimal mounting position, prepare the installation. How-
ever, please note that the spacing between the strings and the pickup magnets are an
important factor. The curve of the pickup magnets is adjustable and you must find a suita-
ble compromise between the position and overall height of the pickup and the height of
the strings. The distance between the upper edge of the magnets and the underside of the
string should be around 1 to 2 mm when pressing the string to the highest fret. The spac-
ing can also be less than 1 mm, as long as the strings do not touch the pickup when play-
ing.
As the output level for the individual strings varies widely, you must set the input gain for
the signals of the strings individually at the AXON Guitar-to-MIDI Converter after installing
the pickup.
First ensure that the height of the strings (neck and bridge) is correct, then tune the
strings. Increase the height of the pickup with spacers (see notes below) until the spacing
between the top of the pickup and the underside of the strings is around 1 to 2 mm when
pressing the strings to the highest fret. Use the included gauge to check the spacing.
12
AXON PU 100 (English)


