TCW181B-CM_R1
Page 6
The state of the relay can be changed by appropriate “ON/OFF” button. To change the state of
relay for a while, “Pulse” button should be pressed. Duration of the pulse is specified in “Pulse Duration”
field of “I/O Setup” page.
Three buttons are located on the bottom of the page:
“All ON” – click on this button will turn all relays ON
“All OFF” – click on this button will turn all relays OFF
“Pulse All” – click on this button will change the states of all relay outputs for a time,
specified in “Pulse Duration” field of “I/O Setup” page.
11.3
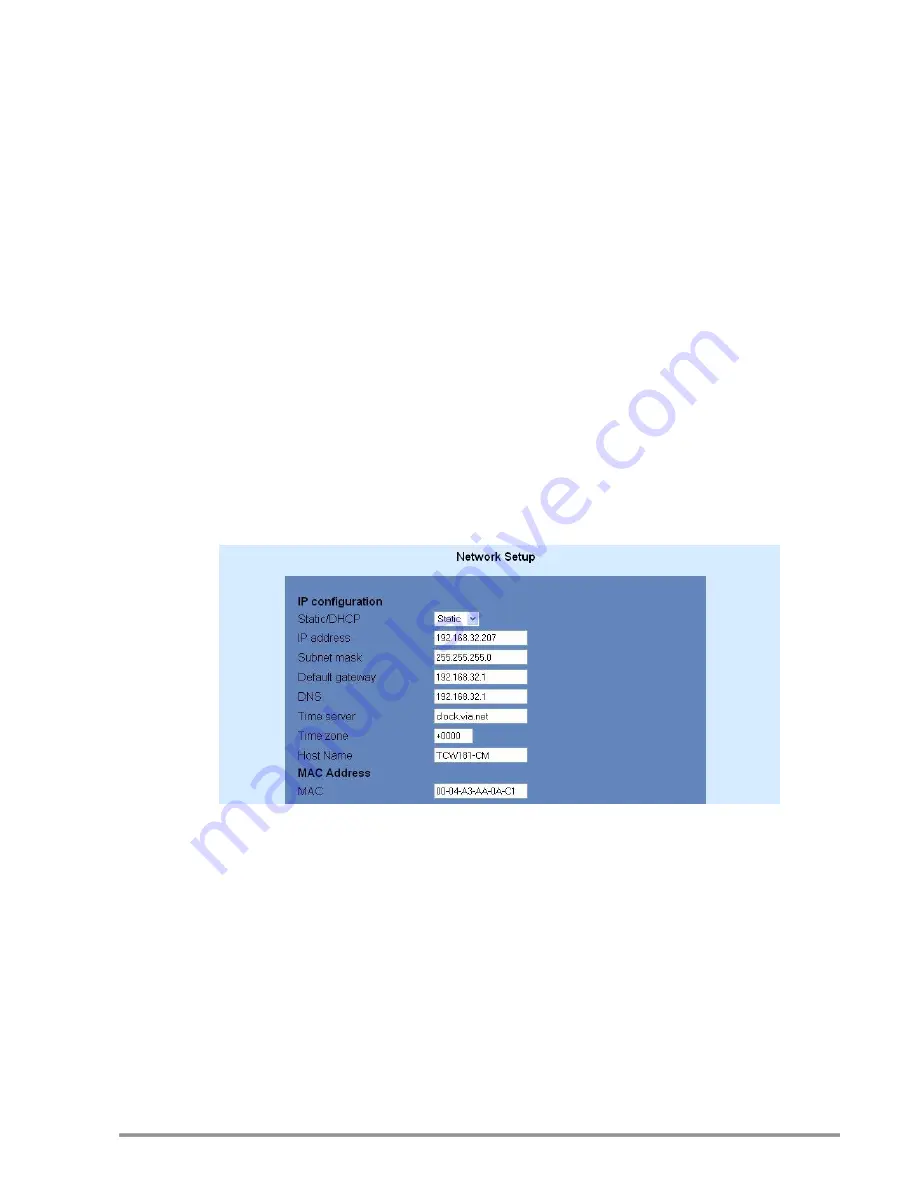
Network Setup page
The Network parameters are set on this page.
For “IP configuration” and “MAC address” section, following parameters can be changed:
IP configuration
– IP Address can be static or dynamic (DHCP server should be present in
the network);
IP address, Subnet mask , Default gateway
– these fields are active if IP address is static;
DNS
– these fields is mandatory, if domain names are used instead of IP addresses. By
default DNS has the same Ip address as Default gateway;
Time Server
and
Time Zone
– these fields are not mandatory, they are used when e-mail
must be sent;
Host Name
– up to 16 symbols, it appears as a “Subject” in sent e-mails;
MAC
– device MAC address.
The good practice is to change the default IP address of controller immediately after first power-
on. This will avoid collisions if many devices are used in the same network. It may be necessary to clear
the arp cache, each time you connect a new device to the network. This is done by typing
arp -d
in the
command prompt window of computer.
To set up the SMTP server details, the following fields should be completed:
Mail server [IP:port]
– domain or IP address + port of SMTP mail server. To use domain
name, IP address in field DNS must be correct
;
–
sender e-mail;
Username
and
Password
– authentication details for mail server
.
Mail server is considered server for sending mails. Secure Socket Layer is not supported.


