background image

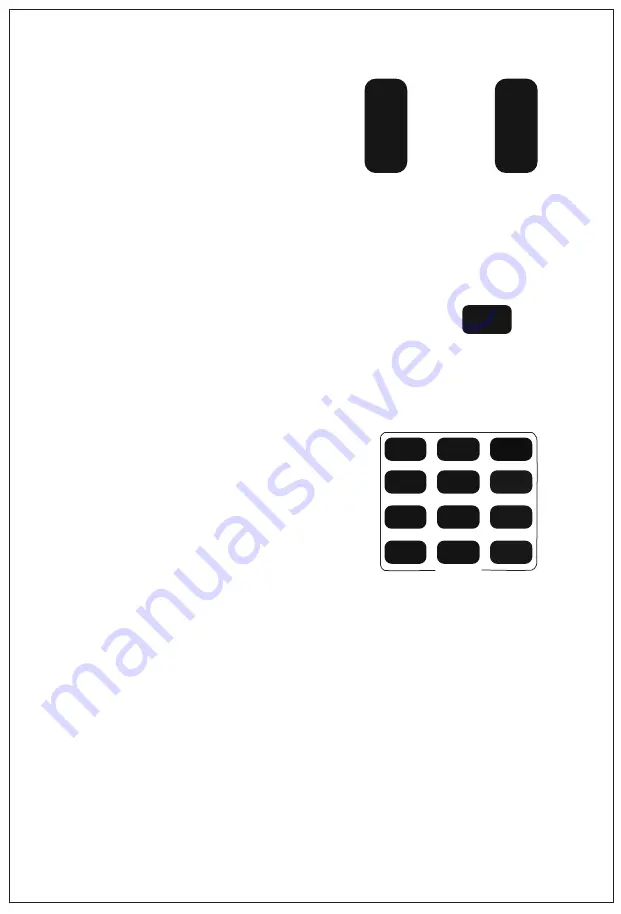
4. Camera Zoom Control
Press any one of the 4 

ZOOM


to  make  the  zoom  functioning.

5. Back Light
The subject will become dark when there is a 
light source behind it, press 

BACK  LIGHT


to use back light shooting function. To cancel, 
press 

BACK  LIGHT

 again.

6. Preset Setup,Call,Cancel
(1) Reserve Preset: Press 

PRESET

then press one of the number 

1-9

 to

reserve a preset that correspond to the 
NUMBER.
*Note: you can setup 9 presets at most by the remote control.
(2) Call Preset: Press the NUMBER 

1-9

directly to call the-

reserved preset.
*Note: It won’ t work if there’ s no preset reserved in the cor-
responded number.
(3)


Remove Preset: Press 

RESET

, then press one of the-

number 

1-9

 to remove a preset that correspond to the  NU-

MBER.

7

1

2

3

4

5

6

7

8

9

PRESET

0

RESET

STD

REV

POSITION

B-LIGHT

ZOOM

SLOW

+

-

ZOOM

FAST

+

-

(1) Reserve Preset:

Summary of Contents for VHD102U

Page 1: ...na E mail sales tenveo com Mobile 86 18929337105 Add Rm 2302 Block A Zhongdeng Wenjing building Fengcheng 9th Rd Weiyang Dist Xi an China Email sherry tenveo com Tel 86 29 81318040 ShenZhen Tenveo Vid...

Page 2: ...ion Foreword Notice Supplied Accessories Camera papameters Interface definition Interface diagram Installation instructions Contents Remote control instructions Common Operation Instructions Control I...

Page 3: ...Do not apply excessive voltage Use only the specified voltage Otherwise you may get an electric shock or a fire may occur Do not aim the camera at the sun or the other high luminous obje cts otherwise...

Page 4: ...CMOS 2 1 Mega Pixel 2 1mm lens D 138 H 120 V 100 128 37 51 3 4 64 F 3 0 10 0mm F 5 0 50 0mm 2 1 Mega Pixel 2 1 Mega Pixel 1 2 9 SONY HD CMOS VHD1080Pro VHD102U 55 5 3 0 F 4 7 94mm 2 1 Mega Pixel 1 3...

Page 5: ...IR SELECT 6 DC12V 3 1 Interface definition DC 12V Output AC 220V Input DC 12V IR SELECT NO 1 2 3 4 RS 485 A B RS 232 USB IR VISCA IN VISCA OUT RS 422 485 High Speed USB HD Video interfare keyboard con...

Page 6: ...ation 2 Tripod Mount Installation 3 Ceiling Mount Installation Twist the tripod s screw on the camera tripod hole then the tripod could be installed on the bottom of camera The tripod screw must fit b...

Page 7: ...lled direction 7 PAN TILT Camera rotation control key press this button and move by the arrow direction Pr ess HOME to back to the center of vertical and ho rizontal position 8 P T Reset Camera Pan Ti...

Page 8: ...hen you need to change the angle If you want to move the camera slowly just click the direction key If you want to move the camera fast at a large scale just long press the button 3 Camera Focusing Mo...

Page 9: ...T then press one of the number 1 9 to reserve a preset that correspond to the NUMBER Note you can setup 9 presets at most by the remote control 2 Call Preset Press the NUMBER 1 9 directly to call the...

Page 10: ...Set camera s remote control address Point the arrow to 1 Short press 1 on camera select to select the camera 1 Point the arrow to 2 Short press 2 on camera select to select the camera 2 Point the arro...

Page 11: ...nected or not If yes change to an other USB interface and try to connect again Q No image after HDMI interface connects A 1 check the HDMI cable and connected device are normal 2 check the video forma...

Page 12: ...Product s information Thank you very much for choosing our products Purchase Date 1 This card is considered as the Protection to fix warranty so please reserve them carefully Please fill in truthfully...

Page 13: ...Q A Certificate of compliance QC PASSED Tenveo...

Page 14: ...Make any meeting better and easier...

Reviews: