


LX-1 Series Instrument
www.tensitron.com
pg. 8
3. Log Data:
a. Press the STORE button to store and display up to five
separate tension readings along with the average of these
values.
b. Clear the data displayed on the Main Screen by pressing
and holding the STORE button, or power the instrument off.
c.
For additional information on logging and viewing data, refer
to Sec 6 Display Screens - Data Logging.
4. Read Tension: Variations in materials and material diameters affect
tension readings. It is essential to select the correct material and size
before use, or tension values may be incorrect.
5. Select Tension Units:
a. Using the up or down arrows, scroll to TENSION UNITS,
then press ENTER.
b. Next, select from: Kilograms, DecaNewtons, or Pounds and
then press ENTER.
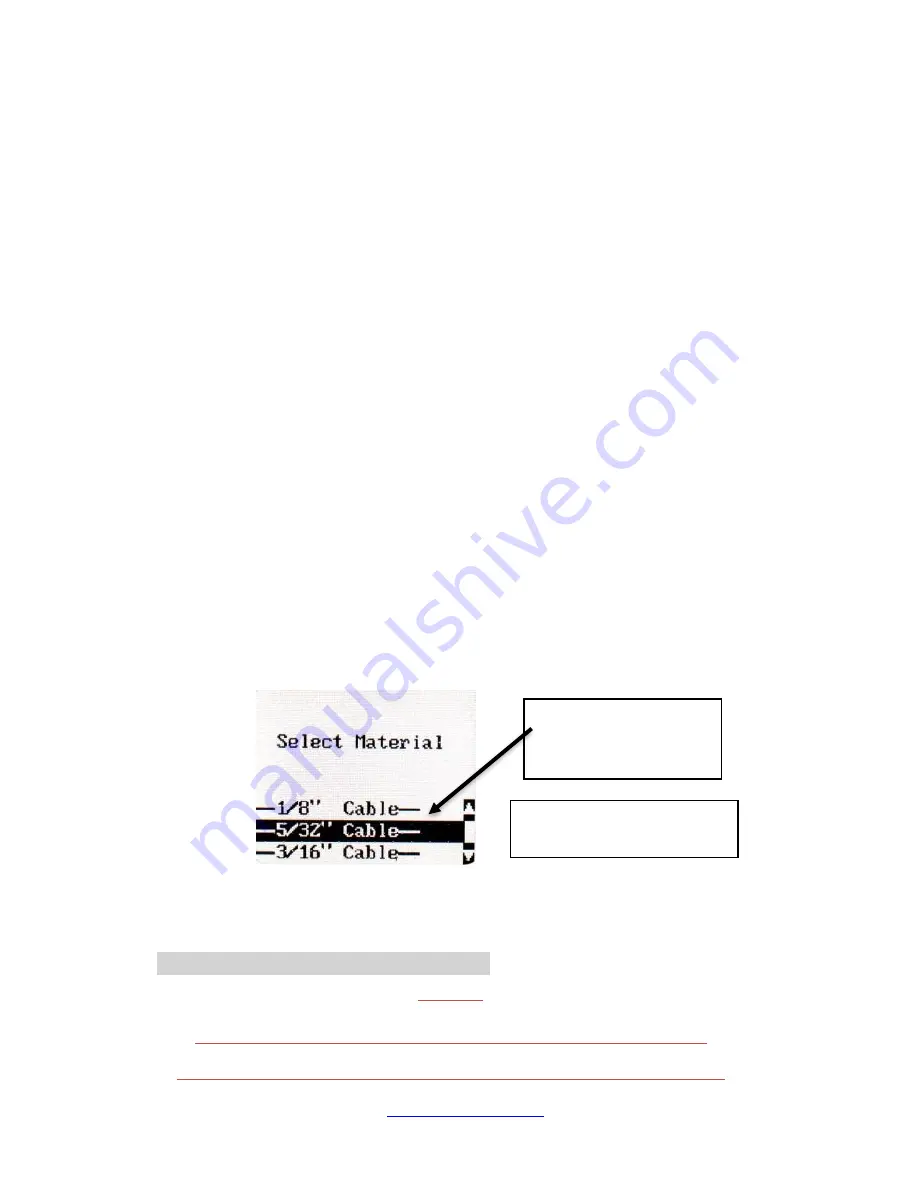
6. Select Material:
a. Using either the up or down arrows, scroll to SELECT
MATERIAL, then press ENTER.
b. Next scroll through the material descriptions until the correct
material size is highlighted, then press ENTER. Your main
display will indicate the material size selected. (See Figure
4)
c.
If your specific material is not listed, add it to the menu by
following the calibration instructions included at the end of
these instructions. Or, send a 1
5’ sample of your material
and the instrument to Tensitron and ask to have it added to
the menu.
7. Zero Instrument: Hold the instrument in the attitude your reading will
be taken before you engage it to the tensioned material. Then, press
ZERO.
•
Engaging Instrument onto Cable
W
ARNING
:
D
O NOT OVERTORQUE THE ENGAGEMENT LEVER OR YOU WILL DAMAGE THE INSTRUMENT
!
D
O NOT EXCEED THE MAXIMUM TENSION RANGE OF THE INSTRUMENT OR DAMAGE WILL OCCUR
.
Select Material Size
–
Instrument automatically
adjusts calibration
Figure 4:
Select Material Screen


