Page 12 ACX-Series Operating Instructions
How to check the accuracy of an ACX-Series
Digital Aircraft Cable Tension Meter
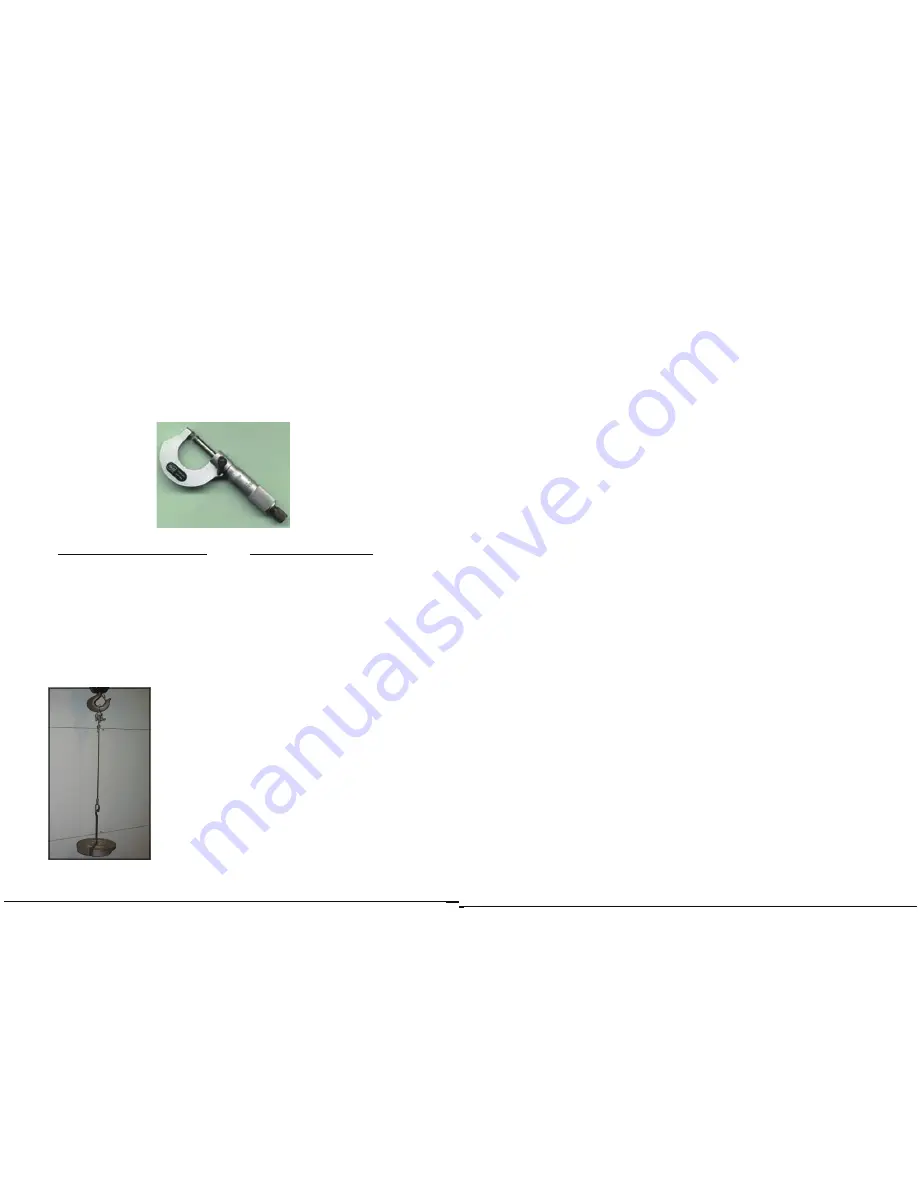
To verify the accuracy of your instrument, tension a sample length of
cable by suspending known weights from the opposite end. Fig 1.
When performing this test use a micrometer to ensure your cable
diameter is dimensionally within tolerance, +/- .003” of size, and not
out of round.
Standard Aircraft Cables CWT Aircraft Cables
1/16” = .0625” 5-CWT = .076”
3/32” = .0938” 10-CWT = .106”
1/8” = .1250” 15-CWT = .141”
5/32” = .1562” 20-CWT = .155”
3/16” = .1875” 25-CWT = .170”
7/32” = .2188”
* Only use free-hanging weights which are
traceable to National Standards on correctly-
sized cables.
* Never use any tensioning device that at-
tempts to convert rotational torque values
into tension loads, as these types of systems
are highly inaccurate.
Fig 1, Simulating Cable Tension
ACX-Series Operating Instructions Page 5
Section 4 (Con’t)
c. Setting the dampening rate on the instrument to “
1 Hz + Serial
”,
“
2 Hz + Serial
” or “
5 Hz + Serial
” will cause the instrument to out-
put the tension values at a rate of once, twice or five times per
second, respectively. The dampening rate can be set by going to
the
SETUP
menu, selecting
DAMPENING
, adjusting the value of
the dampening rate with the
↑
and
↓
buttons and then pressing
the
ENTER
button.
d. The units output serially will be the same units that are selected
in the “Tension Units” menu. The currently selected tension units
(such as lb, kg or N) are also displayed on the main tension
screen.
e. Perform the following steps in order to log serial data from the
instrument using Hyper Terminal on a PC and put it into a Micro-
soft Excel spreadsheet:
1) Ensure that the dampening rate is set to “1 Hz + Serial”, “2
Hz + Serial” or “5 Hz + Serial”.
2) Connect the serial cable from the instrument to a serial port
on your PC.
3) Go to the Windows® Start Menu and choose Programs-
>Accessories->Communications->Hyper Terminal®
4) In the Connection Description dialog box that pops up, type
in a name for the new connection (you can use any name
you wish to describe this file) and press the OK button.
5) In the Connect To dialog box that pops up next, go to the
drop down menu labeled “Connect Using:” and select the
serial port you connected the cable to in step 2. It is most
likely that you are connected to COM1.
6) In the COMx Properties dialog box that pops up next, set
the “Bits per second:” to 9600, the “Data bits:” to 8, the
“Parity:” to None, the “Stop bits:” to 1 and the “Flow Con-
trol:” to None.
7) Click the Apply button and then click the OK button.
8) You should now see tension values appearing in the Hyper
Terminal window.
9) When you are finished collecting data, close Hyper Termi-
nal.
10) To save the data in Microsoft Excel® format, use Microsoft
Excel® to open the file you saved the data log in and save
it as an Excel® file.


